Learn how to make no knit yarn pumpkins in 4 easy steps. If you love chunky yarn, but don’t knit or crochet these yarn pumpkins are for you! Use beautiful chunky yarn to make adorable pumpkins in a few minutes! No knit yarn pumpkins are easy enough for beginners but still turn out adorable! No knit, no sew yarn pumpkins!
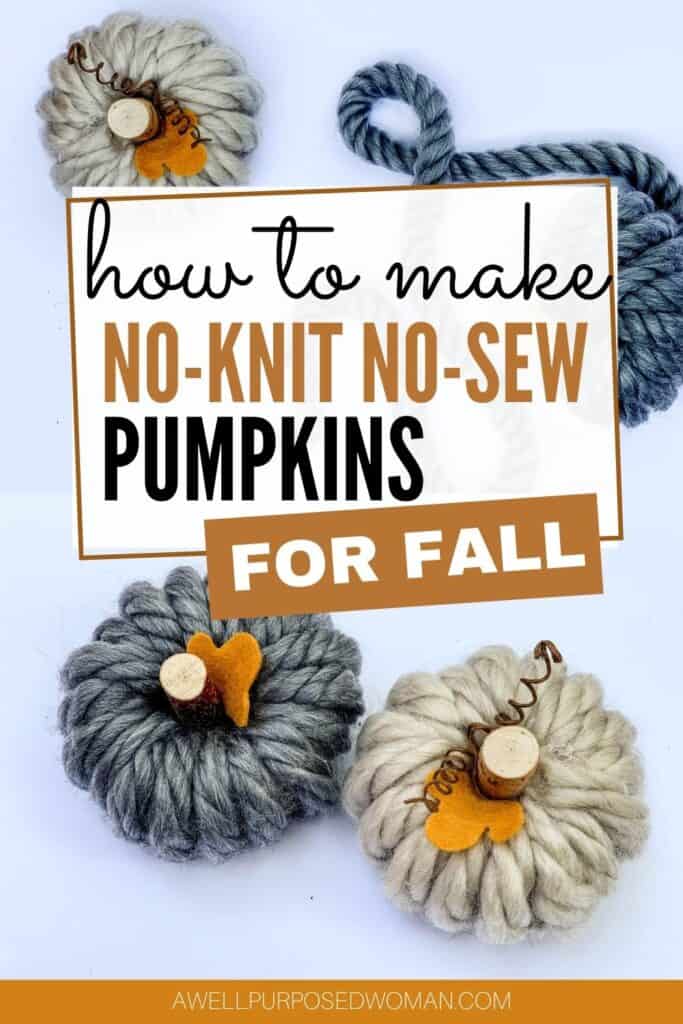
I love fall! The colors, smells and feels all communicate warmth to me. But I can’t believe it is the end of September already, so today I have a no knit, no sew yarn pumpkin craft for you! Because if you have been to my site before you know I love making pumpkins, especially cozy little pumpkins from socks, sweaters and velvet ones.
This pumpkin craft is super EASY! In a challenging year I figured a quick win for a craft project couldn’t hurt, right?
Inspiration for No Knit Yarn Pumpkins
The inspiration for this project came as I was wandering around Hobby Lobby. I spotted some beautiful chunky yarn. It was so pretty it ALMOST made me want to start knitting something with it (currently I don’t knit). But I put the yarn in my cart anyway thinking there had to be something I could do with it.
Well on my next errand stop that day inspiration struck! I randomly spotted a hair donut at the Dollar Tree. And all of a sudden visions of no knit yarn pumpkins danced in my head! So I grabbed a few hair donuts and headed home.

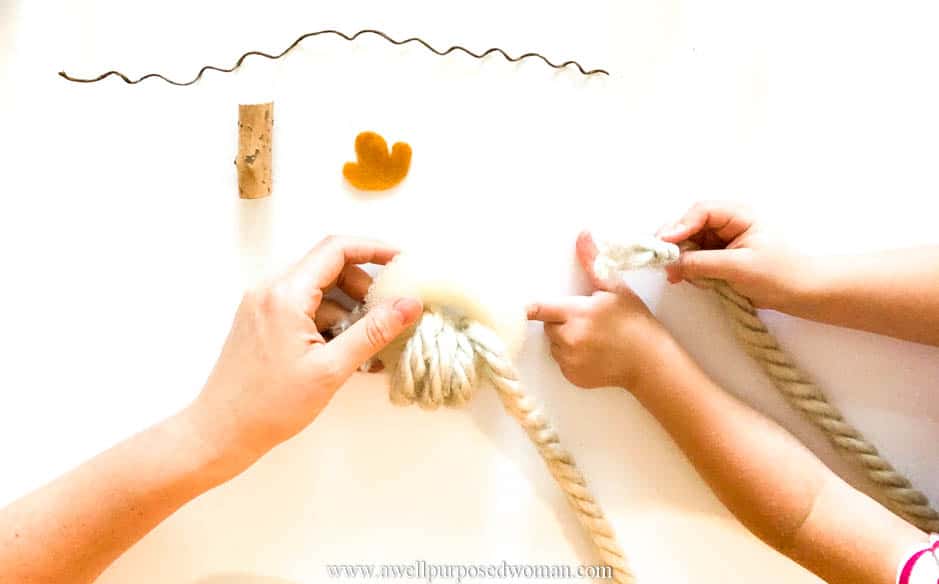
And after making one of these no knit yarn pumpkins I realized this would also be a fun craft to do with kids. In fact, my 4-year old daughter Emmie made these pumpkins with my help. I helped her with the hot glue gun and the embellishments. Otherwise she wanted to do it all by herself. And she did it!
So let’s get started on these no-knit yarn pumpkins!!
**As an Amazon Associate I earn income from qualifying purchases at no additional cost to you.**
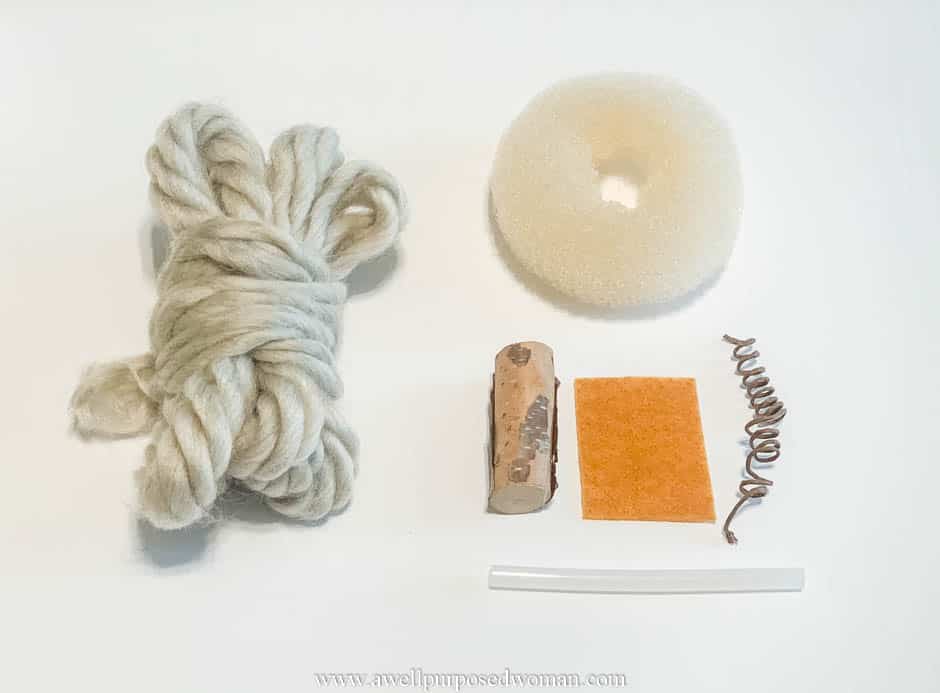
Here’s the supplies needed for no- knit yarn pumpkins:
- Free written instructions
- 90″ of chunky yarn
- hair donuts
- 2 rubber bands
- hot glue and gluesticks
- pumpkin stem (I used a little branch)
- covered wire for curly cues
- felt for leaf
Short on time?
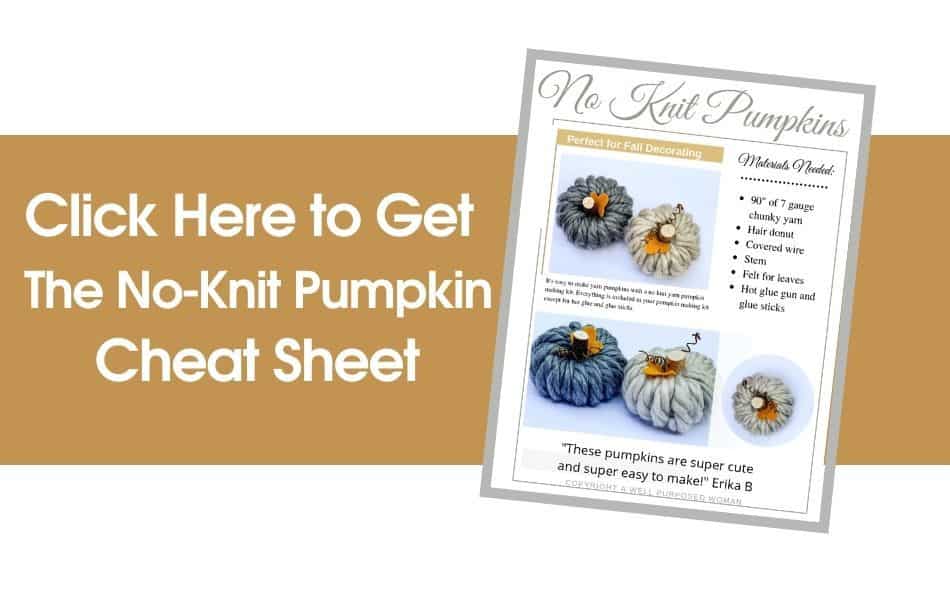
If you would like to make these pumpkins but don’t have extra time to gather all the supplies and make an extra trip to the craft store. I made a limited number of kits this year. You can just purchase a complete kit in our shop and make your own set of three hair donut pumpkins.

Here’s a video on how to make no- knit yarn pumpkins:
Here’s a step- by- step tutorial on how to make no-knit yarn pumpkin:
Step 1: Prepare your yarn for your pumpkin:
Start by cutting off your yarn. Measure out and cut a 90-95″ or 2.5′ length of chunky yarn.
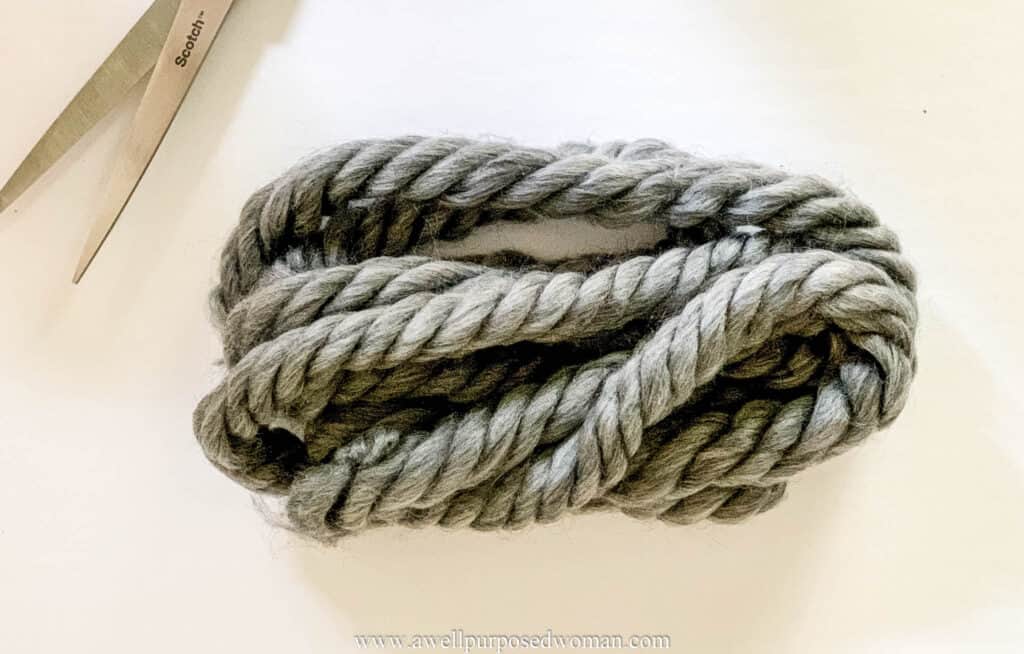
Tie off each end with a rubber band to prevent the yarn from unraveling.

Step 2: Wrap yarn around the hair donut
Now starting with one end. Hot glue it on the underside of the hair donut.

Continue wrapping the yarn around the hair donut. Pushing the yarn close together as you go.

As you go pull the yarn snug and try to maintain the same amount of snugness all around the donut.

Step 3: Hot glue the second end
When you do not have any more space to wrap around the pumpkin, cut off any extra yarn. Then hot glue the end to the underside of the pumpkin.
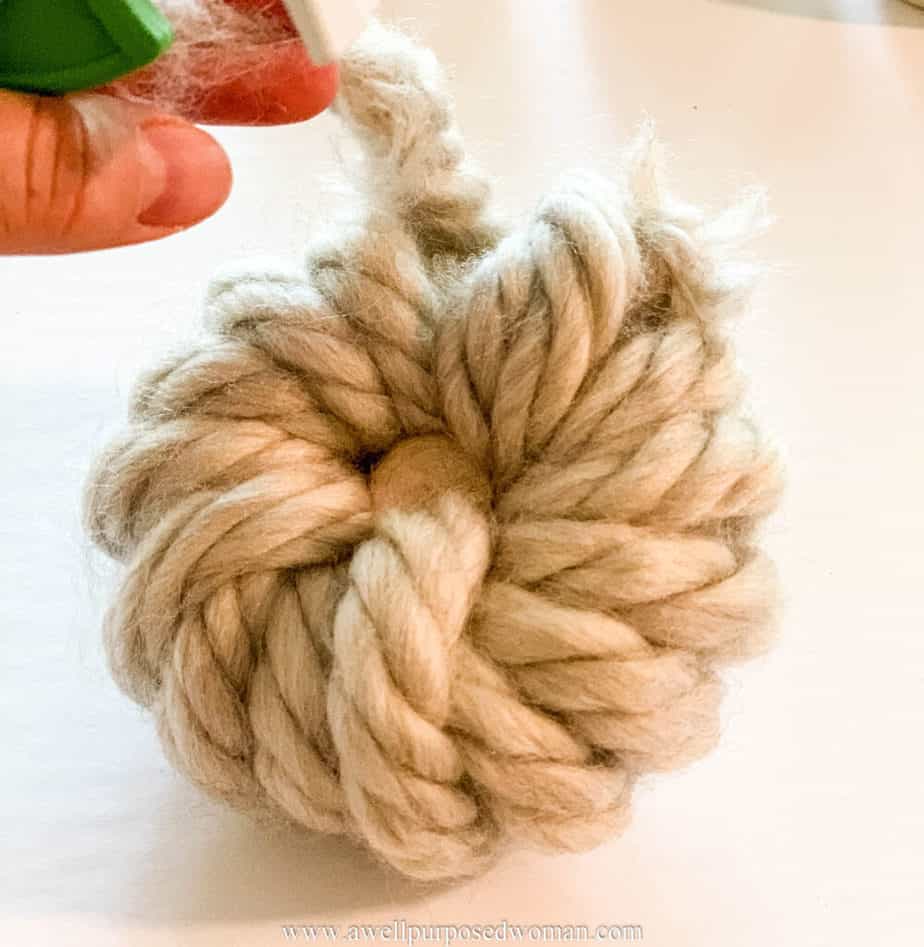
Tip: When you have finished wrapping your yarn, you may notice more of a gap than you would like. You can just cut off an extra piece of yarn and glue it in place.
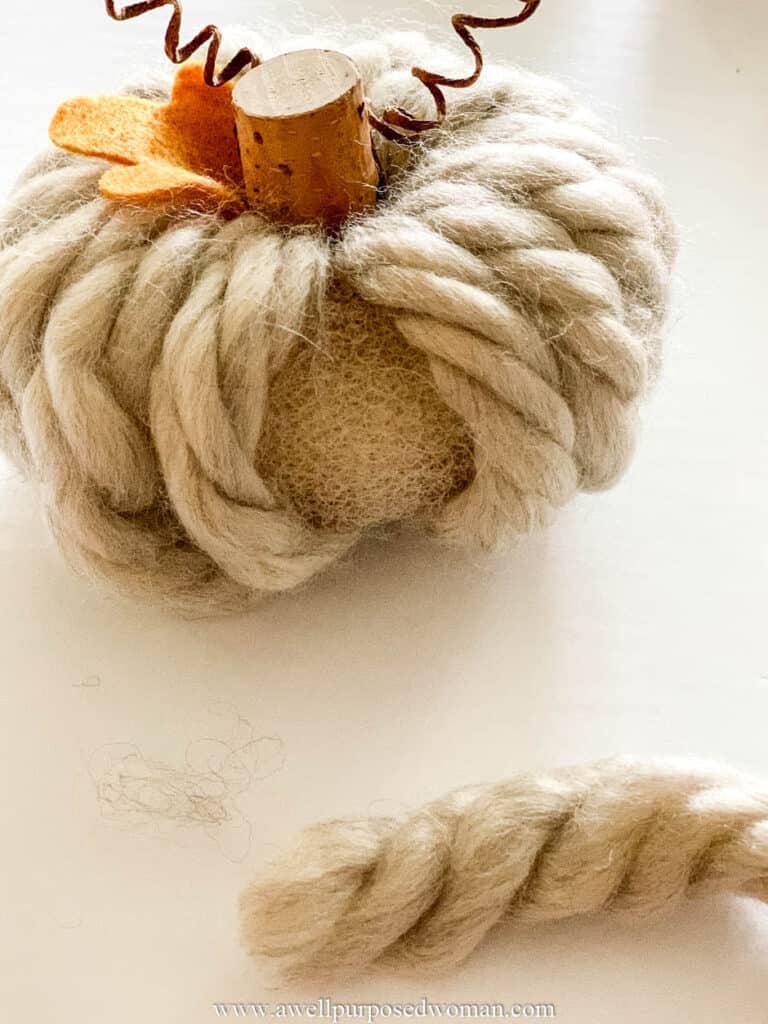
Step 4: Add stem, leaf and curly cues
Now just insert the pumpkin stem into the center of the pumpkin. You can hot glue it in place.

Next cut out a leaf from the felt. Hot glue it around the stem.
To make the curly cues wrap the paper covered wire around a pencil. Hot glue the curly cue around the pumpkin stem.
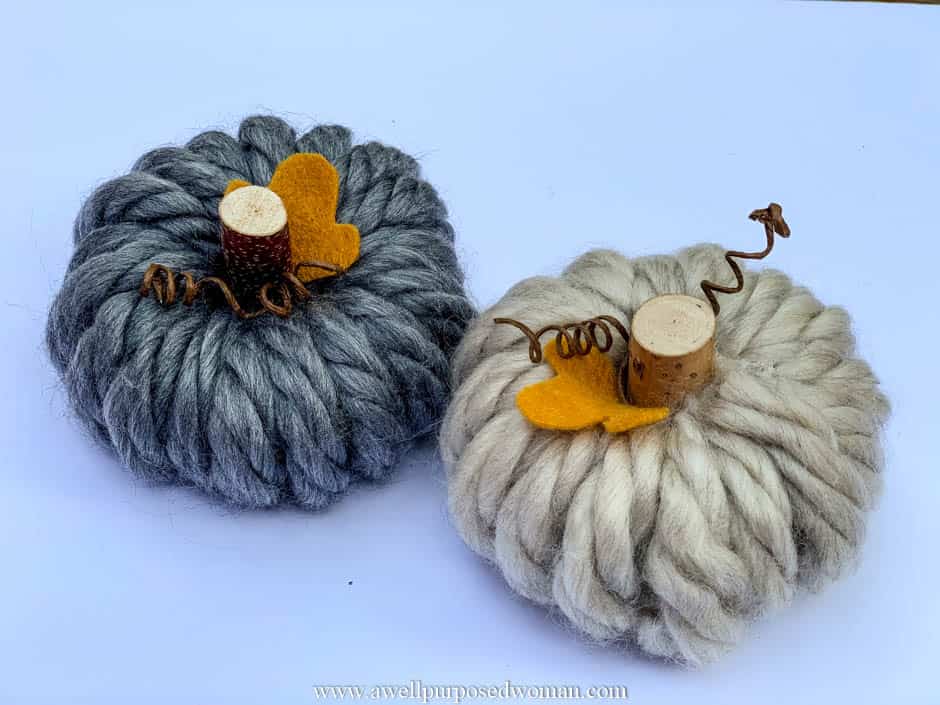
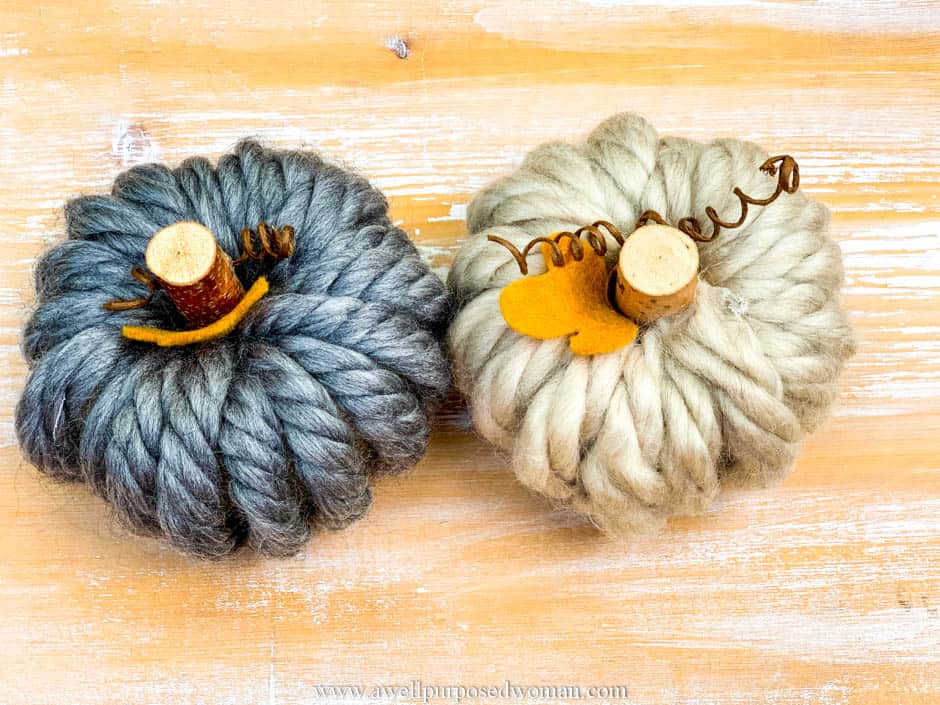
And that’s it! Your easy peasy no knit yarn pumpkin. Really can be made in a matter of minutes, which is probably all you have available these days anyways.
Be sure to pin for later!
If you liked this post be sure to pin it as a quick reference for later. This also helps bloggers out by sharing their work with others! And makes it possible to keep creating amazing content for you!

Thanks so much for stopping by! I hope you enjoyed this post. And I love seeing the creations you come up with. Please email me at: elizabeth@awellpurposedwoman.com if you give this craft a try!
Take care and I truly hope you have a blessed fall!
God Bless,

P.S. If you would like to check out some easy ready to make pumpkin kits be sure to check out our shop!

Where do you get the bigger hair donuts?
Hi Laura, I buy a big package of multiple sizes on Amazon. Let me know how they turn out. Elizabeth
Cute craft but why don’t you include that pinterest thing where you can link to your pinterest? NBD if you don’t want to. Just an idea
Hi Paula! Great idea. I will try to add it. Elizabeth
What brand of yarn did you use. I like the colors and texture.
I believe it is called Yarn Bee. Take care, Elizabeth
I made one tonight! They are so cute and very easy to do! Thanks for the great idea!
What product is the paper covered wire you added for curly cues? Thanks!
Hi Kelly, I added a link above to the covered wire. You can find it at Hobby Lobby. Elizabeth
Love the idea and your pumpkins! Great job Emmie! You have a wonderful teacher! Thank you for sharing. L. Jones
Thank you! Yes, she did a great job. Elizabeth 🙂
So cute! Love this … I went out after work & picked up the donuts, yarn & felt. Do you happen to have a leaf pattern? Where do you find the wire???
Hi Erika, yes I do. I am not sure if you are on the email list. But I can email it out. I got the covered wire from my sister-in-law and she picked it up at Hobby Lobby. Elizabeth
Those pumpkins are so cute,will give it a try, thanks for sharing. There is ALWAYS something to be thankful for!
Thanks Lois! Yes, sometimes we fail to give thanks but always something to be thankful for. 🙂 Elizabeth