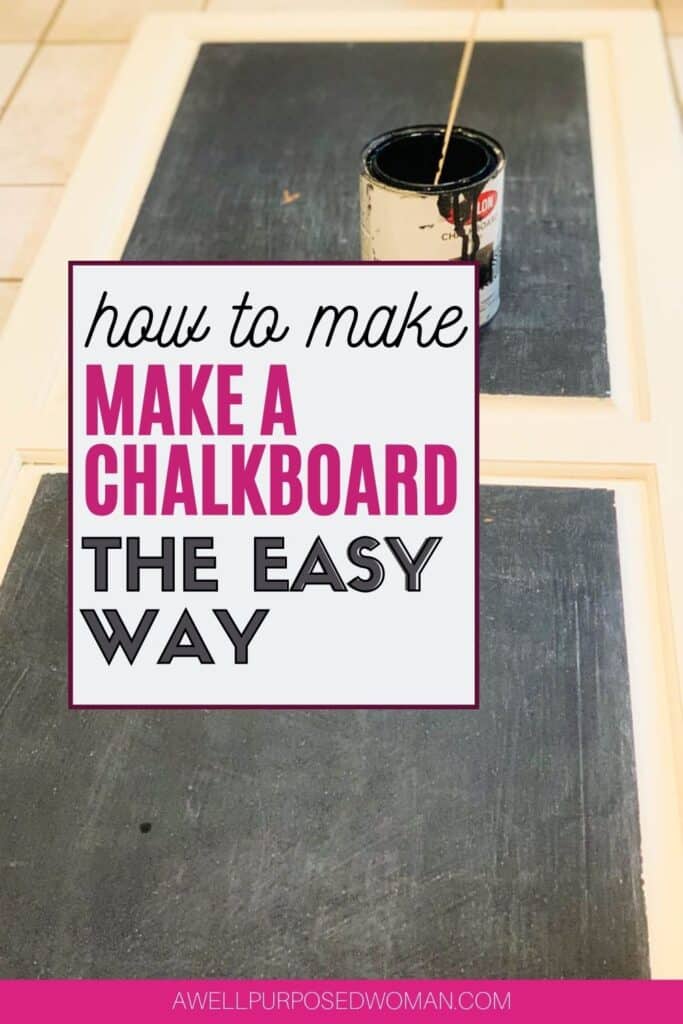
Learn how to make a chalkboard the easy way. This step by step tutorial will show you how you can make a simple chalkboard on your own. You can make a chalkboard for your home school or office in no time with this easy to follow tutorial.
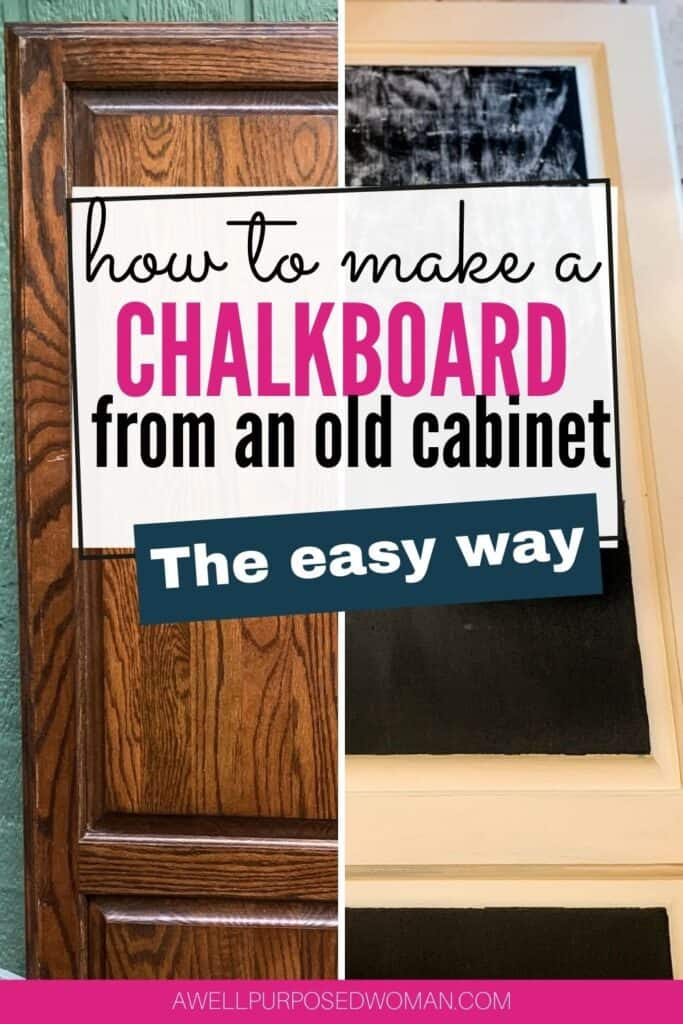
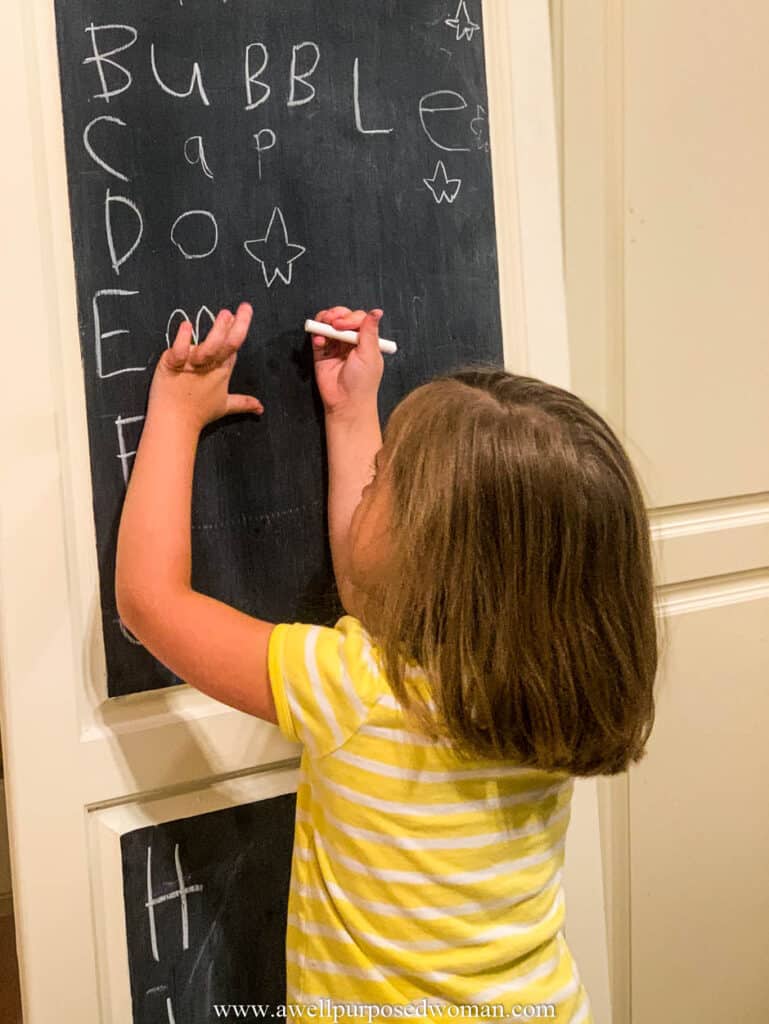
Today I wanted to share with you how to make a chalkboard at home the easy way. Last summer I found several large cupboard doors at a garage sale for $3 each and I planned to make them into chalkboards. Until six months ago I was excited to have these chalkboards at home as a décor piece. But now with home schooling it has much more of a practical purpose for us. And having a chalkboard has been a helpful additional for at home learning.
As you will see I used an old cupboard door to make a chalkboard. I chose a cupboard door because it is temporary and it can move around. But really you can use any wooden surface or wall in your home as a chalkboard. Making a simple chalkboard to use for school work in your home is fun and super easy!

And today’s post on how to make a chalkboard the easy way is part of Thrifty Thursday, which is a group of DIY bloggers who meet up at the end of each month to show you awesome makeovers from thrifty finds! So please be sure to check out my fellow blogger’s post at the end of this post. Otherwise let’s get started!
Here are the best materials to make a chalkboard:
- Wooden surface (I used an old cabinet door)
- Sandpaper 120 grit
- Chalkboard Paint
- Foam, bristle or roller brush
- Painter’s tape
- Piece of chalk
- Chalk Paint (Optional)
How do you make a simple chalkboard?
Step 1: Prepare your chalkboard surface
The first step is prepare your chalkboard surface. Start by lightly sanding the area that will be your chalkboard. Sanding the surface will help the chalkboard paint adhere better to the surface. After sanding thoroughly clean the surface with a cloth and water.
Tip: In order to get the paint to adhere better to the surface you could also consider priming the surface. It is not necessary if you are going to be sanding and applying several coats of the chalkboard paint. I did not primer my chalkboard.
Step 2: Tape off the chalkboard area
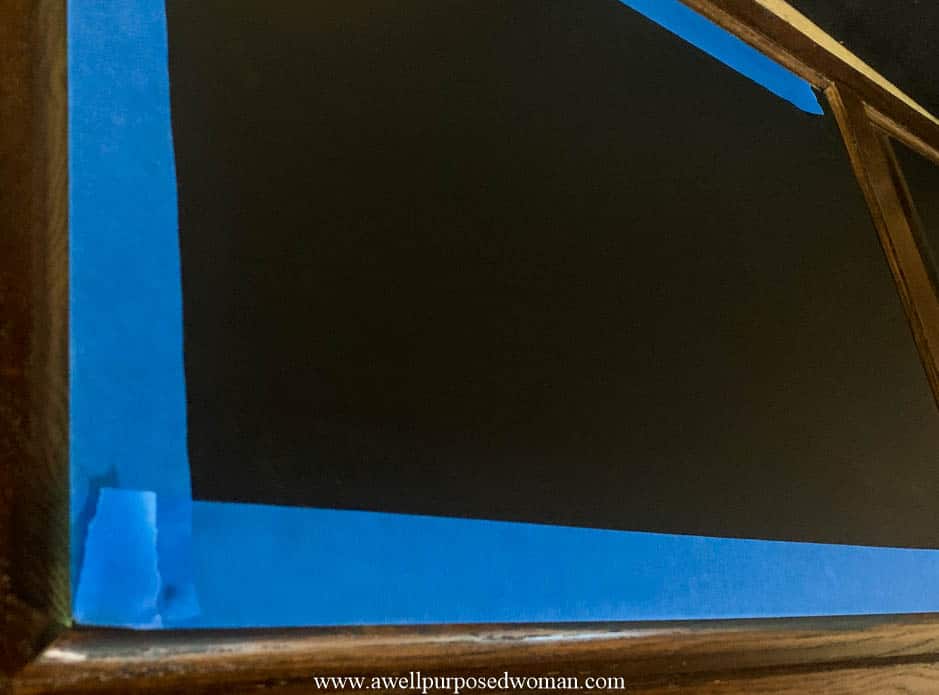
Now you will want to tape around the areas that you plan to paint with your chalkboard paint. I planned to paint the raised surfaces of the cabinet door so I taped around those surfaces.
Step 3: Paint several coats with the chalkboard paint
Before starting to use your chalkboard paint, flip the can of paint upside down and sit it upside down for a few minutes. This way the paint will not settle on the bottom of the can. Stir the paint after opening and check your can for any extra instructions.
If it is possible lay your chalkboard surface flat. Take your paint brush and paint even strokes/ rolls with the chalkboard paint, going with the grain of the wood. If you notice any globs of paint or any noticeable brush strokes try to even it out with your brush. You want to make even brush strokes. And the good news is the chalkboard paint settles fairly nicely when it is painted on wood. Once you have covered the entire surface let your paint dry.
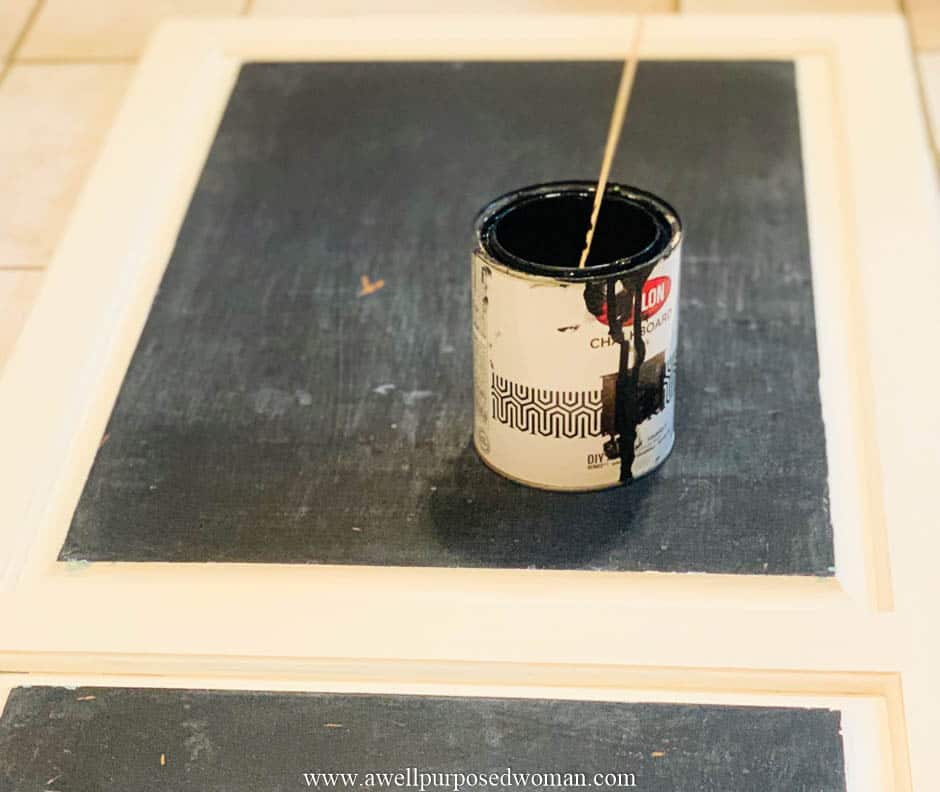
When the chalkboard paint is completely dry, apply a second coat. With the second coat of paint you can brush the paint in the opposite direction, but I have found it works even if you paint it in the same direction.
Apply a third coat of paint if needed. I applied a third coat to my chalkboard since I had not primed the surface.
Step 4: Cover the chalkboard with chalk
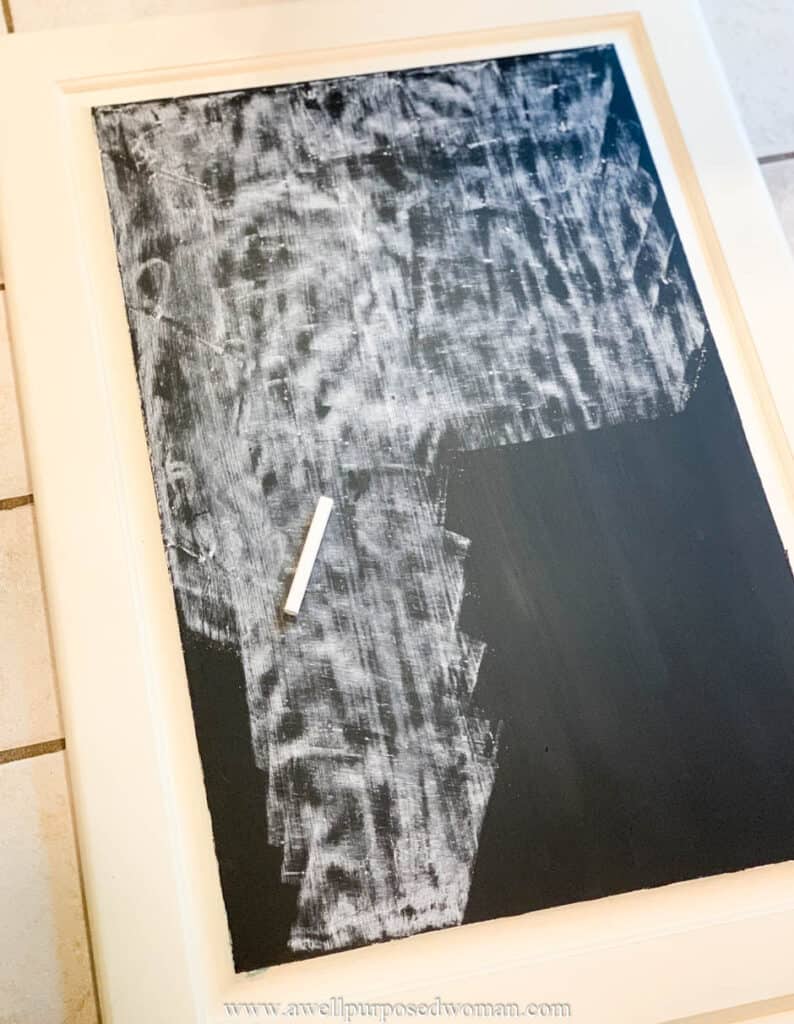
The last step may seem optional, but it is not. Once your paint is completely dry and you are comfortable with the coverage of the paint, use a piece of chalk to cover the chalkboard. Lay the chalk on the side and rub it all over the chalk board surface.
Step 5: (Optional) Paint the frame of your chalkboard
Once your chalkboard has dried you can pain the frame of your chalkboard. I used chalk paint because so little prep is needed. If you have never used chalk paint before you can check out this post or download the free guide for beginners.
Can I make my own chalkboard?
Yes! Now you can see how easy and simple it is to make your own chalkboard. So if you weren’t wanting one to add to your home classroom or office now you can get started! You can use an old cabinet door like me, or any other wooden surface. If you are more daring you could also choose to paint any area directly on a wall, although I have not done this before. And it seems a little too permanent for me right now.
But these are the steps so you can easily make your chalkboard in no time!
Thrifty Thursday Makeovers
Now check out these makeovers to see how these beautiful designs started out. You will be surprised!
Pin for Later!
If you found this post helpful don’t forget to pin it for later!
Take Care and Happy Crafting!

What a fun project and a great way to reuse an old cupboard door. I love making chalkboards and this one turned out great!
Love this! The perfect project for little kiddos to enjoy. Thanks for sharing Elizabeth!
This is such a great idea! And a cupboard door would be the perfect size for little ones to work on. Thanks for the idea!
This chalkboard is adorable. I ALWAYS forget to prime the surface with chalk at the end. Such a good reminder!!
Sure! Thanks Brianna! Elizabeth