LEARN HOW TO MAKE A DIY POM POM GARLAND FOR CHRISTMAS. A DIY POM POM GARLAND IS A FUN WAY TO DECORATE YOUR TREE OR MANTLE FOR CHRISTMAS. PLUS YOU CAN USE YOUR DIY POM POM GARLAND all year round!

I love doing crafts that my children can join in on. This year I have really been liking these little pom pom garlands to decorate our house for Christmas. I originally thought I would decorate our Christmas tree with a mini DIY pom pom garland but my daughters were so excited to decorate it after Thanksgiving that I gave in and we decorated it without the pom pom garland. But today I had time to work on a DIY pom pom garland and I have a super easy tutorial to share with you on how to make a DIY pom pom garland!

Making little pom poms are really very simple! It is definitely a project that you could do with your children. And a DIY pom pom garland can be used throughout the year in your child’s bedroom or playroom.
In this tutorial I will show you how to make a DIY pom pom garland. But you can also make a wreath or other decoration with these pom poms. So let’s get to it! Here’s the easy peasy way to make a DIY pom pom garland.
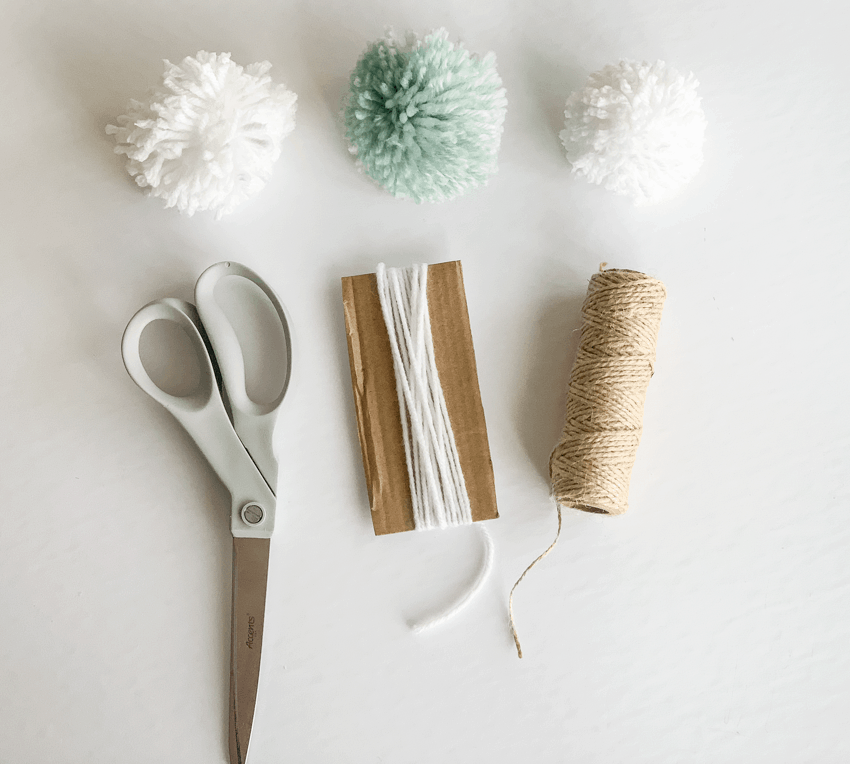
Here’s what you need to make a DIY pom pom garland:
- Yarn (you can use as many colors and textures as you want, I just wouldn’t use yarn that is super thin or thick)
- Scissors
- Twine
- Small piece of cardboard
Watch the full step by step video tutorial:
Here’s how you make a DIY Pom Pom Garland
Step 1: Cut a piece of cardboard
To make a DIY pom pom the first thing you need is something to wrap your yarn around. A piece of cardboard that is 3.5″x 2.5″works well to make a pom pom that is about 2.5″ big. Cut out a piece of cardboard this size.
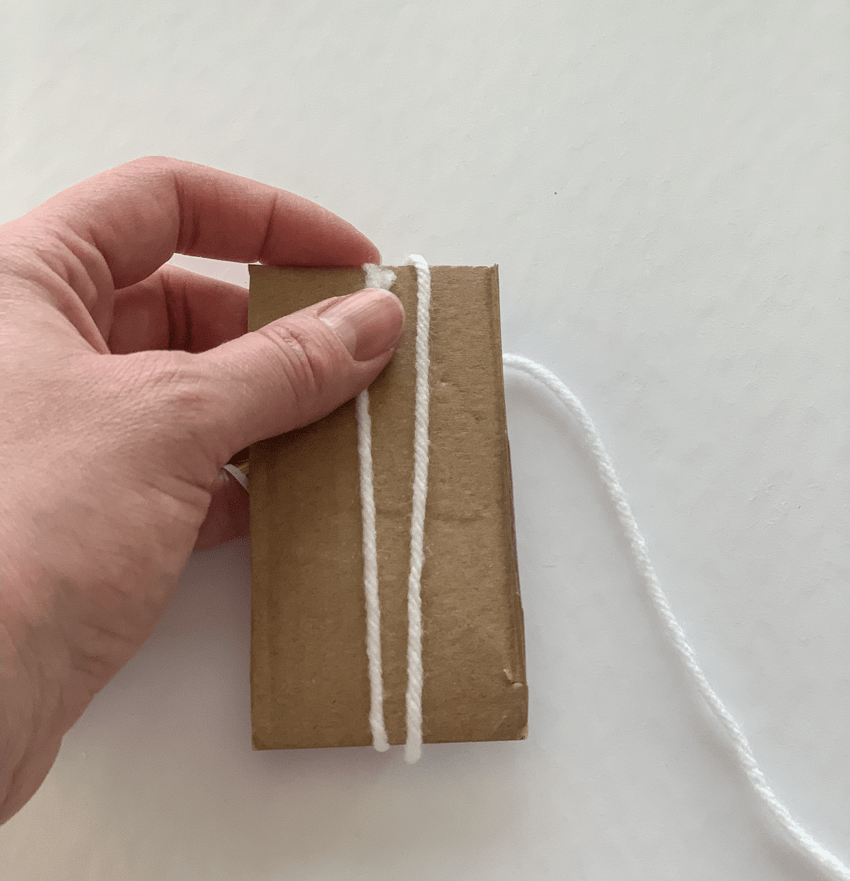
Step 2: Wrap the yarn around the cardboard
Now take your yarn and start wrapping it around the cardboard lengthwise. You will want to wrap it around the cardboard about 150-200 times. It is a good idea to count as you wrap until you get a feel for how thick you want your pom poms.
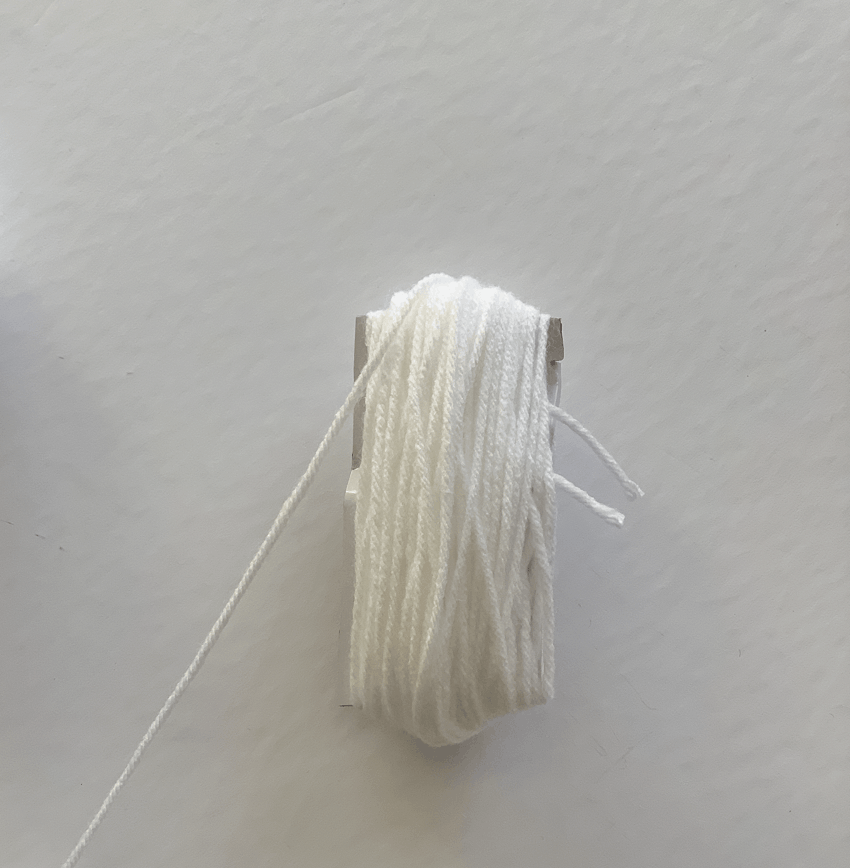
Step 3: Remove the cardboard and tie pom pom
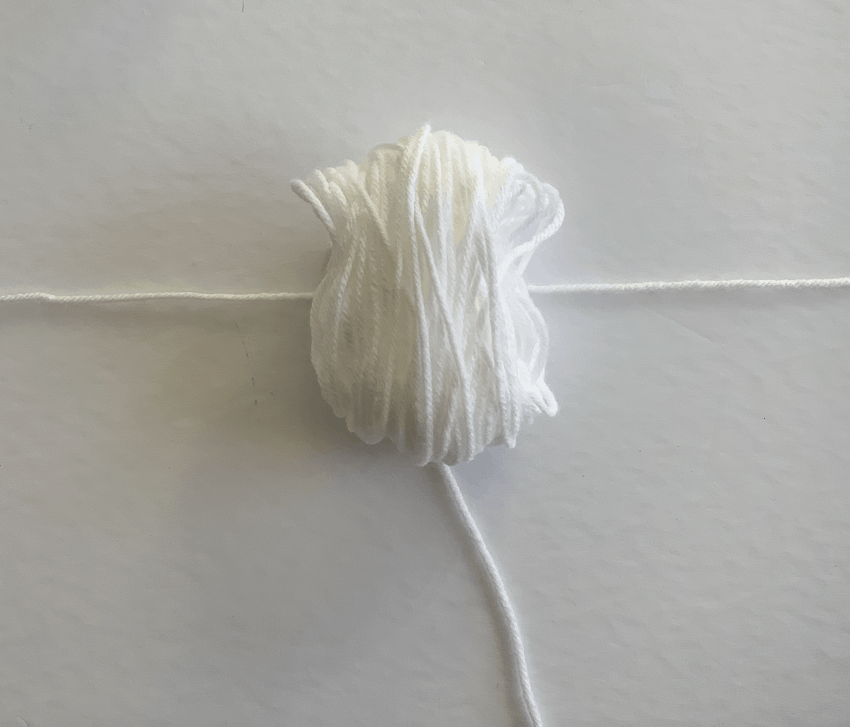
Cut a piece of yarn that is about 18″ long. Remove the cardboard from the center of the wrapped yarn. Make sure the yarn stays in place.
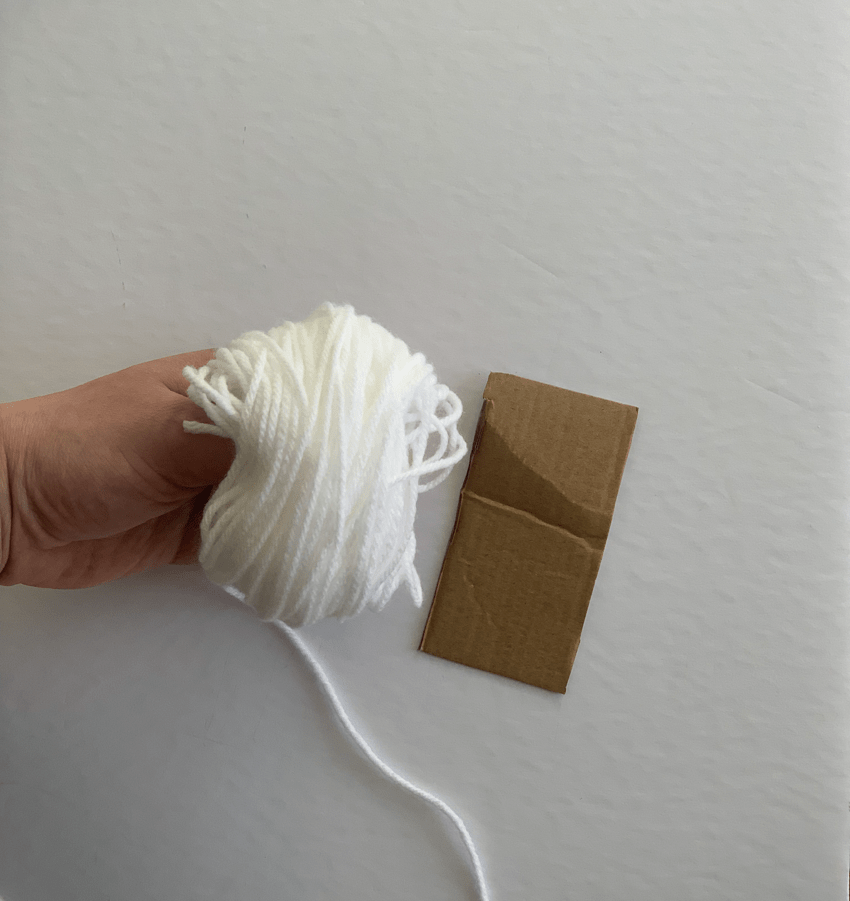
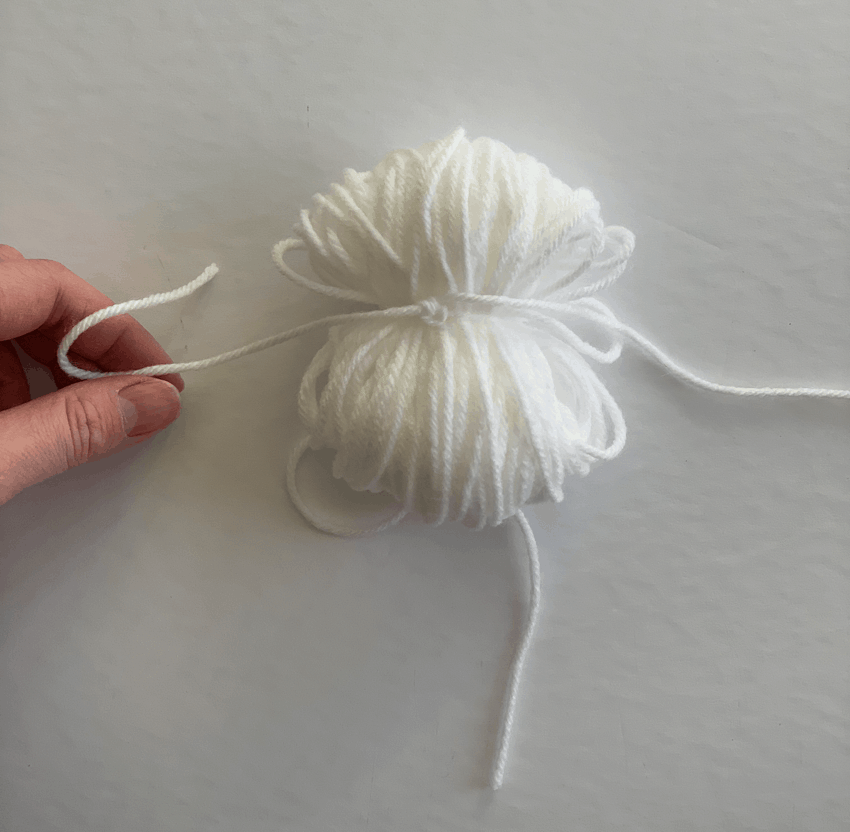
Then take your 18″ piece of yarn and tie a knot through the center of the yarn you wrapped around the cardboard. Tie the knot 3-4 times to make sure it is secure.
Step 4:Cut through the loops on both sides of pom pom
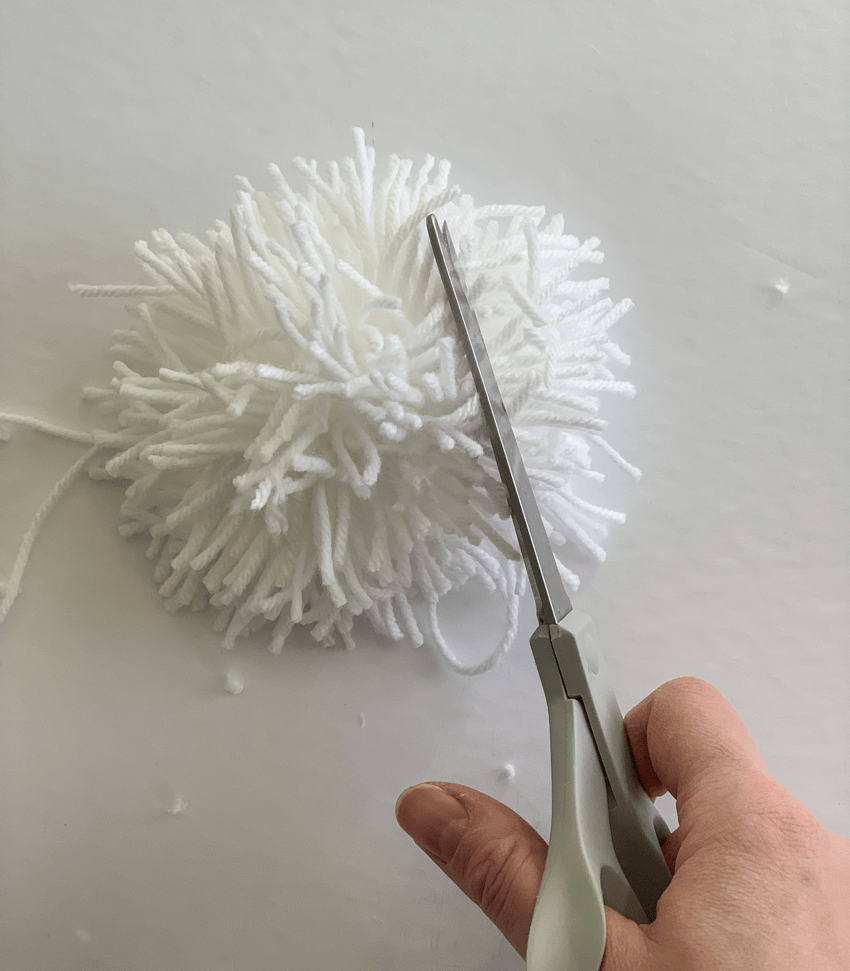
Use your scissors and cut through both sides of your yarn. Make sure you cut through all the loops on each side. Hope onto the piece of yarn that is holding your pom pom together as you cut. This way you will not accidentally cut through it.
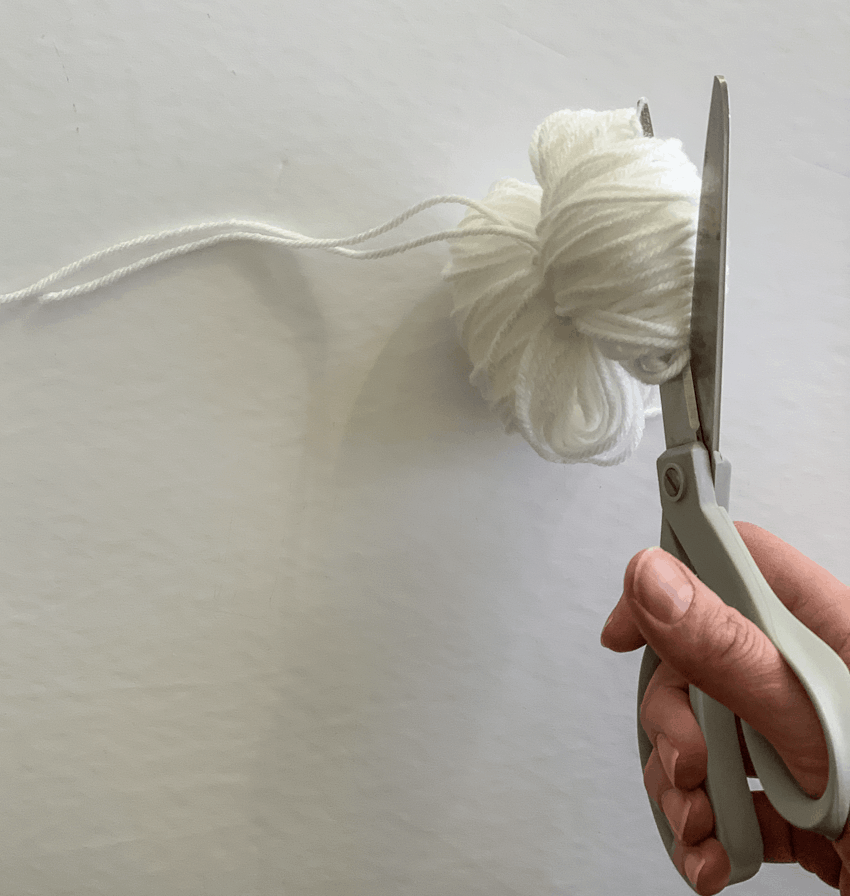
You will see your pom pom starting to take shape now.
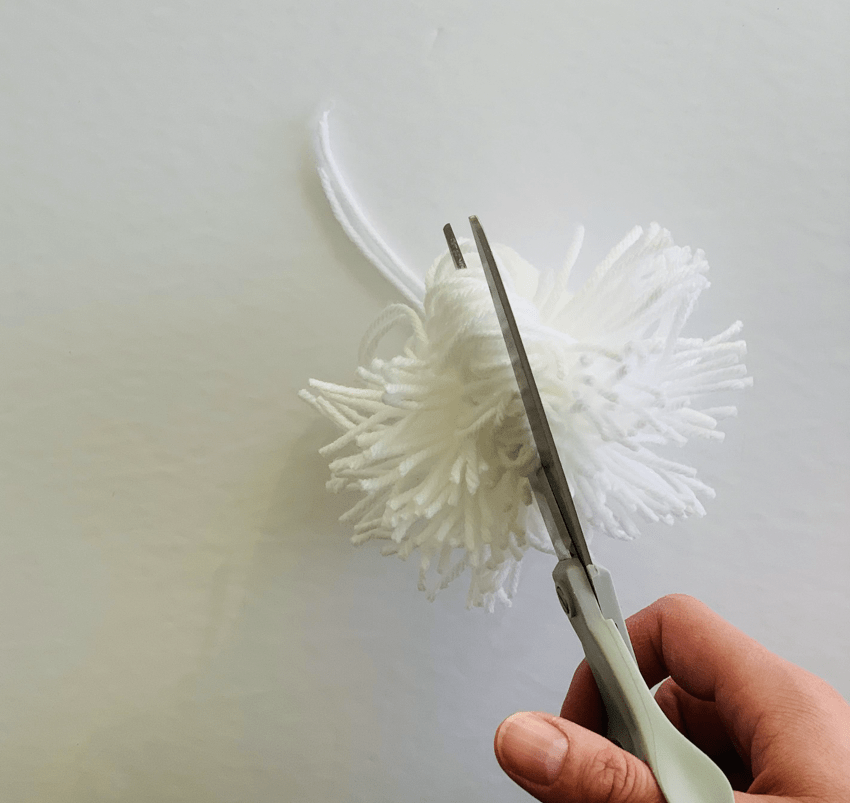
Step 5: Give your pom pom a haircut
The last step is to shape your pom pom into a perfect pom pom circle. Use your scissors and trim your pom pom into a little ball shape. The first one might not be perfect but you will get better as you go. The shorter you cut the smaller and fuller your pom pom will be. I cut about 1/2″-3/4″ off all around.
Step 6: Tie your pom pom to your twine
You will want to make about 7-9 pom poms for your garland. Attach the pom poms to the twine. Take the two pieces of yarn that are in the center of the pom pom and tie a knot around the twine. Space your pom poms evenly on your twine. I used a ruler and just tied a pom pom on every 8 inches.
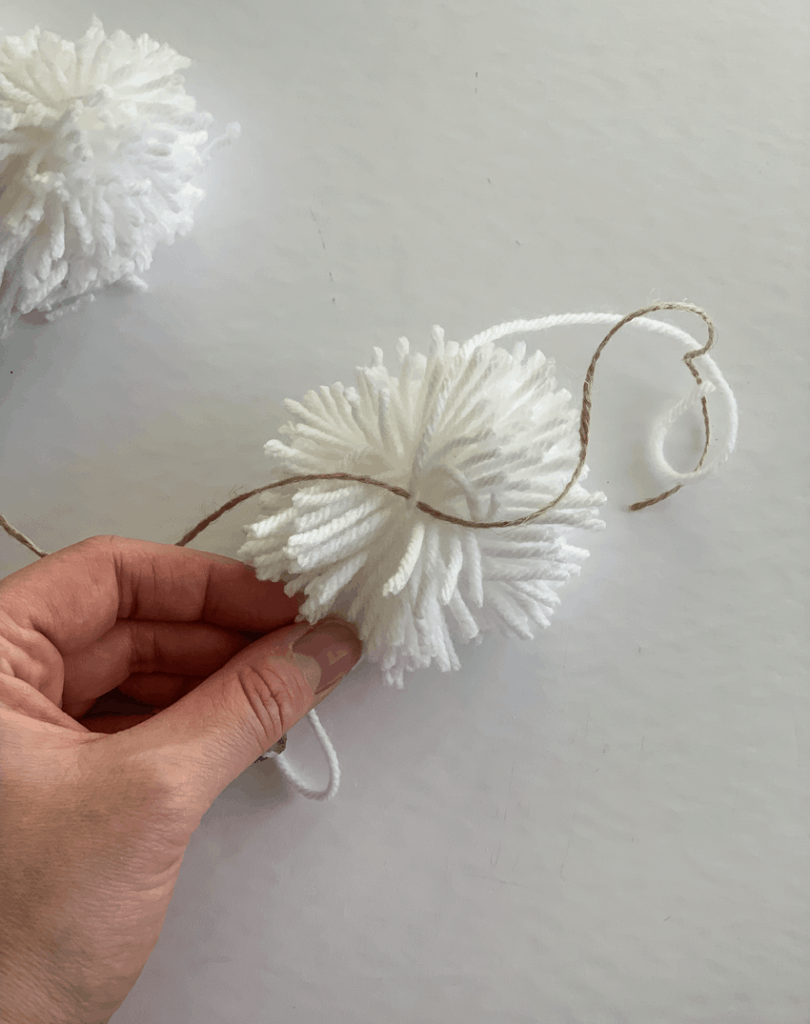
And that’s it! Now you have your DIY Pom Pom Garland!

You can hang it on a hutch, wall, mantle or Christmas tree!

I would love to see what your diy pom pom garlands, whether on a Christmas tree or in a bedroom. I am curious to see if you would make a multi-color garland or just one color like I did. If you make one please share in our Facebook group or email me at elizabeth@awellpurposedwoman.com.

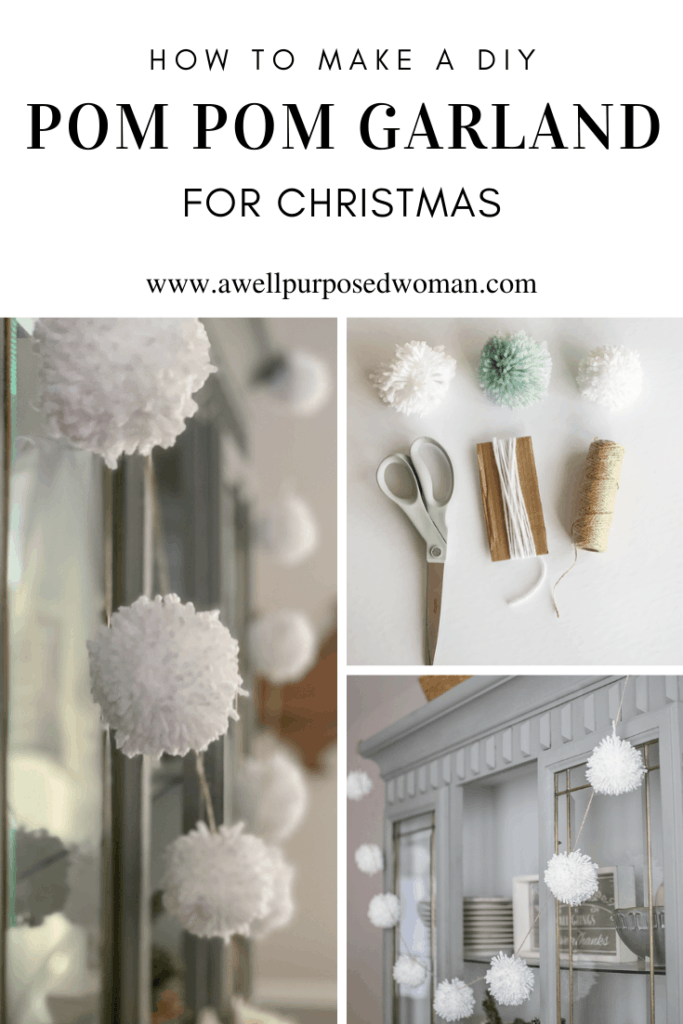
Don’t have time to make a DIY Pom Pom Garland right away? No worries, just pin it for later! And you can remember this simple step by step tutorial.
Want more inspiration for Christmas decorating and gift making? Check out the 12 days of Christmas Crafting!





[…] DIY Pom Pom Garland […]