Learn how to make girl sock gnomes the easy way with this step by step tutorial. Sock gnomes are simple and easy and oh so cute! Girl sock gnomes are easy to make as Christmas gnomes or any time in between.
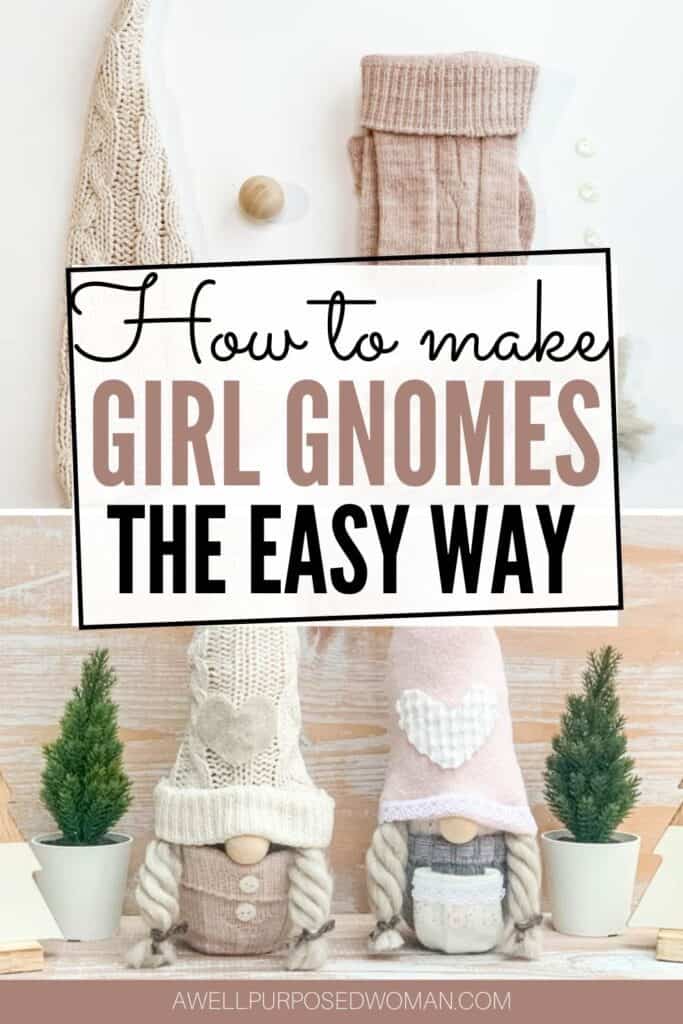
Last Christmas I posted about how to make DIY Sock gnomes in just a few easy steps. At that time I just made little gnomes with beards. So this year I wanted to show you how you can also make very cute little girl sock gnomes the easy way.
I came up with the idea to make these girl sock gnomes after making no- knit pumpkins this fall. As I was working with the braided yarn I couldn’t help but think of braided hair for girl gnomes. It seemed like it would work perfectly.
In the past I had tried to make girl gnomes and braid the yarn myself. It didn’t end well and I was not overall impressed with my results. But using yarn that is already braided seemed like the easy way to make girl gnomes!
So today’s tutorial will show you how to make girl gnomes the easy way….with braided yarn! Let’s get started!
This post contains affiliate links to make it easier for you, which means if you click on a link and make a purchase I will receive a small commission with no extra charge to you.
Here’s the supplies needed to make girl sock gnomes:
- Free gnome pattern
- Socks
- 1″ or 25 mm Wooden balls
- Yarn or old sweater (for hat)
- Super chunky braided yarn (I used a size 7)
- Rice and Polyfil
- Scissors
- Holt glue & glue sticks
- Embroidery floss and needle or rubber bands
Here’s a step by step tutorial on how to make girl sock gnomes:
If you prefer watching a video on how to make girl sock gnomes then I have created one below. Please let me know if you have any questions. Otherwise you can scroll below for a full written tutorial.
Here’s how to make girl sock gnomes:
Step 1: Fill your sock gnome with rice and poly fil
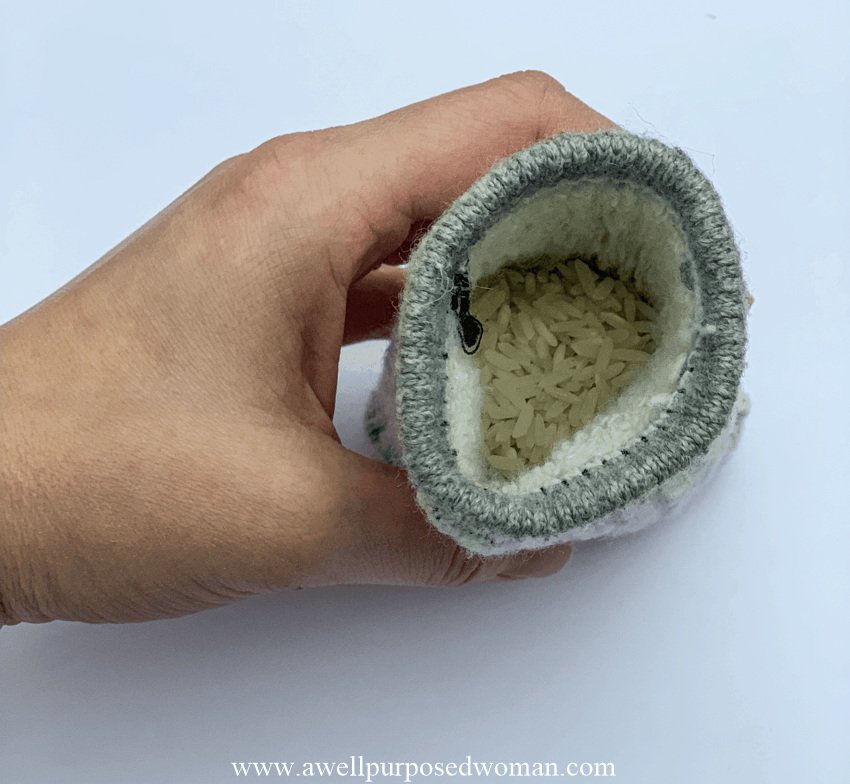
The first steps in making a girl gnome are the exact same as when making a boy gnome. Start by taking your sock and filling the bottom with 1/4 cup rice.
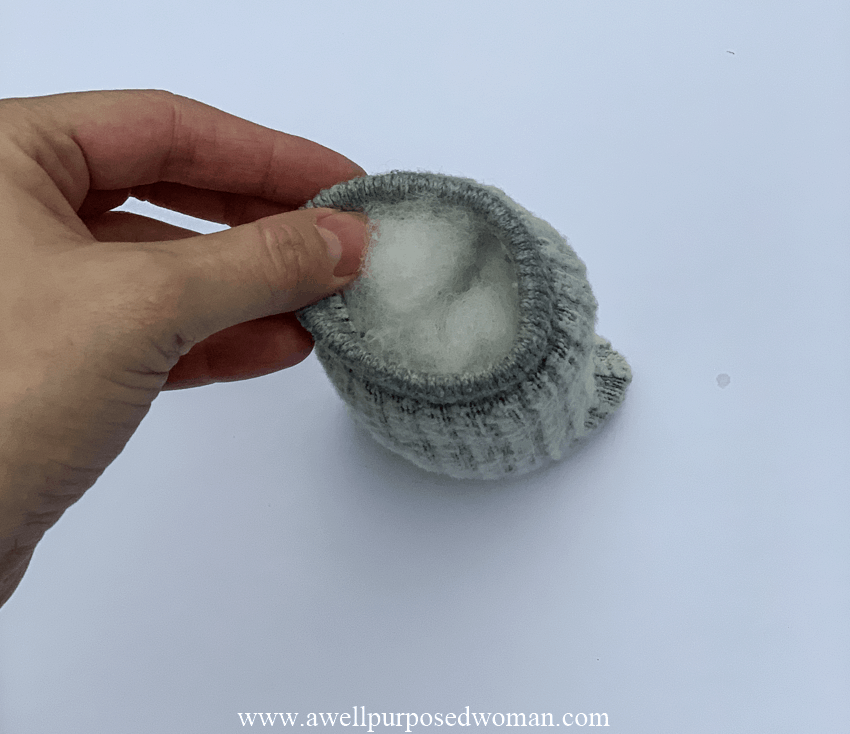
Then fill the rest of the bottom of the sock with polyfil.
Step 2: Close up your sock with a elastic band
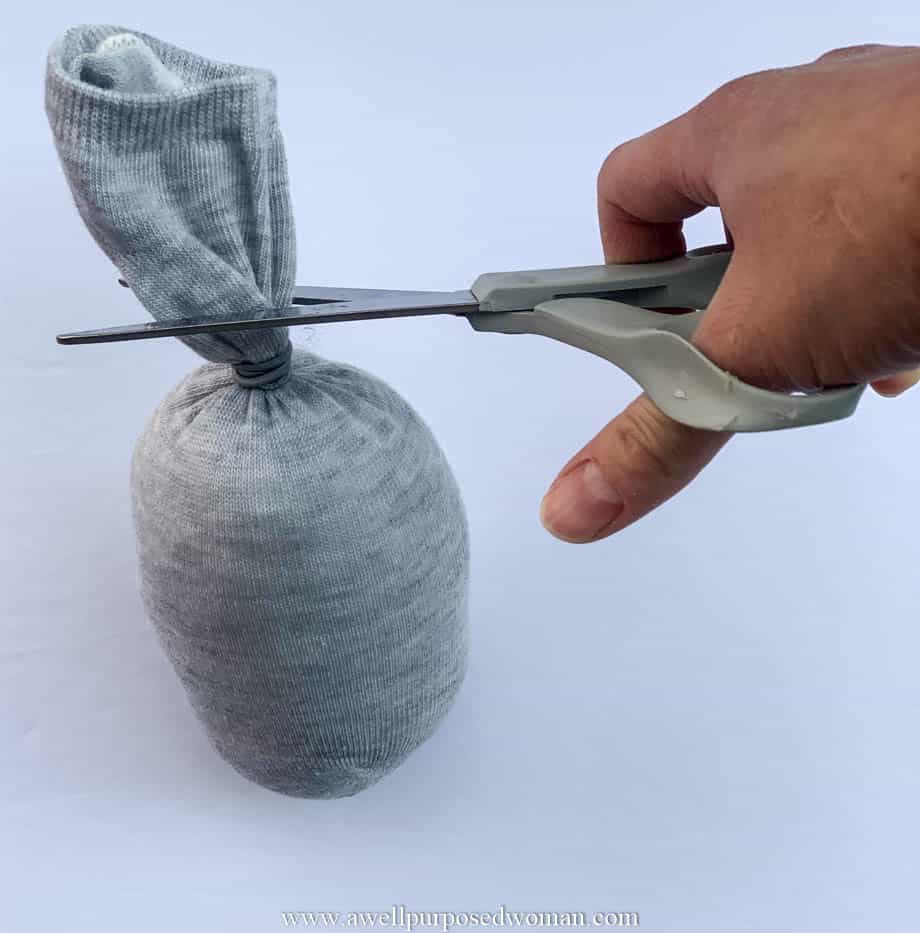
Tie an elastic band around the stuffed sock. And cut off the remaining portion of the sock like below.
Step 3: Make your girl gnome’s hat
Print off the gnome pattern above and cut out your gnome hat. After you have your hat cut out, sew a seam or hot glue along the longest side of the hat. Making a hat like the one below. I used old sweaters to make my girl gnome hats.
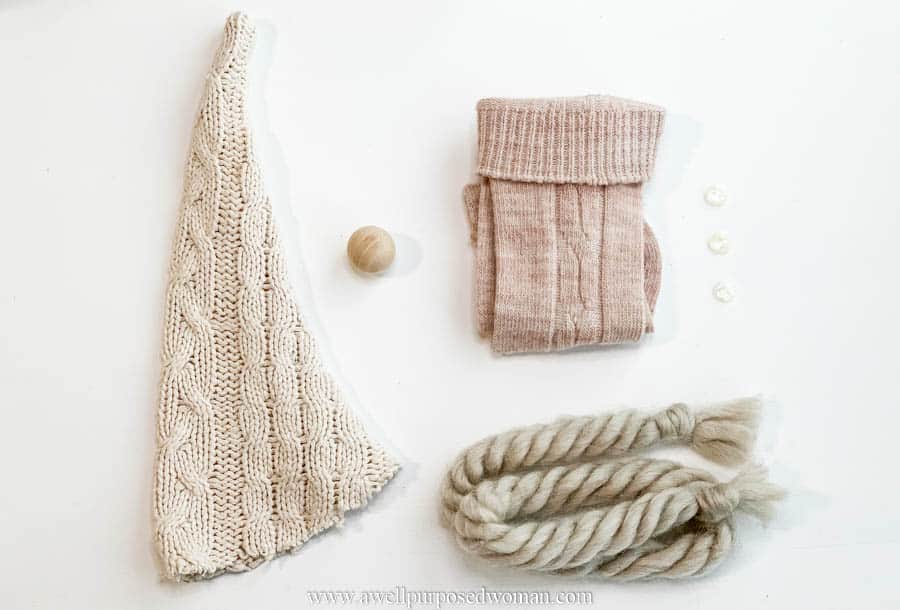
After I have my gnome hat put together I usually fill it with poly fil. I stick a wooden skewer or stick in the center of the sock before I put the hat on my girl gnome to keep the hat upright. If you do not want your hat to stay upright you could also skip the skewer.
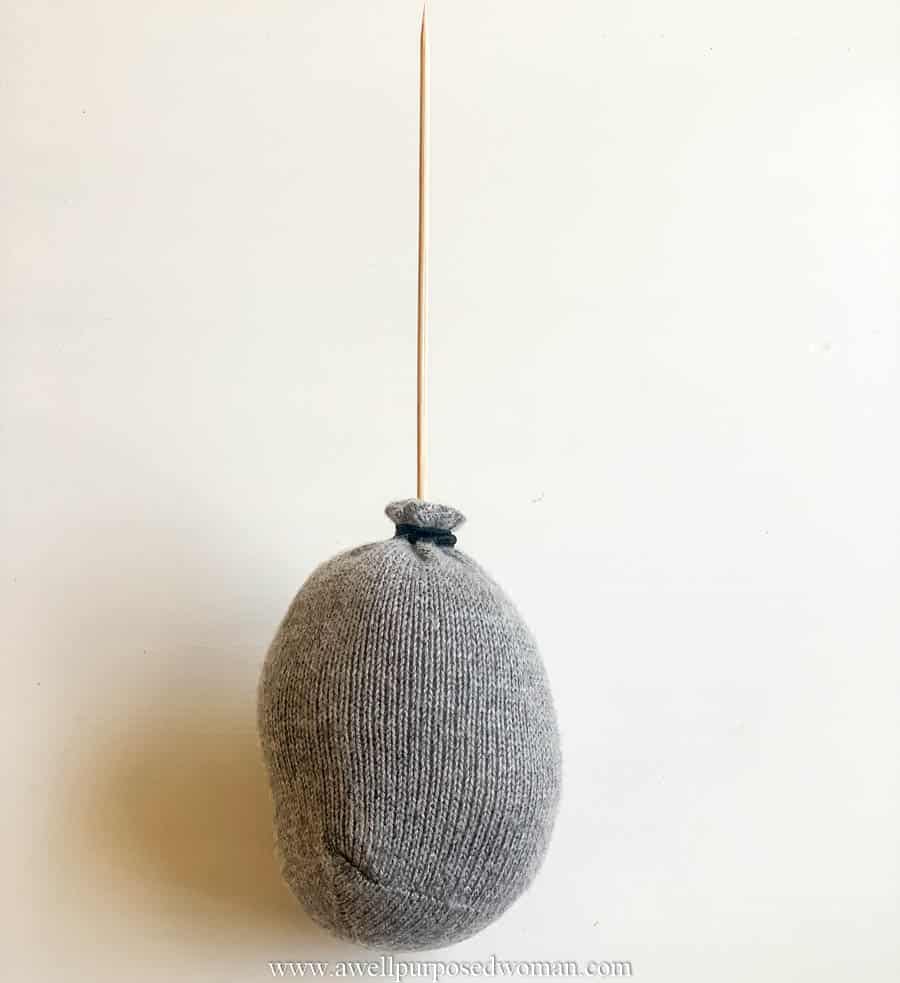
Then I put the filled hat on top of the skewer. You can break off the top of the skewer so it doesn’t pierce through your hat.
Step 4: Put your braids on your girl gnome
Now take your chunky yarn and cut braids. I cut mine about 5″ long. But depending on the size of your girl gnome you just want to make sure you have about 1″ more than the length of your braids. Because part of the braid will be underneath your hat.
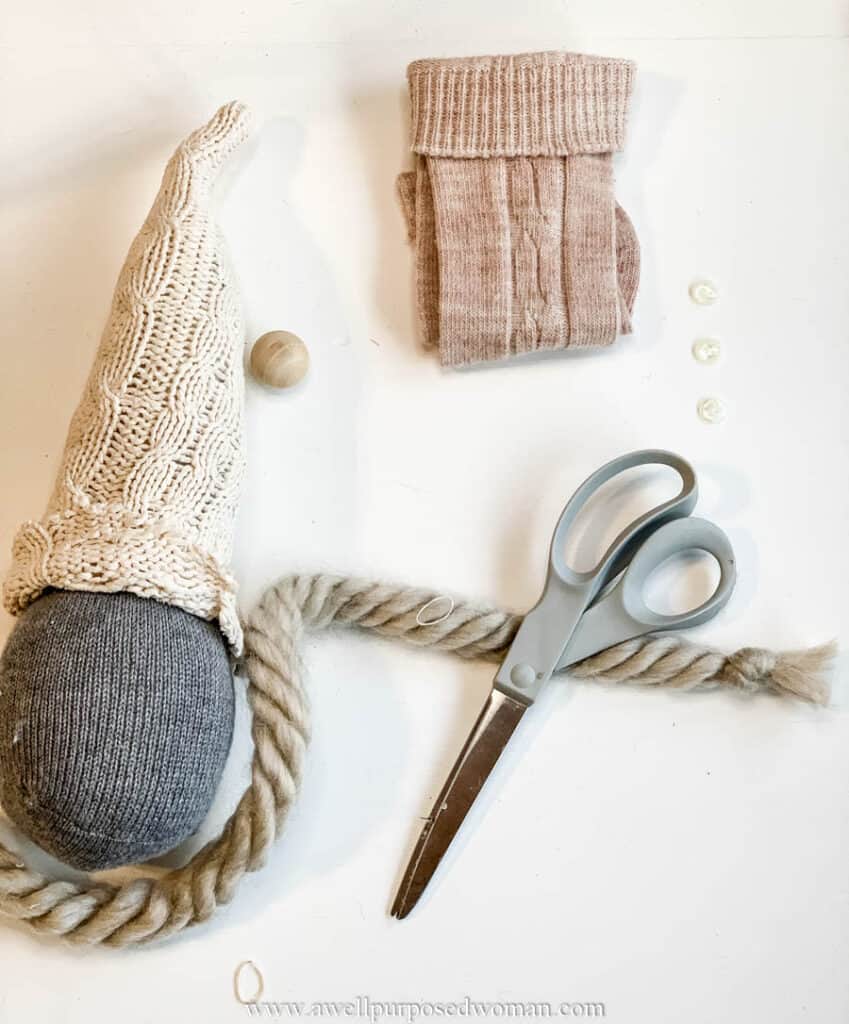
Tie off the ends of the yarn with a ribbon or elastic band so they don’t unravel. Position your hat on the top of your girl gnome’s head to get an idea of how your gnome will look.
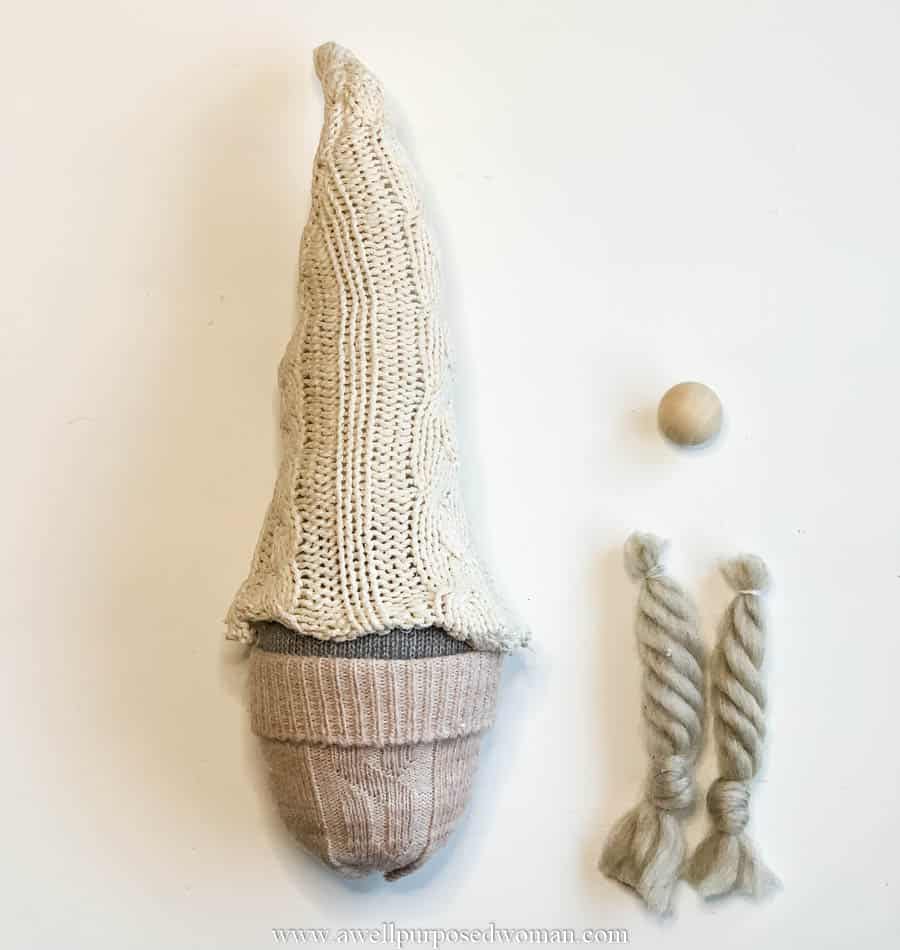
Then hot glue your girl gnome’s braids on the side of your gnome’s head. Making sure the top of the braids will be covered by the hat.
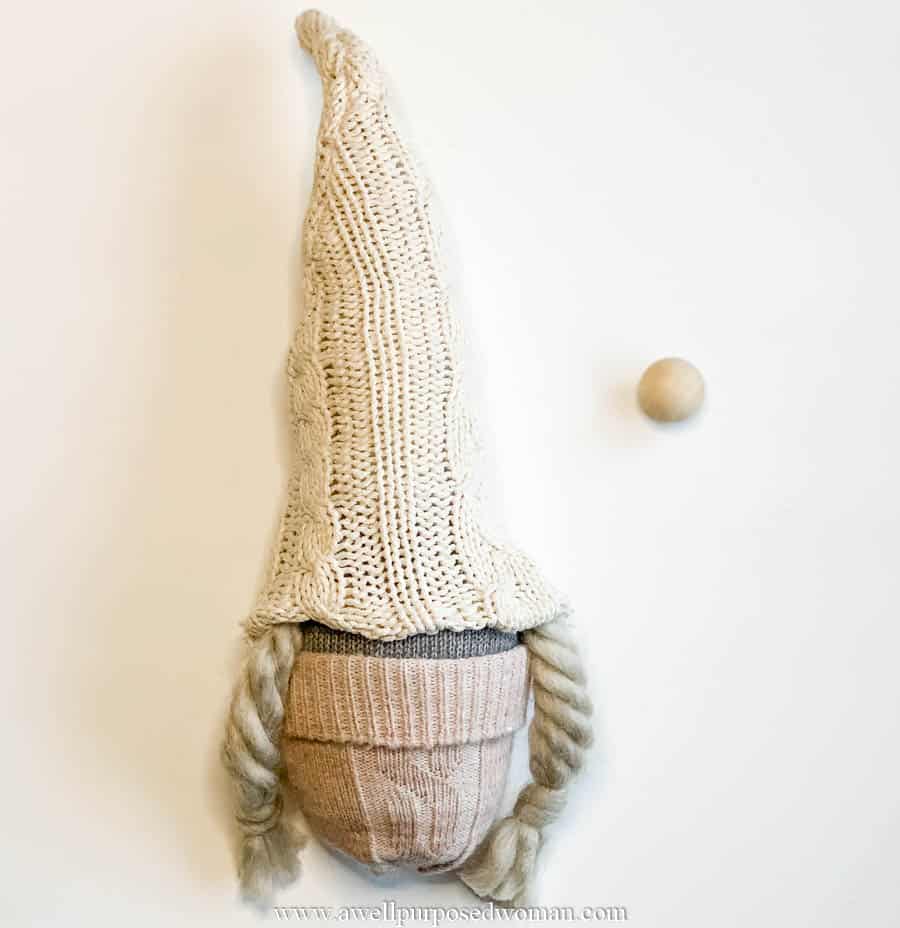
Step 5: Hot glue other items in place on your girl gnome
After you have your braids in place on your girl gnome’s head, keep your hot glue gun handy. Hot glue the wooden nose on the center of the gnome.
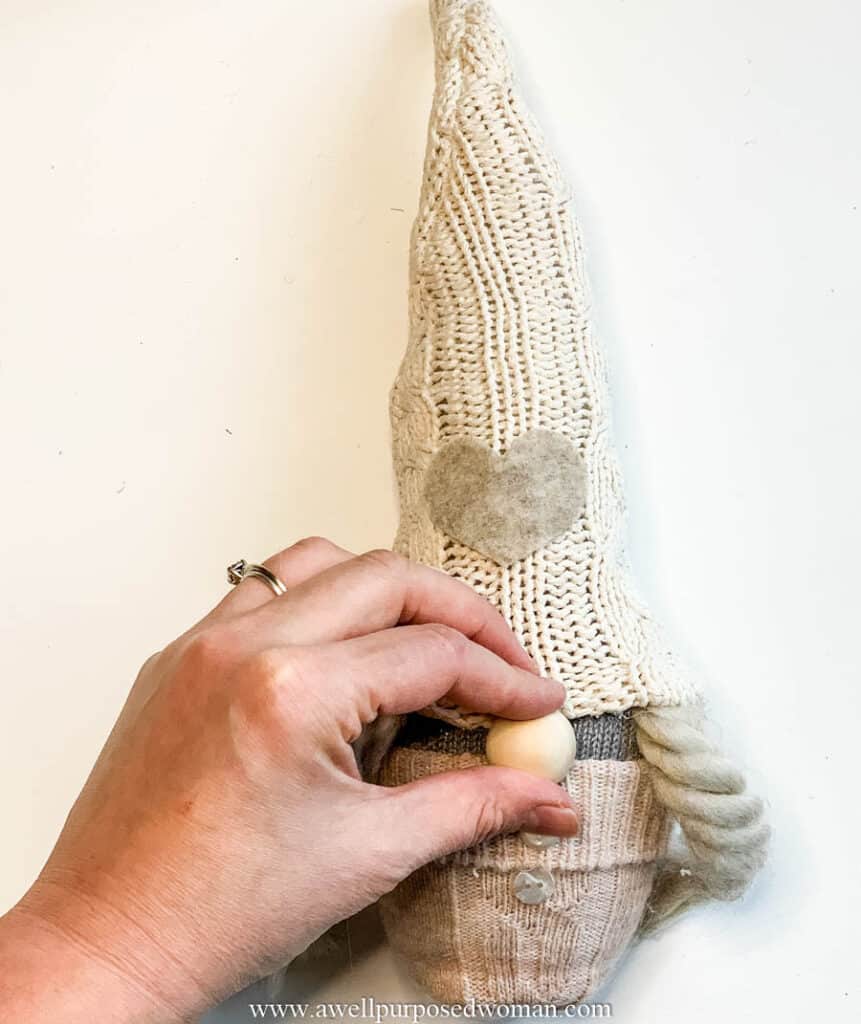
It looks best if part of the nose is covered by your girl gnome’s hat. On this gnome the rim I added covered part of the gnome’s nose instead. If you will not add a rim to your hat, drape your hat over the gnome’s nose slightly.
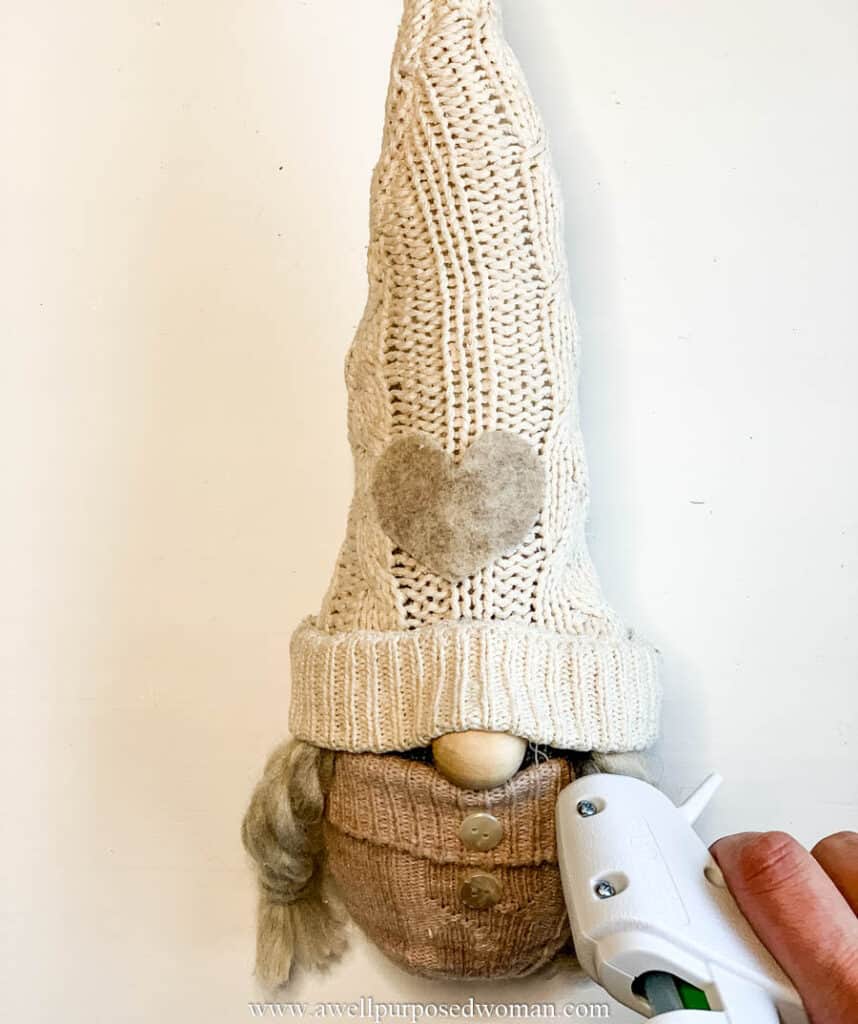
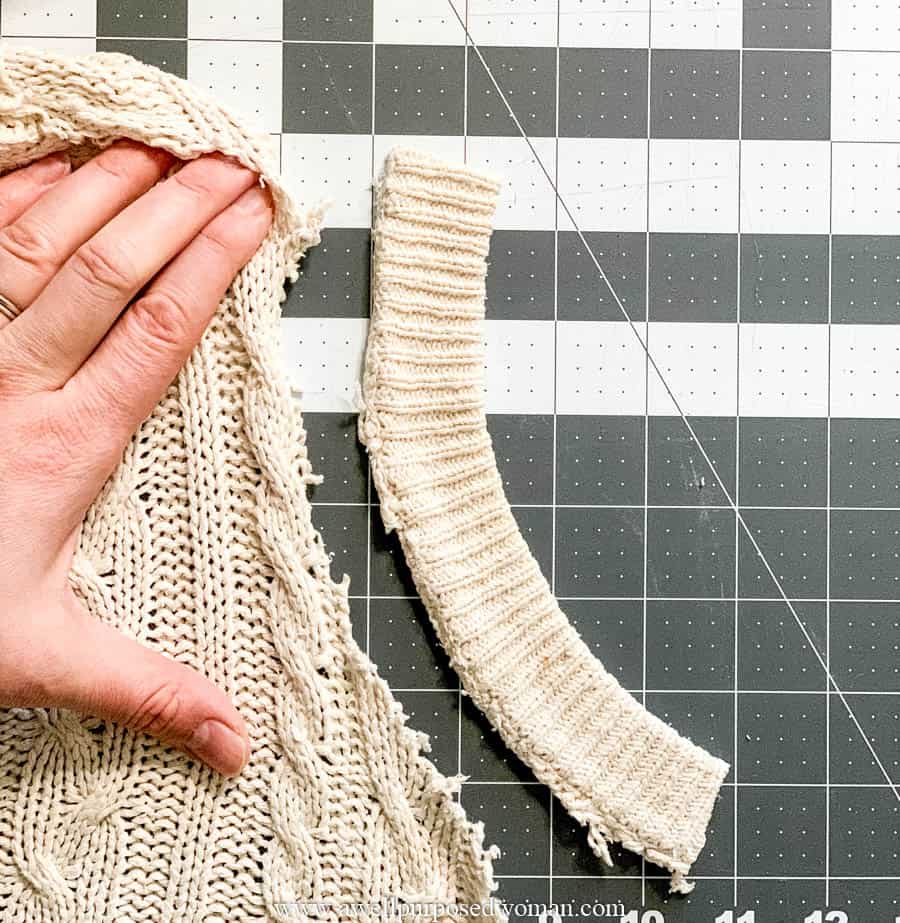
Tip: To make a rim for the gnome’s hat, cut off the edging on a sweater or shirt.
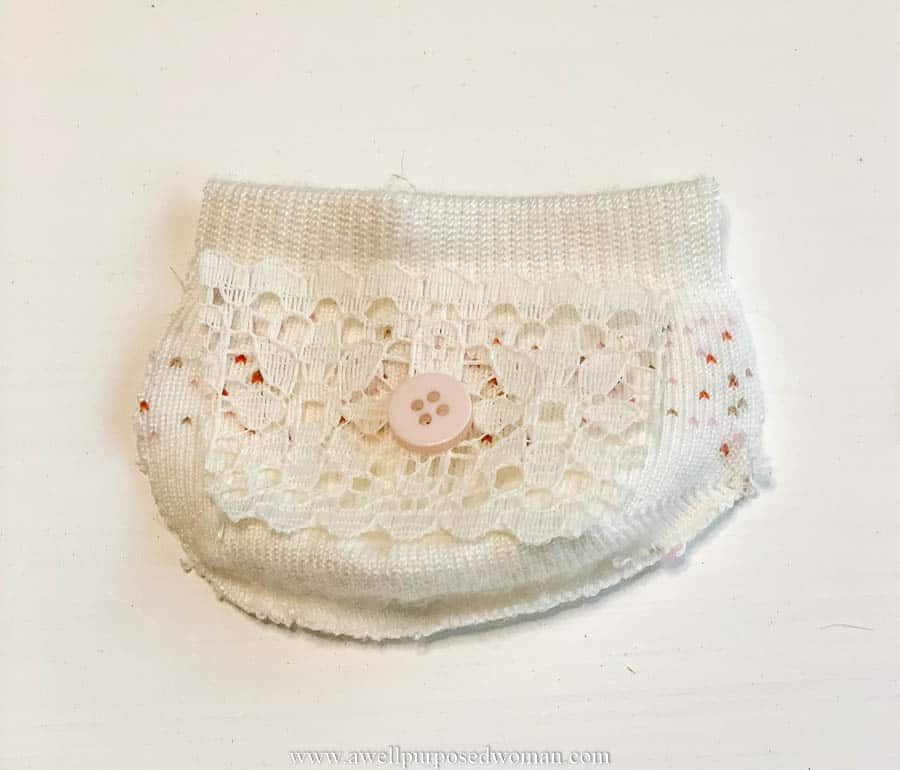
Hot glue any other parts in place. On these gnomes I added some clothes. I used the bottom of a sock for the gnomes outfit and added a few buttons. I also used a sock top to make a pocket on the other gnome.
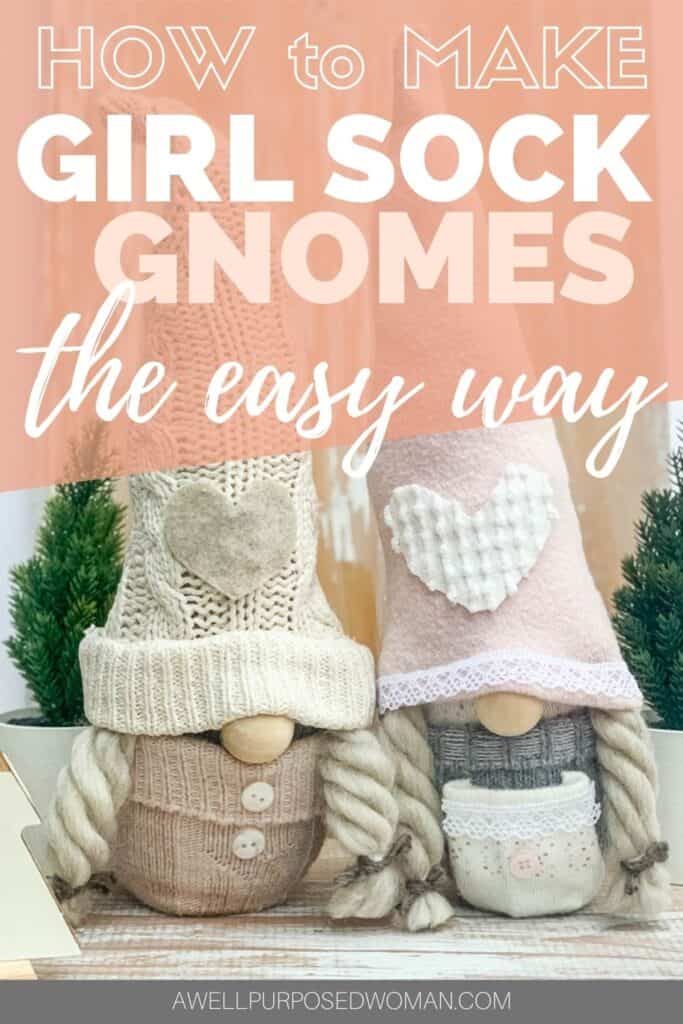
And that’s it really! Here’s my finished girl gnome, and really she took about 20 minutes to make.
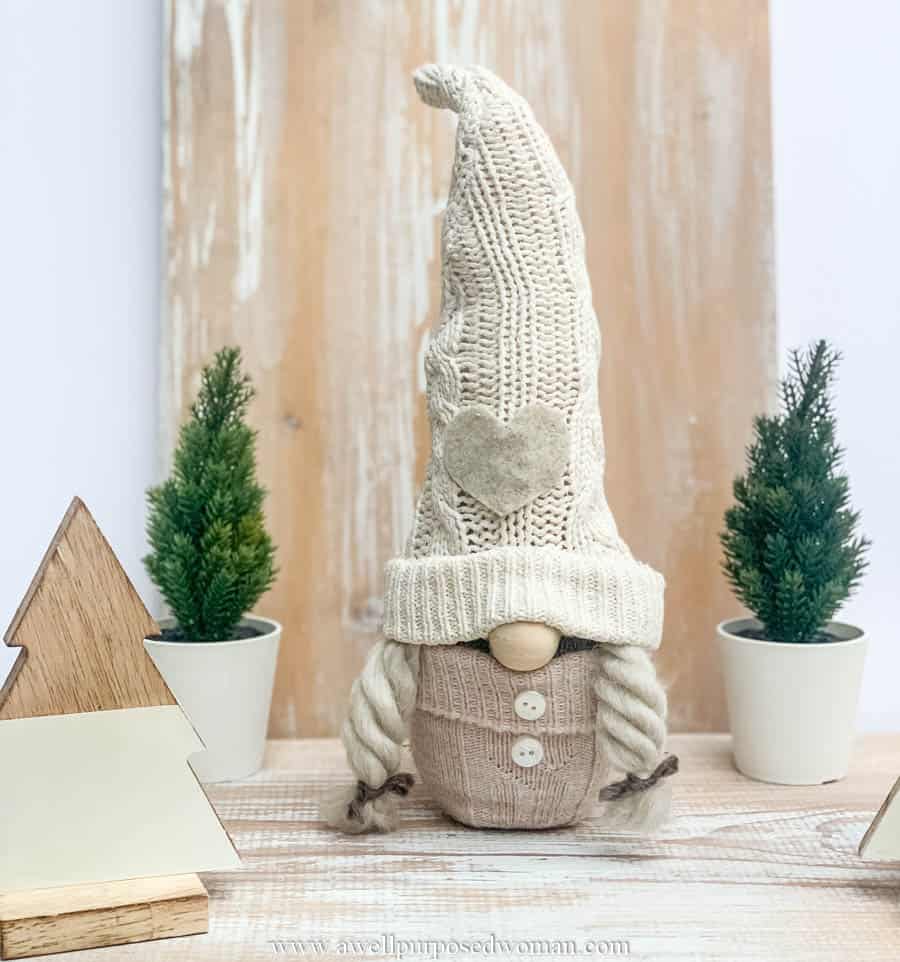
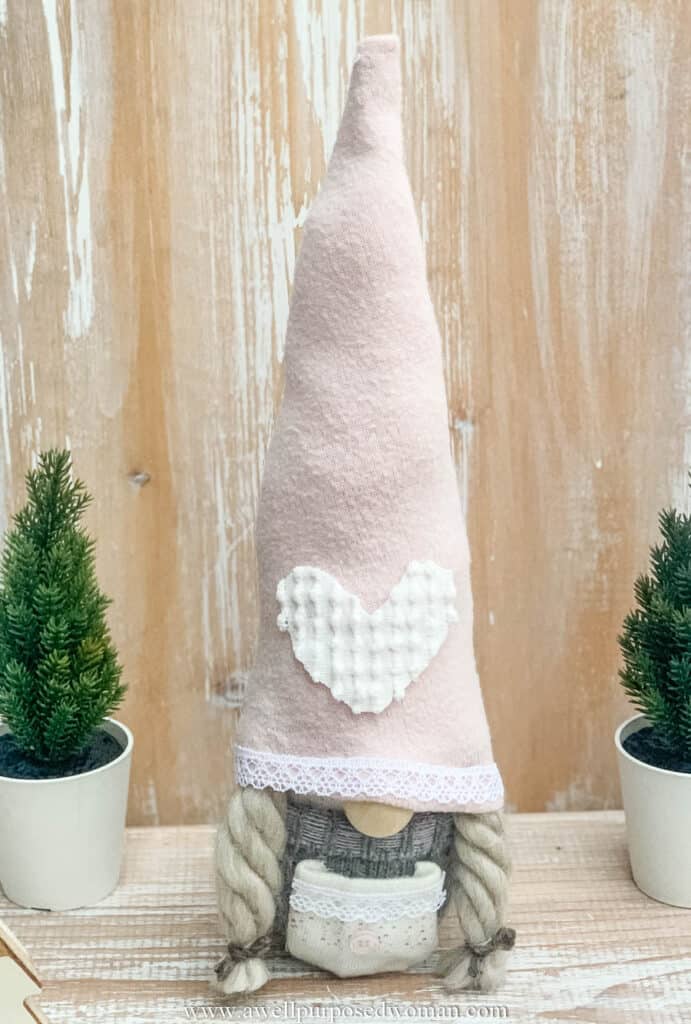
And the other one below.
Now you can have these cute little girl gnomes accompany their gnomeos! I tried to style them up for Christmas but these cozy gals really could be used for Valentine’s day or any other time of the year!
I did tie some gray yarn over the elastic band to add a softer to look to their braids. And I added a felt and chenille heart on their hats with some lace.
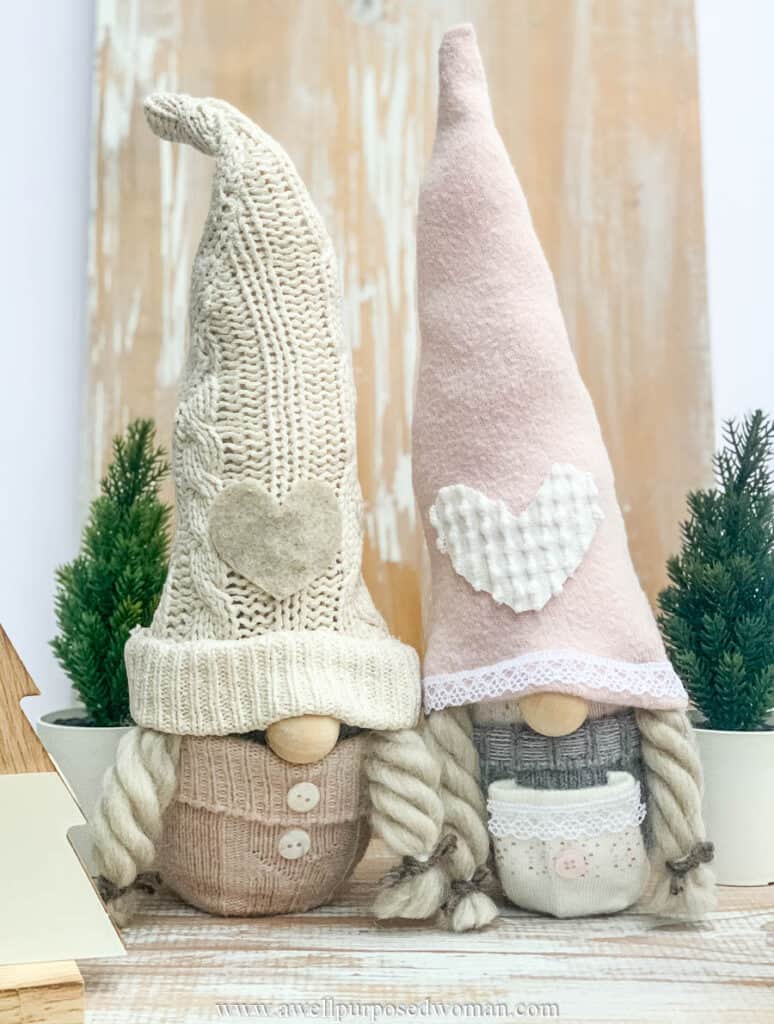
But isn’t it so easy to turn old socks into cute little girl gnomes when you have the braided yarn? I love how the braids look and they were so much easier to do them when I tried to braid yarn myself.
If you need to make boy gnomes to go with the girl ones than head over to DIY sock gnomes. Otherwise let me know how yours turn out. And always if you liked this post please pin it for later!
Take care and God bless!

❤️DO YOU WANT TO ENJOY THESE CUTE LITTLE GNOMES YEAR ROUND? ❤️
Then be sure to check out our 2023 GNOME CALENDAR!
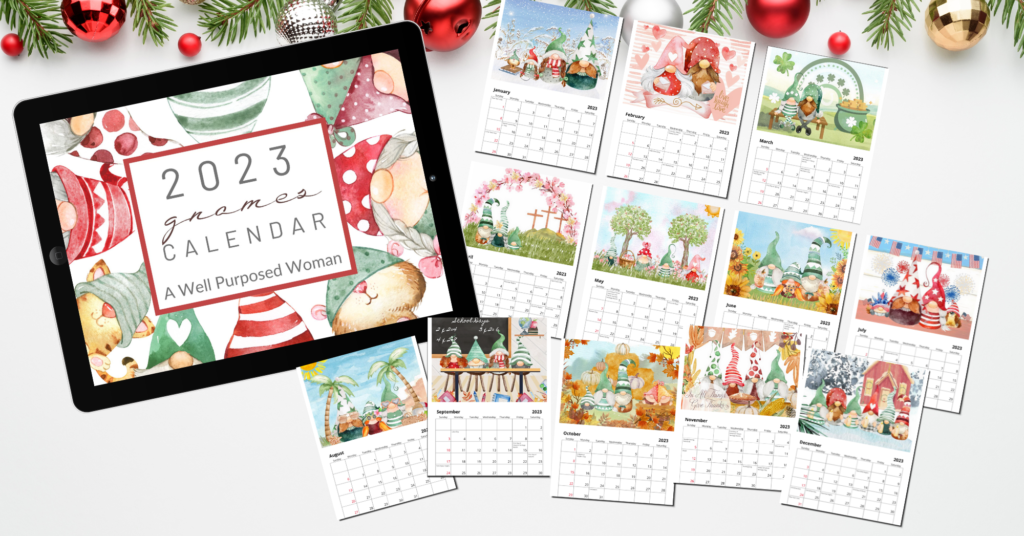
This 12-month wall calendar is beautifully illustrated with colorful and watercolor gnome designs. With lively gnome watercolor designs on each page, every season of the 2023 will be marked with GNOMES! This year we have also added in holidays in for each month. You can order yours HERE.


Could you please tell me where you got your chunky yarn? I have looked all over for this “braided” look bit haven’t found it!
Thank you
Hi Kim, I got mine at Hobby Lobby. Elizabeth
Where did you get your braided hair yarn from?
Hobby Lobby! Elizabeth
I love these!
So sweet & cute! Love them! Thank you!!
Hi Elizabeth,
What yarn did you use for the braids?
Thanks much,
Susan
Hi Susan, It is a chunky braided Yarn Bee yarn from Hobby Lobby size 7. Thanks, Elizabeth
Love your dedication to gnomes this year. They are fabulous.
I bought some supplies but I never did make the gnomes. Your tutorial is the best one I’ve seen. Thanks so much for sharing.