Learn how to make glitter pumpkins to add some extra sparkle this fall. Glitter pumpkins add a special twinkle to your fall decor. This tutorial will show you how to make glitter pumpkins in 3 steps.
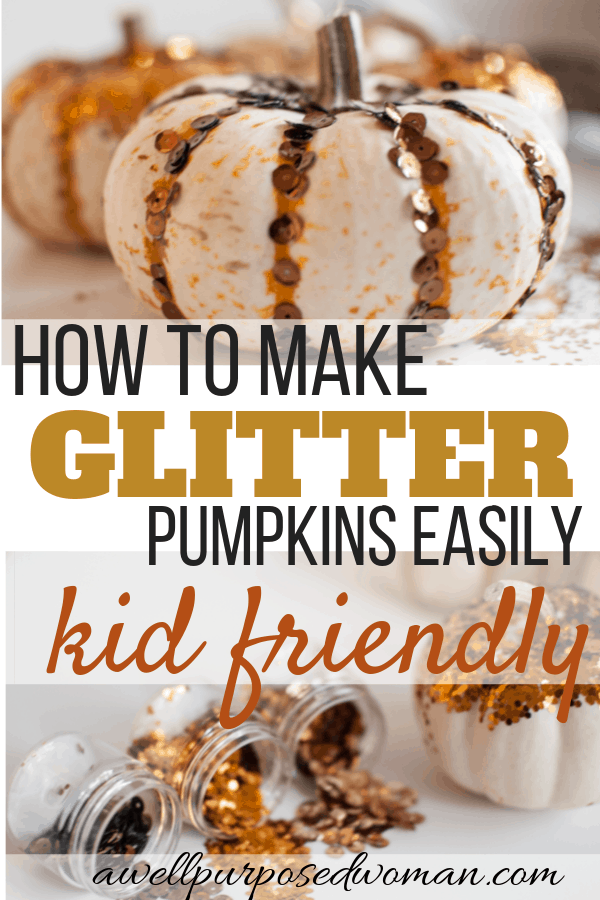
My sister asked me recently about how to make glitter pumpkins. She had seen them and was wondering what type of glue to use on pumpkins. Since my youngest daughter Emmie loves pretty things, especially glittery things, I knew we should do it! And this rainy morning we sat down and made some of these sparkly glitter pumpkins to brighten up our day.
I gotta say this was a really simple craft that my daughter absolutely loved! Fortunately we pretty much had everything on hand too. Afterwards Emmie was so proud of her pumpkins she said this was “her craft.” And I tend to agree because she had so much fun!
If you are looking for a fall craft to do with your kiddos and want a simple project than this might be “your craft” too. These glitter pumpkins are a simple way to add some sparkle to your fall display.
This post contains affiliate links for your convenience. This means if you purchase anything from a link I receive a small commission with no extra charge to you.
Here’s all you need to make glitter pumpkins:
- Pumpkins (real or faux)
- Glitter or sequins
- Glue
- Foam Brush
What is the best type of glue to use on a pumpkin?
The answer is you really can’t go wrong. I have found that Elmer’s glue or a basic craft glue works just fine on pumpkins. We used basic Elmer’s glue.
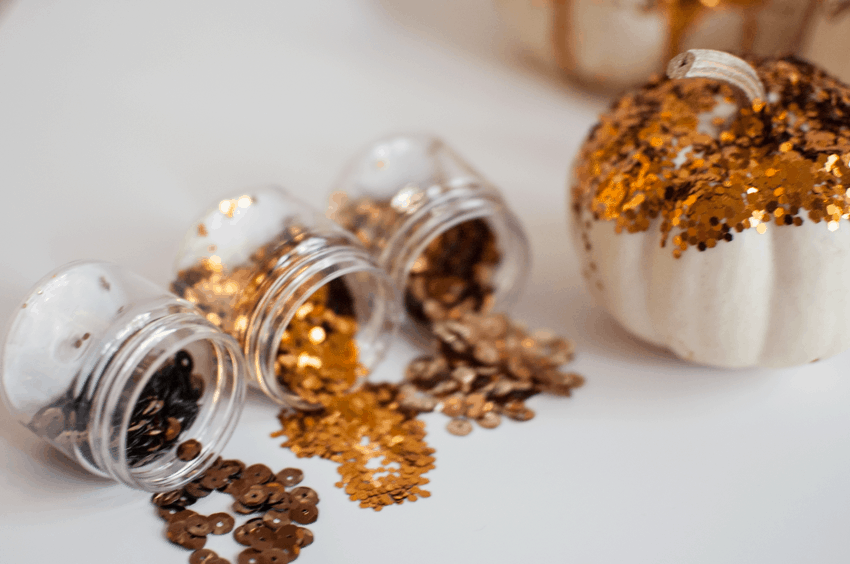
Here’s how to make glitter pumpkins:
Step 1: Pour glue into a container and water down your glue
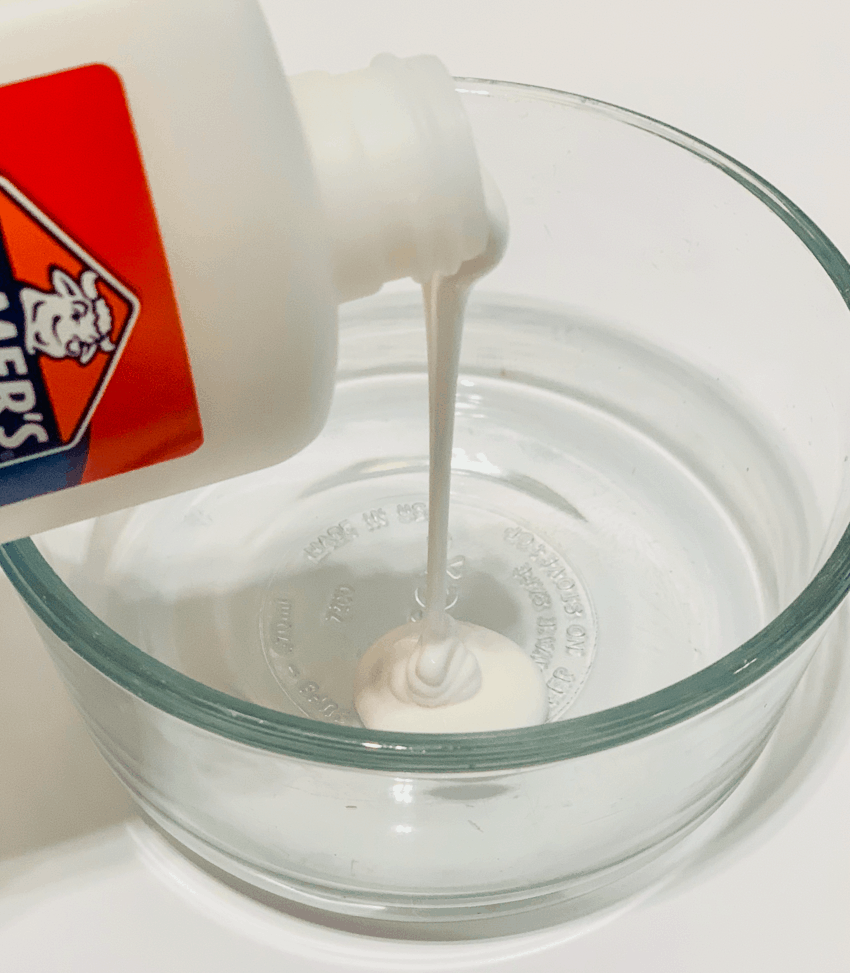
I just used regular school glue. And since it can dry quickly I watered it down just a little bit. Like less than a teaspoon of water. Just to give yourself a little more flexibility with the drying time if you are doing this with your kiddos.
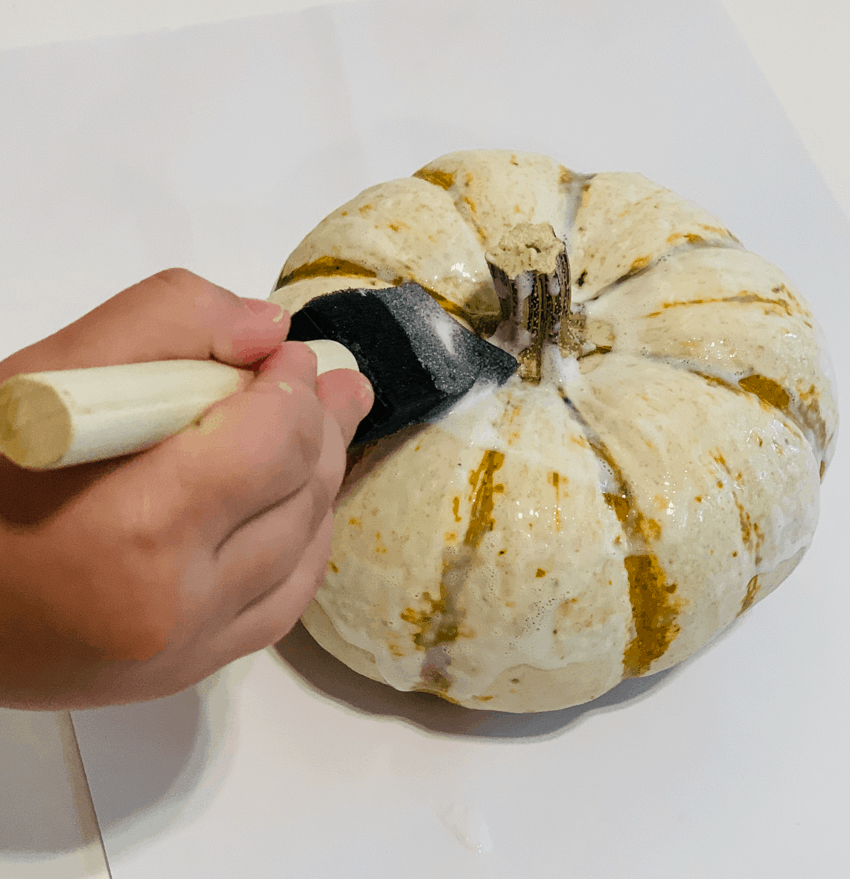
Step 2: Paint your pumpkins with the glue
Using your foam brush paint the areas of your pumpkin where you want your glitter or sequins. This doesn’t have to be perfect. Let your kiddos have fun!
Step 3: Pour glitter on your pumpkin.
With a piece of paper underneath your pumpkin to catch the loose glitter, sprinkle or pour your glitter on the areas with glue. Shake off any loose glitter onto the paper. Make a funnel with your paper and pour the glitter back into the container.
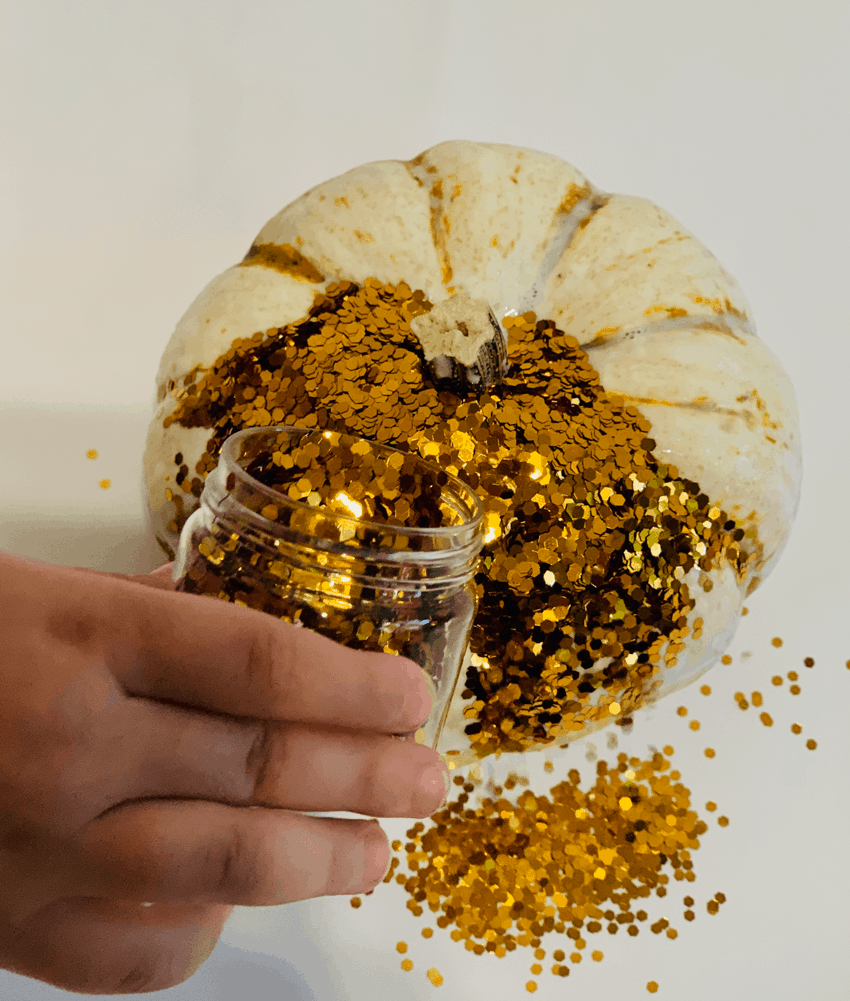
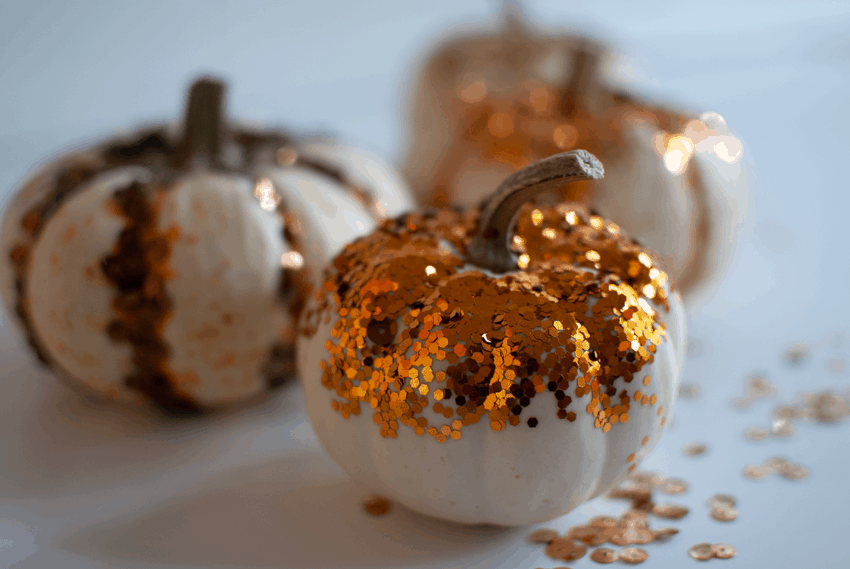
And that is really it. Just let your pumpkin dry until the glue is dry.You can try gluing on stripes, circles or patterns as well.
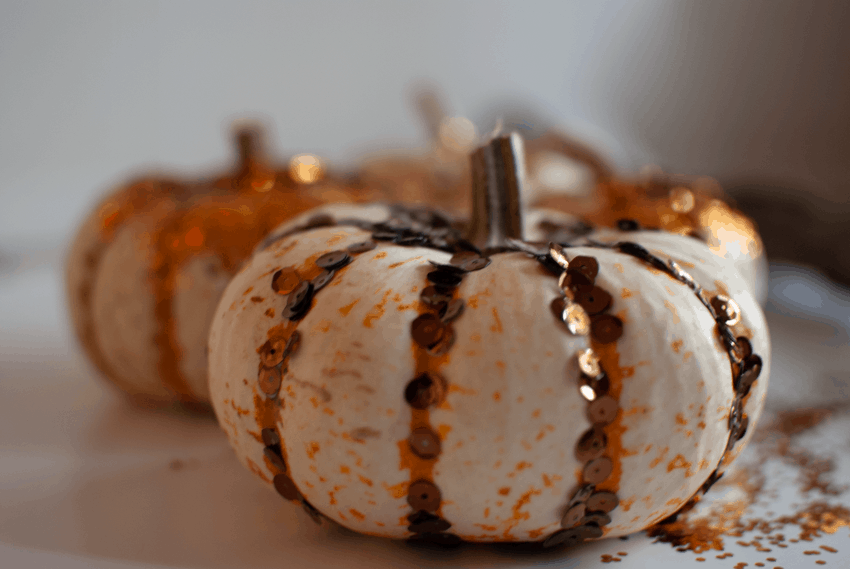
We did the pumpkin below with sequins along the natural lines of the pumpkin.
Don’t these little pumpkins brighten your day? And the best part is that your little ones will enjoy making them too! I hope making these pumpkins with us today added some sparkle to your day too.
If you liked this tutorial, you may want more ideas for fall decor in your home!
-How about making fabric pumpkins from old socks, sweaters or velvet pumpkins from an old skirt.
-Here’s an idea on styling velvet pumpkins in a planter box for fall. And some beautiful farmhouse style coasters for Thanksgiving. Or a very easy to make fall burlap wreath.
I hope you are having a wonderful week! And as always thanks for stopping by!

Leave a Reply