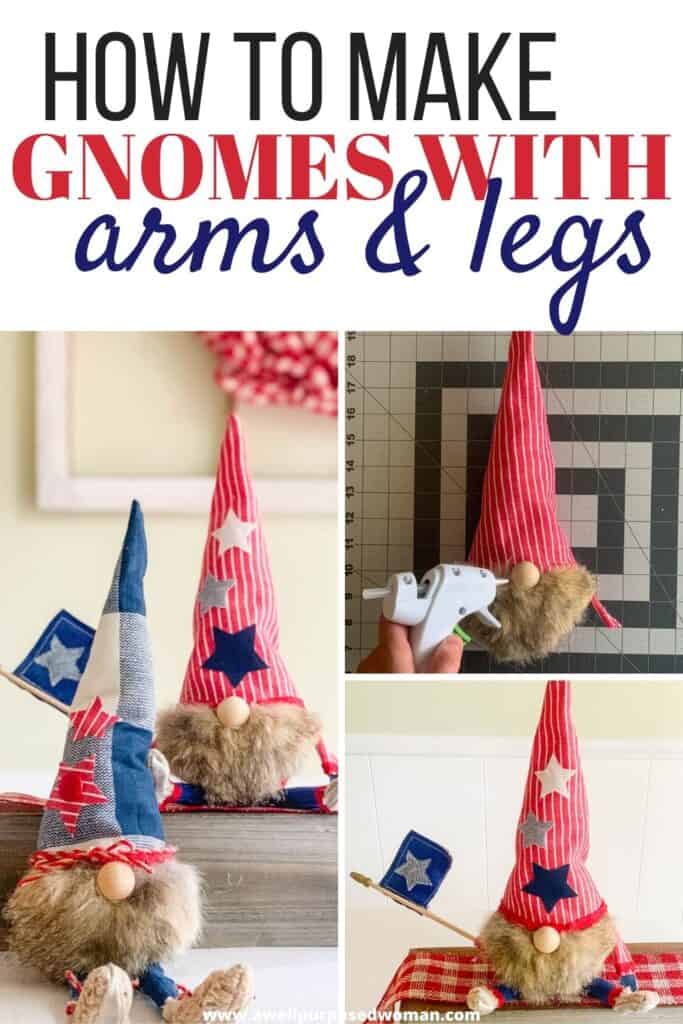
Learn how to make gnomes with arms and legs for the 4th of July. These patriotic gnomes with arms and legs are a fun addition to your Independence Day decor. But really this step by step tutorial will show you how to make gnomes with arms and legs for any season!
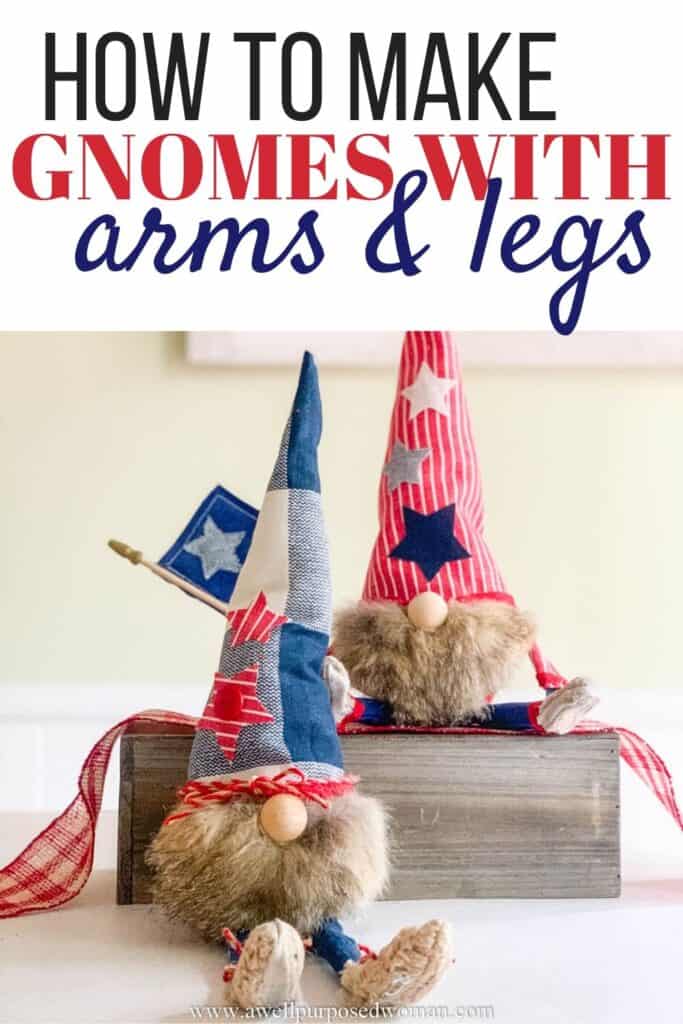
If you have been on my recently you know I have been in the mood to make gnomes! The tutorial today is no exception I will be showing you how to make gnomes with arms and legs. Gnomes are cute for any season, but today I made them for the 4th of July!
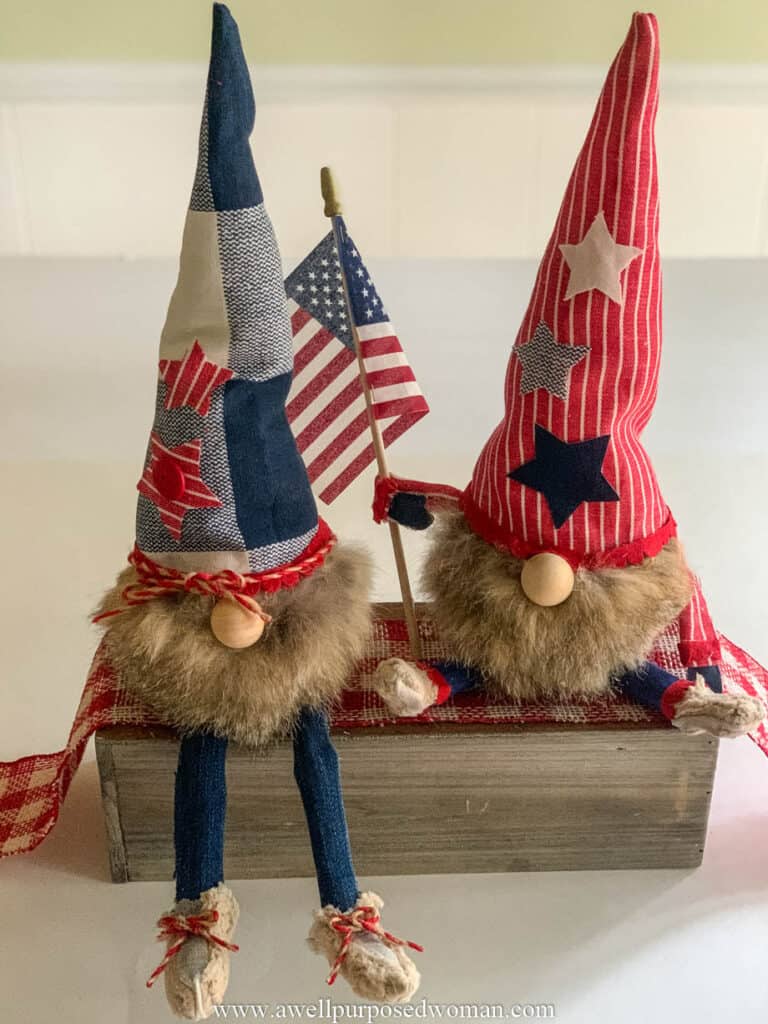
Patriotic gnomes with arms and legs are a cute way to add some red, white and blue around your house. Although this has been a tough year in a lot of ways, these little wooden gnome noses still make me smile. So maybe they will bring a bit of cheer to your home too.
Like most of my projects I only used supplies I already had on hand. Mismatched socks for the gnome bodies, rice and poly fil (from an old pillow), and other up-cycled items for the rest of the gnomes. Because getting to the craft store is not as easy right now as it was before. I will share more about the up-cycled items as we go along. But let’s get started with how to make gnomes with arms and legs!

Here’s what you need to make gnomes with arms and legs:
- Free Patriotic Gnome Pattern
- Mismatched Sock (1 per gnome)
- Wooden nose
- rice and poly fil
- Fabric for the hat, pants and arms (less than 1/4 yard)
- Faux or real fur for the beard
- Hot glue & hot glue gun
Here’s how to make gnomes with arms and legs (no sew):
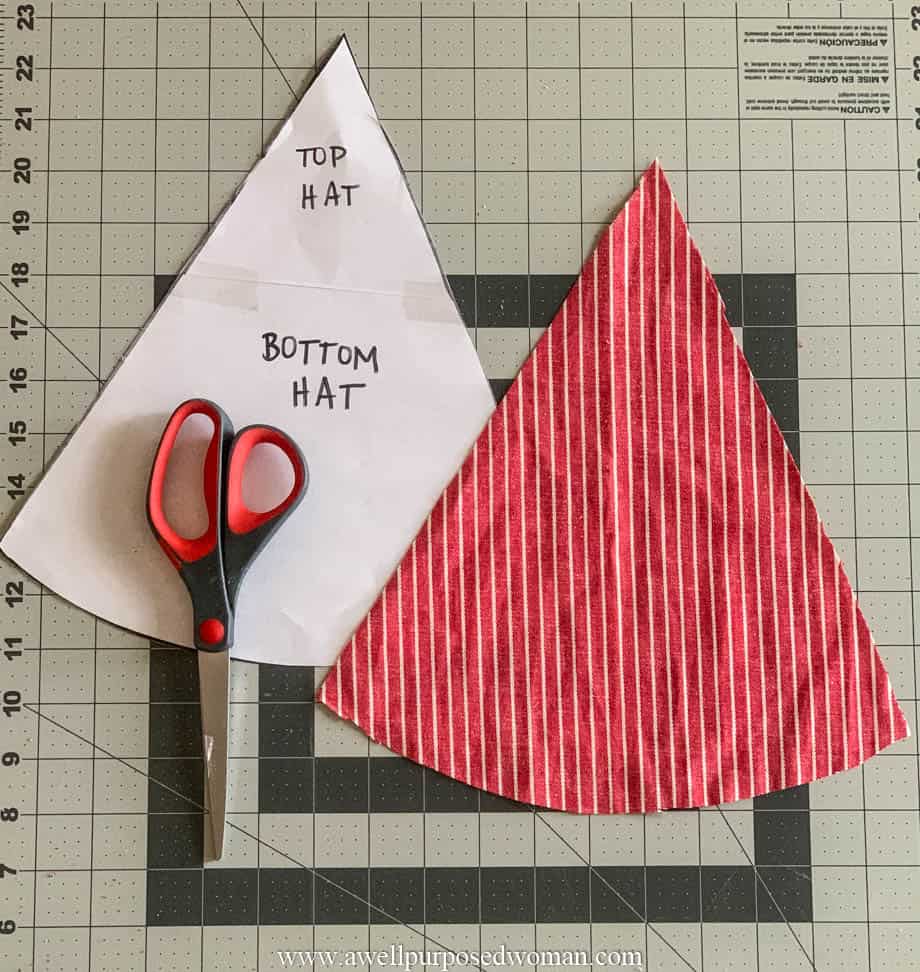
Step 1: Download pattern and cut out shapes
The first step is to download your pattern and cut out the different pieces. You can choose to use arms and legs or not. The gnome still turns out cute even without arms and legs. Here’s a gnome tutorial with no arms and legs.
Step 2: Make your gnome’s body
Now take your sock and add 1/4 cup of rice to the bottom of your sock.
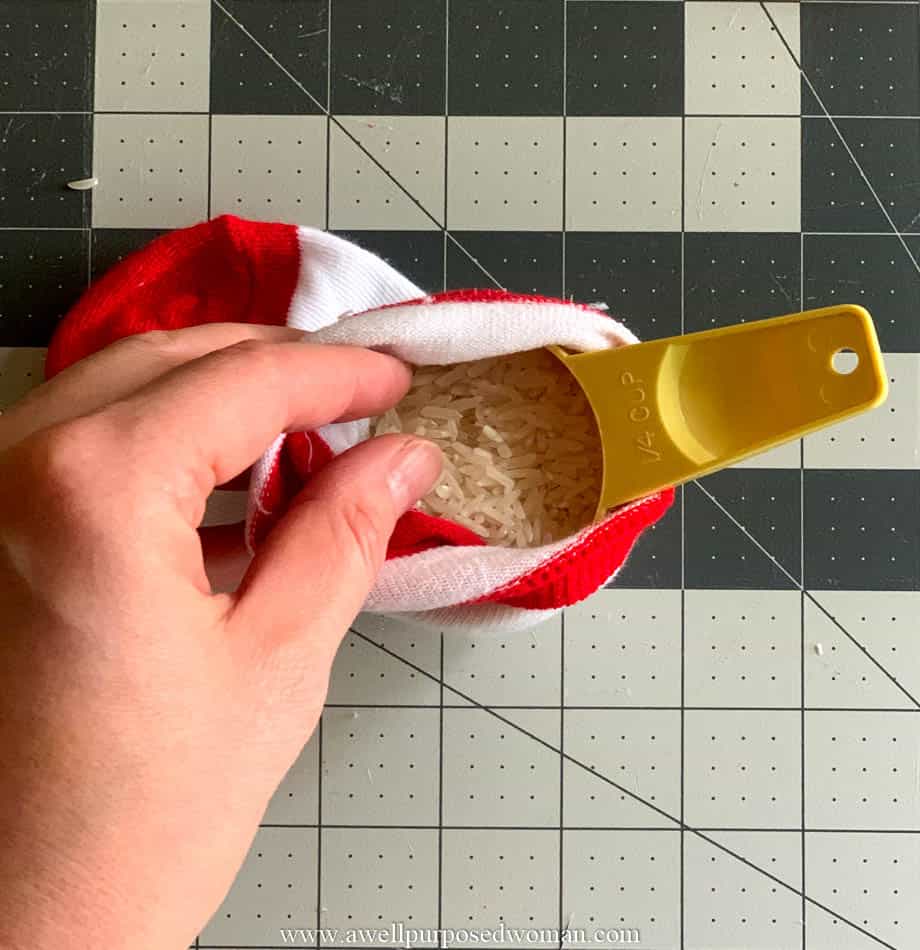
Stuff the remaining sock with poly fil. Make a nice plump sock gnome with poly fil.

Then tie a rubber band around the top of the sock.
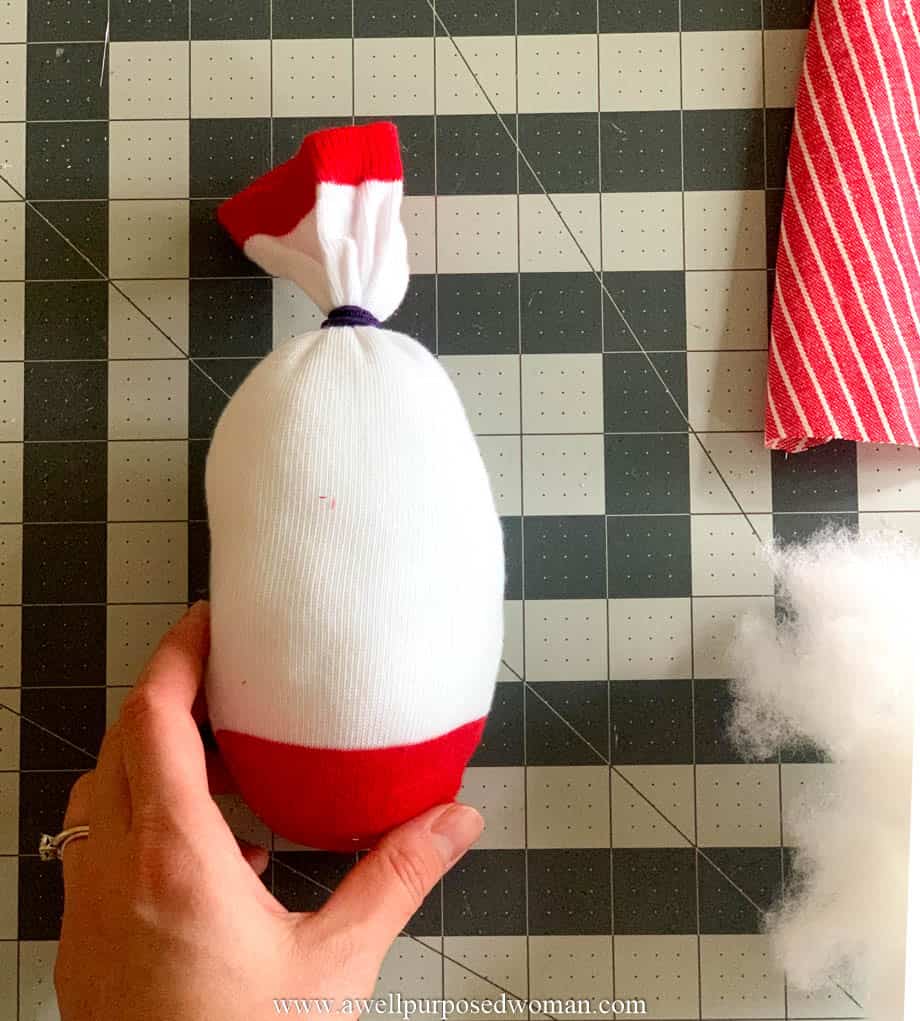
Cut off the remaining portion of the sock off.

Step 3: Make the gnome hat
Since I used up-cycled materials for my gnome, the hat was made out of a 1970’s pant suit. And since this is a no sew tutorial on how to make gnomes with arms and legs, you will be using hot glue to make your hat. Take your gnome hat and fold it in two, right sides together.
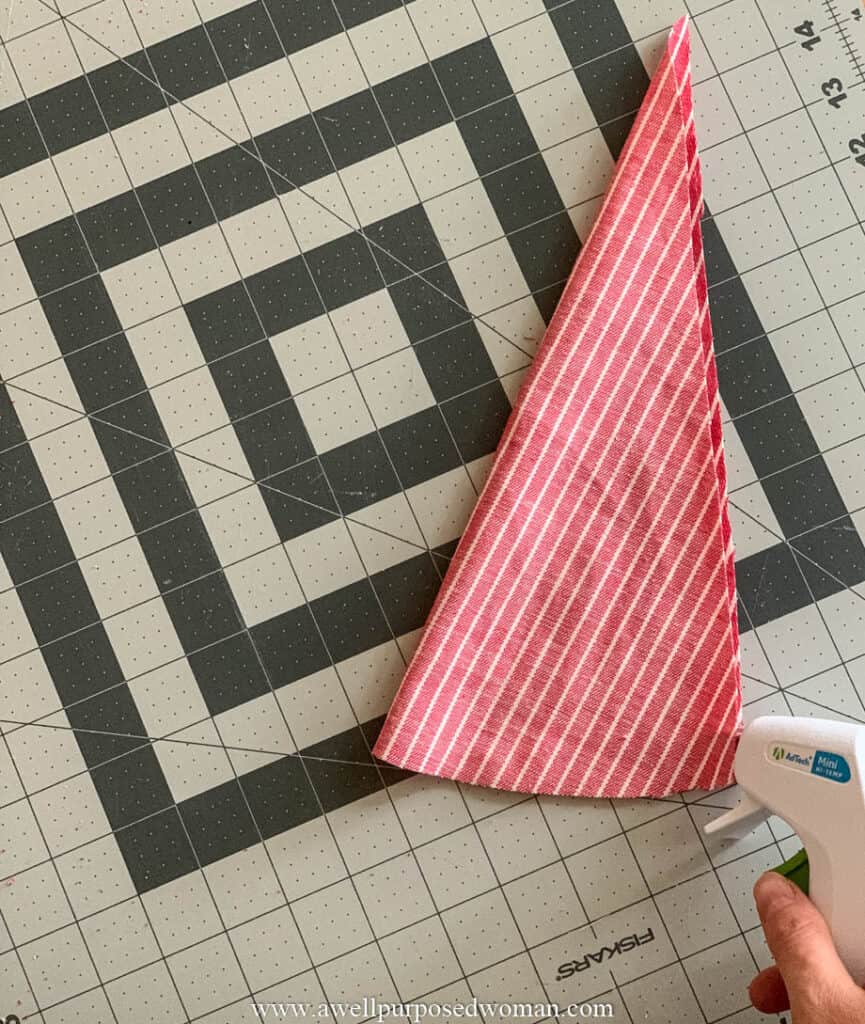
Take your hot glue gun and start at the tip of the hat and glue along the open side of the hat. Lightly pressing the fabric together as you go, be extra careful not to burn yourself on the glue.
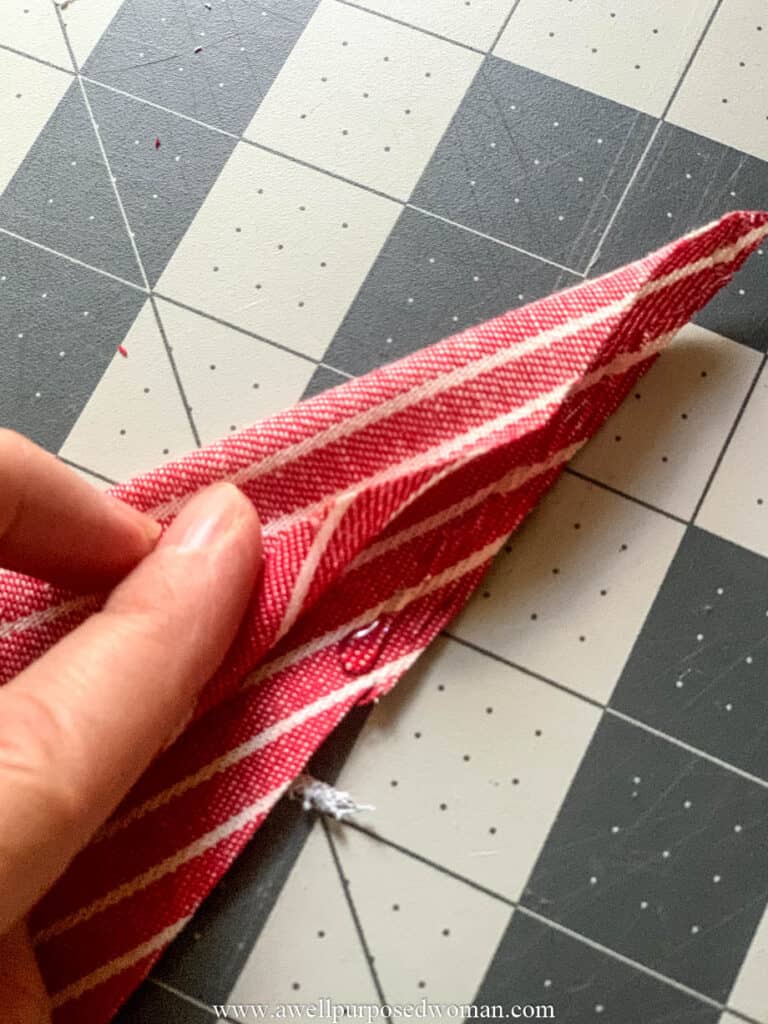
Turn the fabric inside out. So the fabrics are right side out.

Now you will have your gnome hat. You can lightly stuff it before putting it on your gnome’s head with poly fil. I also use a wooden ke-bab skewer sometimes to keep the hat upright.

Step 4: Make your gnome’s arms and legs
Now it’s time to make your gnomes’s arms and legs. Taking your pieces of fabric for your arms and legs. Fold over 1/4″, hot glue along the fold. And press your piece of fabric together.

You will form a long tube.
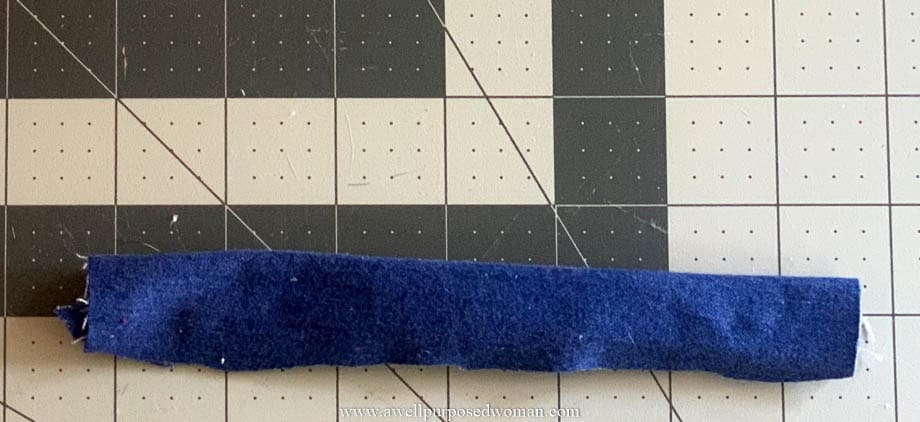
You can make a longer tube and then cut the piece in half for the legs.

And do the same thing for the arms. Or you can make separate pieces that are the same size for all of your arms and legs. As you can see I used old jeans for my gnome’s legs. I stuffed them with a little poly fil.
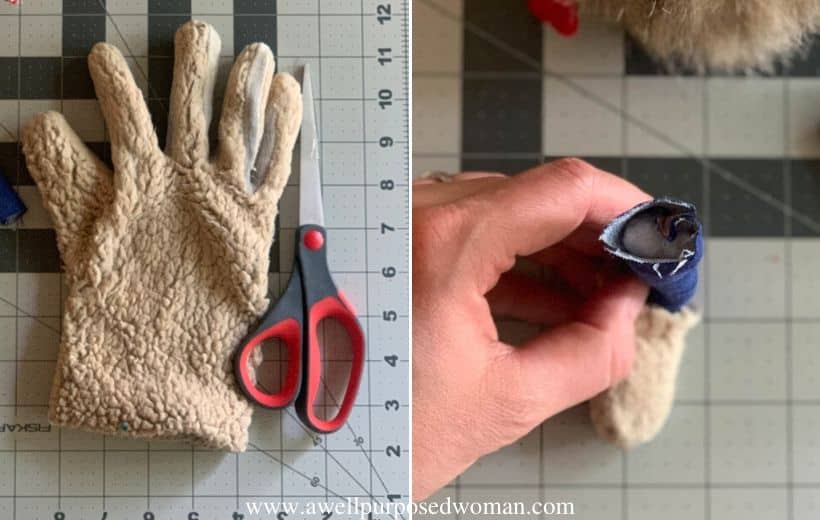
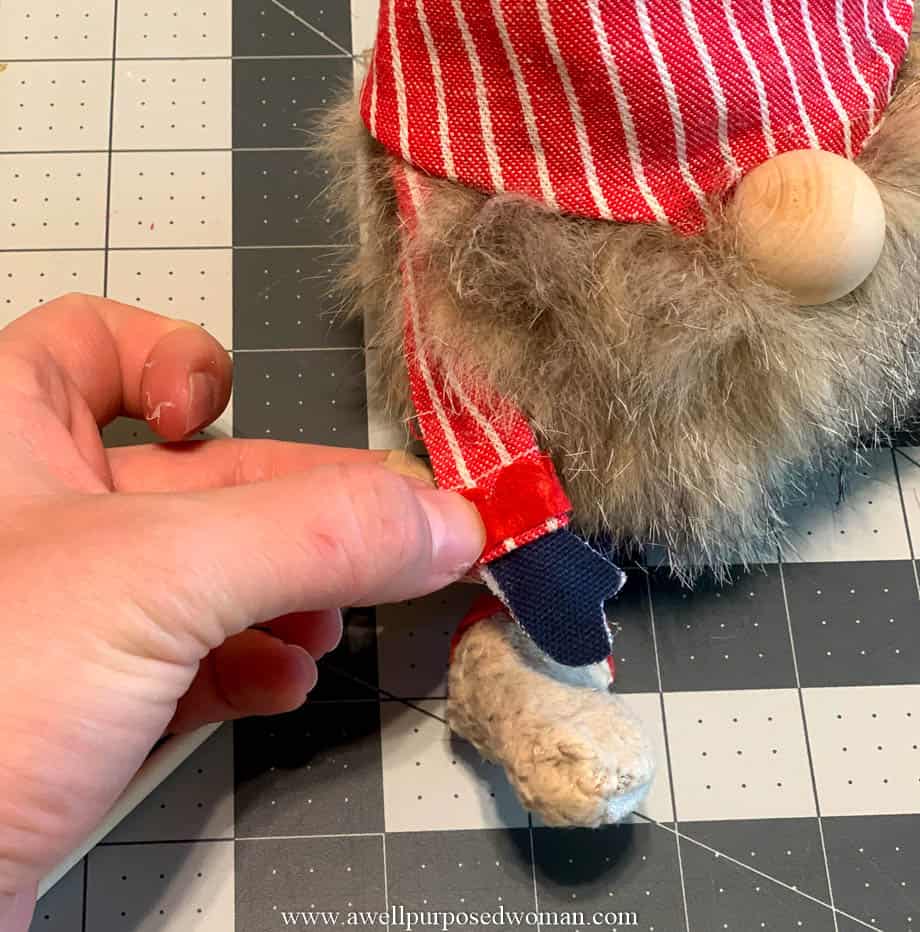
Next attach your foot to your leg. You can cut out the pattern you downloaded. Otherwise what I did was cut off the tips of two fingers on an old glove. I hot glued the tips to the end of the legs as a little boot like you can see below.
Cut out your arms and repeat the process you did for the legs for the arms. Leave one end of the arms open to attach your mittens.
Step 4: Hot glue all of the pieces of your gnome together
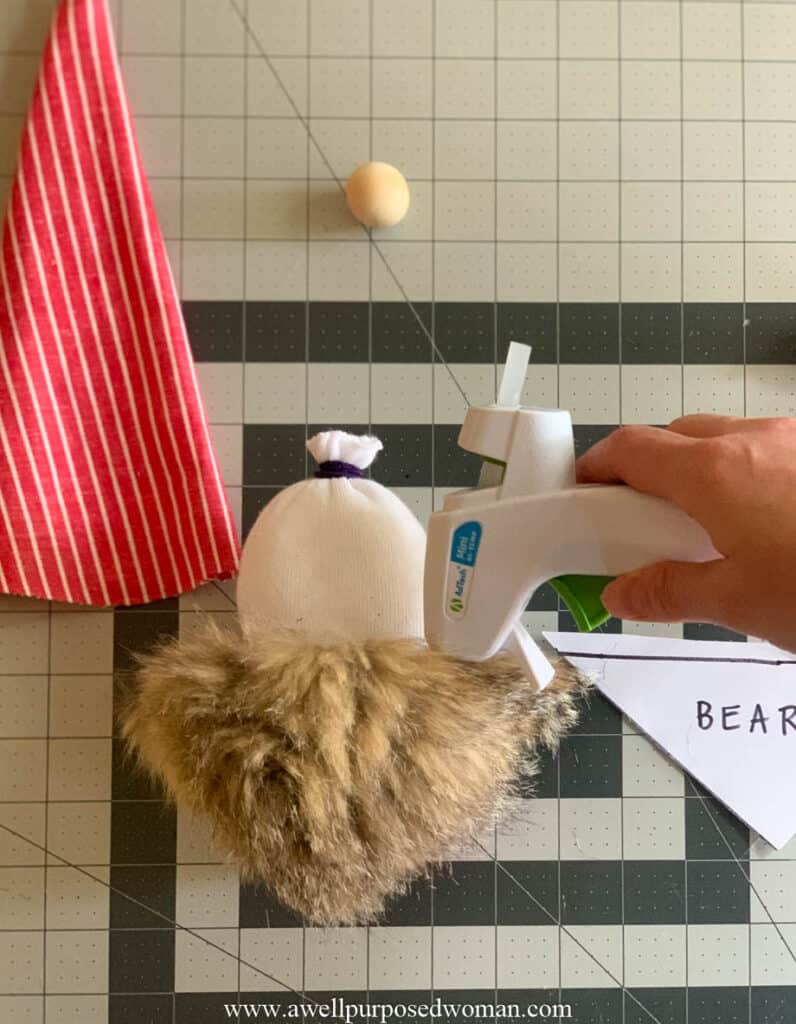
- Hot glue the beard on your gnome.
- Next hot glue your arms on the sides of your gnome.
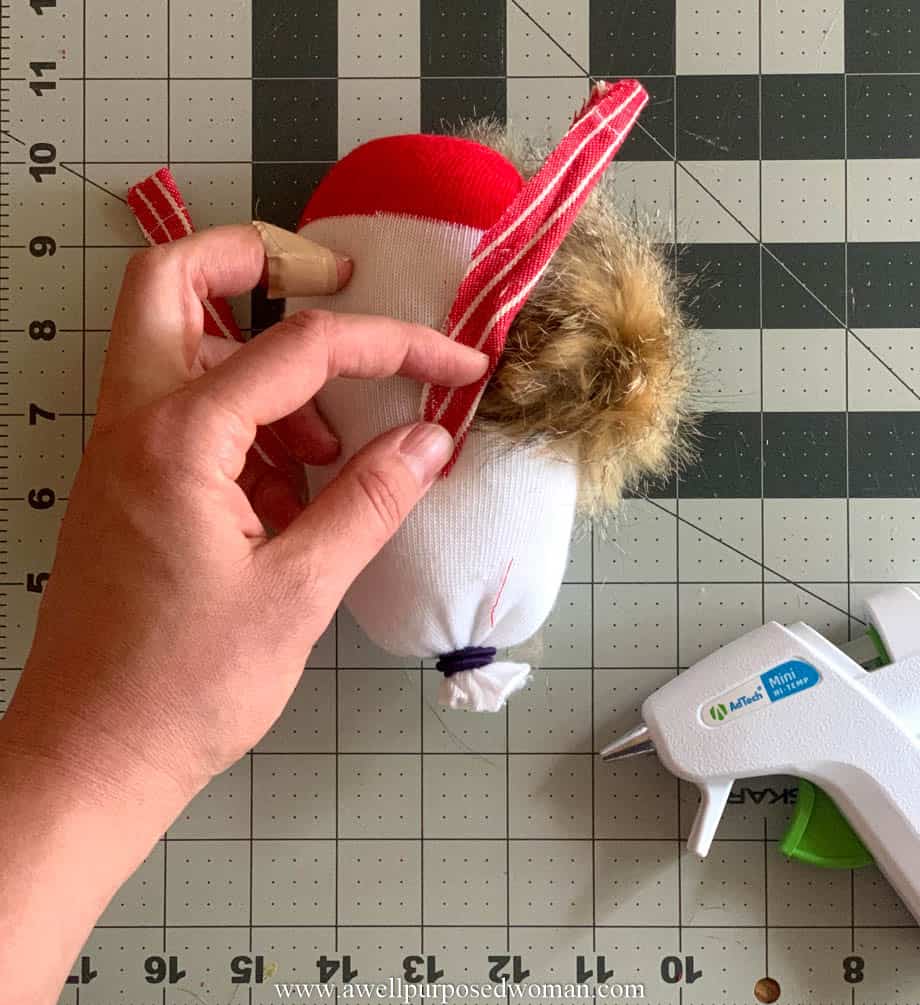
- Next hot glue the hat on your gnome. I folded the unfinished end of my hat over as I hot glued it onto my gnome.
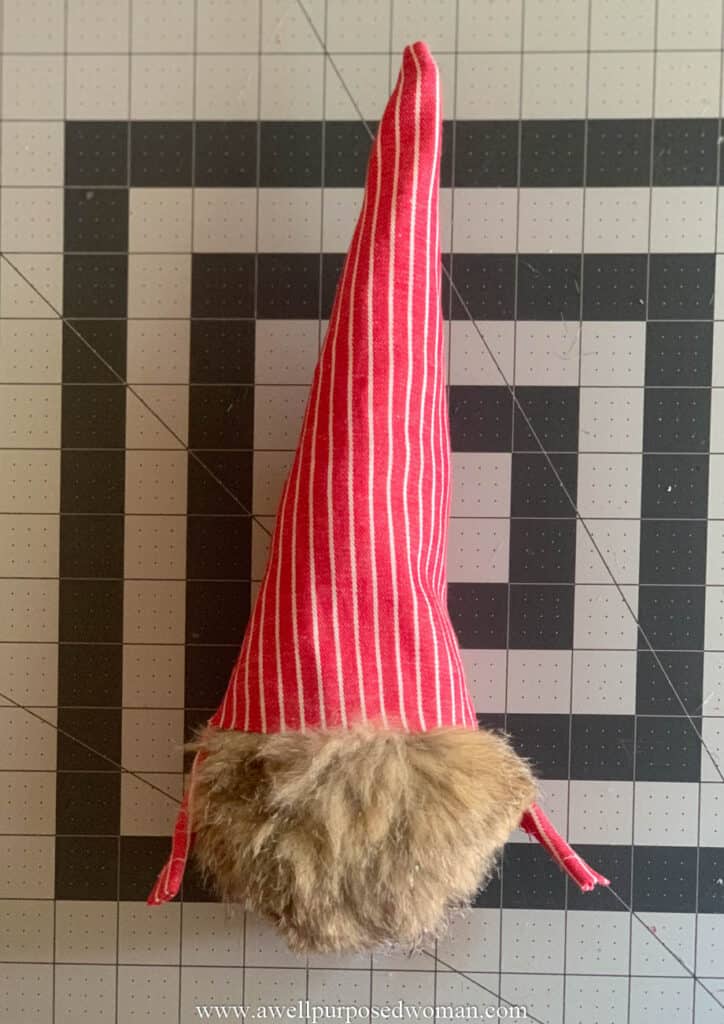
- Hot glue the nose and mittens on your gnome.
- And lastly hot glue your legs on your gnome.

Step 5: Add any extra embellishments to your gnome
Now you can make your gnome look fancy. Add any additional embellishments. Since this gnome with arms and legs is a patriotic gnome, I gave his hat stars and put a little flag in his arms. I also put a little red ribbon edging around his hat.
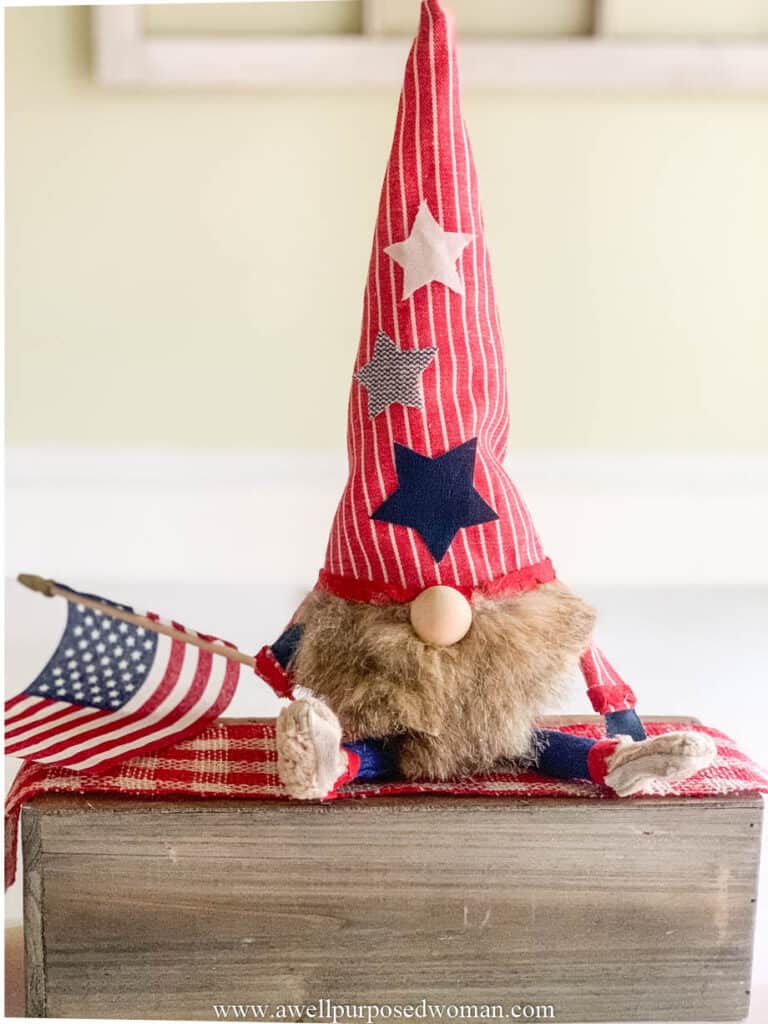
This is the fun part! Get creative and make your gnome just the way you like him!

As you can see I tried out several different embellishments until I got him just the way I wanted him!

And you can play around with the size of your gnomes legs. You may like them longer or shorter. I have included a pattern for both sizes.

And you can see with the one below I even left him with no arms. I might still add them but for now I kind of like him.

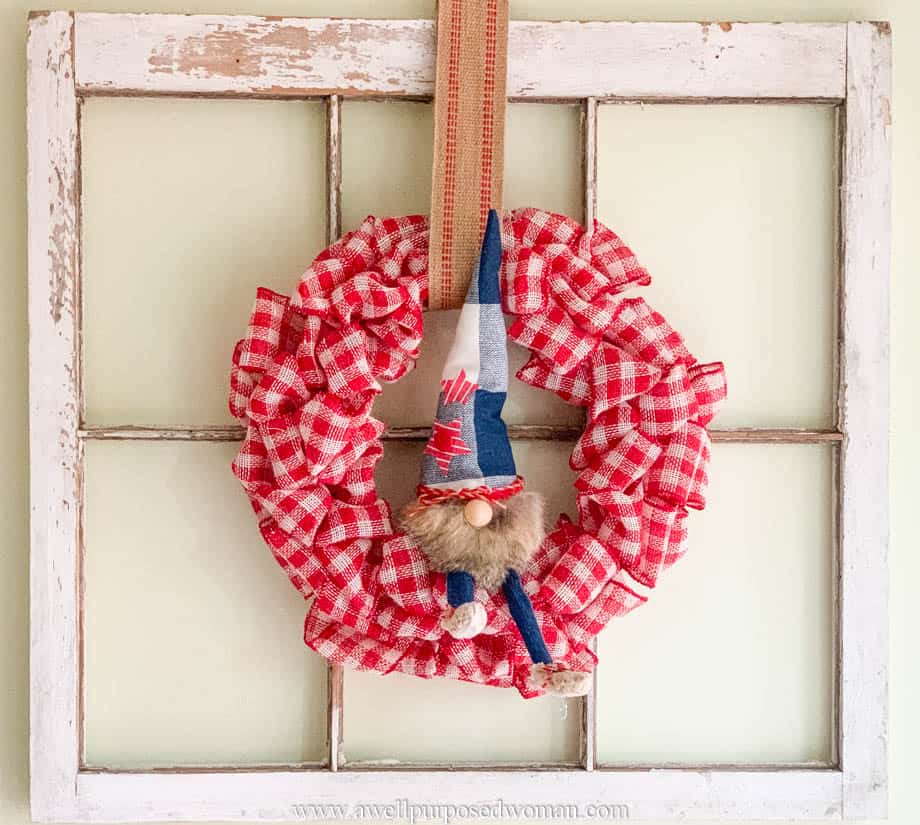
Another idea would be to switch up where you place your gnomes with arms and legs. Why not get creative with that as well? I put one of mine in our ribbon wreath just for fun!
But that’s it!
Now you know how to make gnomes with arms and legs! And you have a cute decoration for the 4th of July or any other season as well.
So Happy 4th of July…from our gnome to yours!

❤️DO YOU WANT TO ENJOY THESE CUTE LITTLE GNOMES YEAR ROUND? ❤️
Then be sure to check out our 2023 GNOME CALENDAR!

This 12-month wall calendar is beautifully illustrated with colorful and watercolor gnome designs. With lively gnome watercolor designs on each page, every season of the 2023 will be marked with GNOMES! This year we have also added in holidays in for each month. You can order yours HERE.
P.S. No time to work on gnomes now? No worries, just pin for later!
is it possible I can get the pattern..
I don’t even see a place to even get the pattern..
thank you
Hi Gayle, it should be emailed to you when you enter your email adrress. I will send it to you. Elizabeth
I did not receive my free pattern
I did not get my free pattern it was not sent to my inbox!
Hi Wendy, there has been so much trouble with that pattern. Let me try to get you a copy of it. Elizabeth
I have tried on several occasions to request the pattern. The pattern download does not work or was never available in the first place??? Very disappointed.
Hi Joyce, I am sorry you have had trouble with the pattern. It is sent directly to your inbox, but sometimes ends up in your junk or promtions folder. I have sent it directly to your email to avoid any more hassle. Elizabeth