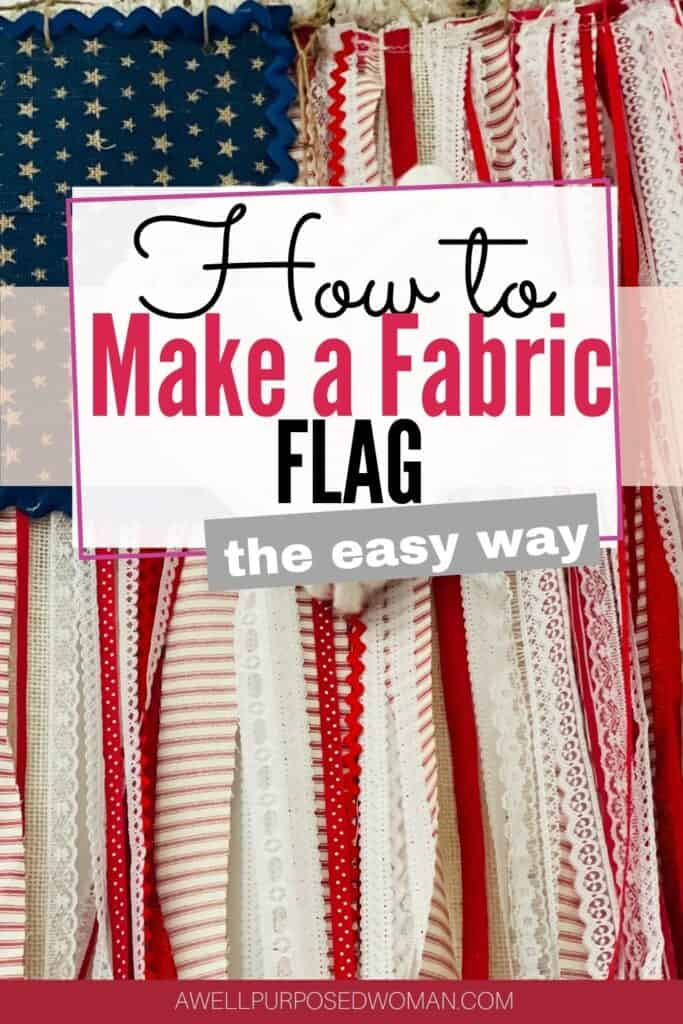
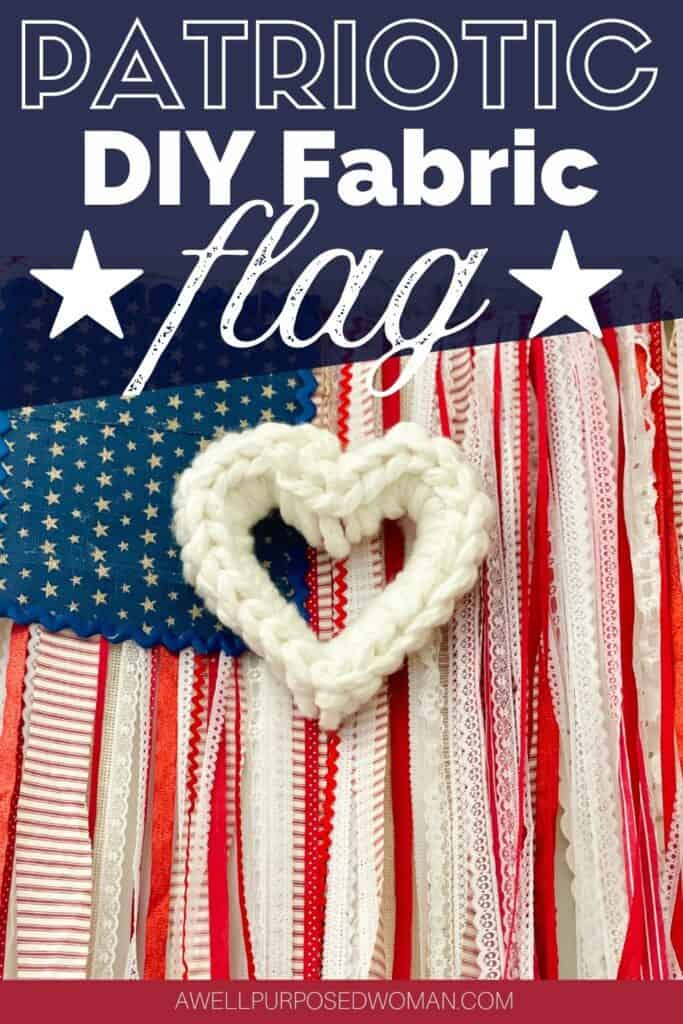
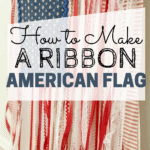
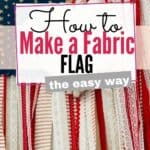
Learn how to make a ribbon American flag banner for the 4th of July or as a home decor item. Ribbon American flags are rustic and add a bit of patriotic flair to your home. There are both no-sew or sewing options to this ribbon American flag. This tutorial shows you step by step how to make a ribbon American flag.

I had seen these flags all over recently, but I wasn’t completely sure how to make a ribbon American flag. I figured they had to be pretty simple to make. But having just had my third baby, I needed a little extra motivation to actually make one. Well that motivation came in the form of my sister-in-law Alesha. She said she had found a burlap fabric that was blue with white stars. Perfect!
She sent me a small portion in the mail, and decided it was time to make my ribbon flag. I knew I had a TON of lace on hand. Since my mom has been giving me piles of lace whenever she finds it for quite some time. But I wasn’t so sure about red ribbon. After looking at my supplies, I was pleasantly surprised to find I had enough red ribbon as well.
So I got started on making my ribbon American flag. I wanted to share this with you before the 4th of July, but since that didn’t happen I guess you will just have to pin it for later!
But let’s get started on making our ribbon American flag.
Here’s what you need to make a Ribbon American Flag:
- Wooden branch or dowel
- 10-15 different laces, ribbons or fabrics in red and white
- Sewing Machine (optional)
- Hot glue gun & glue sticks
- Twine
- Blue fabric with stars or blue fabric with white paint
- Scissors or rotary cutter
Here’s how to make a Ribbon American Flag:
Step 1: Decide on the dimensions of your flag
The first step is to decide how big you want your ribbon flag to be. Since I was given a certain portion of the blue fabric I knew I would just use what I was given and adjust the flag accordingly.
Step 2: Cut out your ribbon and fabric
Cut out a blue rectangle of fabric
I started by hot gluing my blue burlap pieces together. In the end I made a piece of fabric that was 12″w x 18″ long.
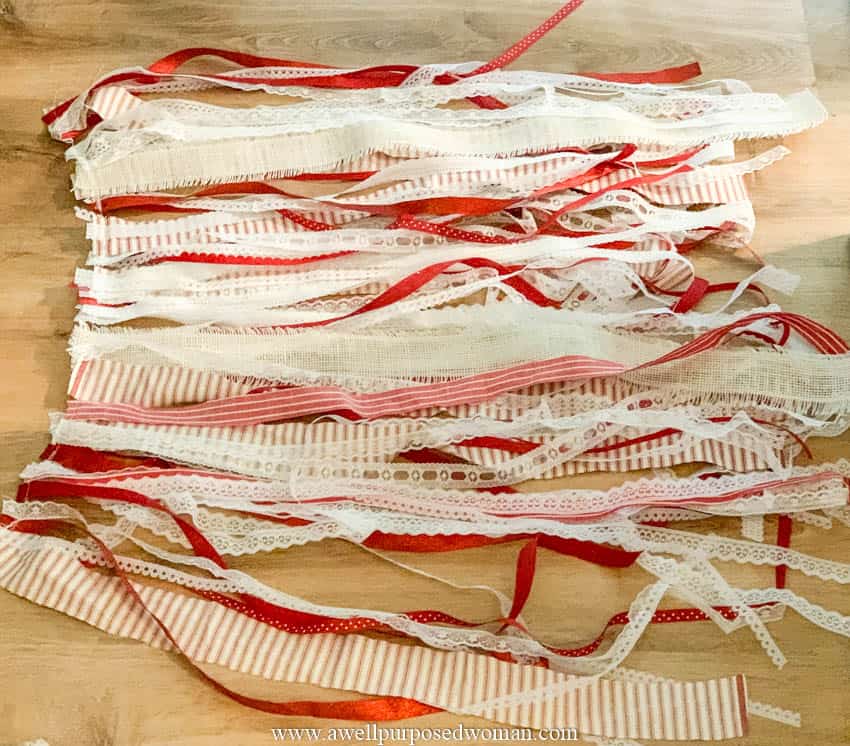
Cut out ribbon, lace and strips of fabric.
Since my blue piece was 12″ wide I would make the ribbon section the same width 12″. So I needed 24″ of ribbon, lace and fabric strips that were 3-4′ in length. I cut out 15 different types of ribbon, lace and strips of fabric to fill the 24″ length needed.
Step 3: Cut your branch or dowel
The next step to making my ribbon American flag was to find a branch that was the right size for my flag. I knew my flag would be 24″ across so I needed a branch that was slightly longer than 24″. I found a branch that was 30″ long.
Step 4: Lay out your ribbon, lace and fabric
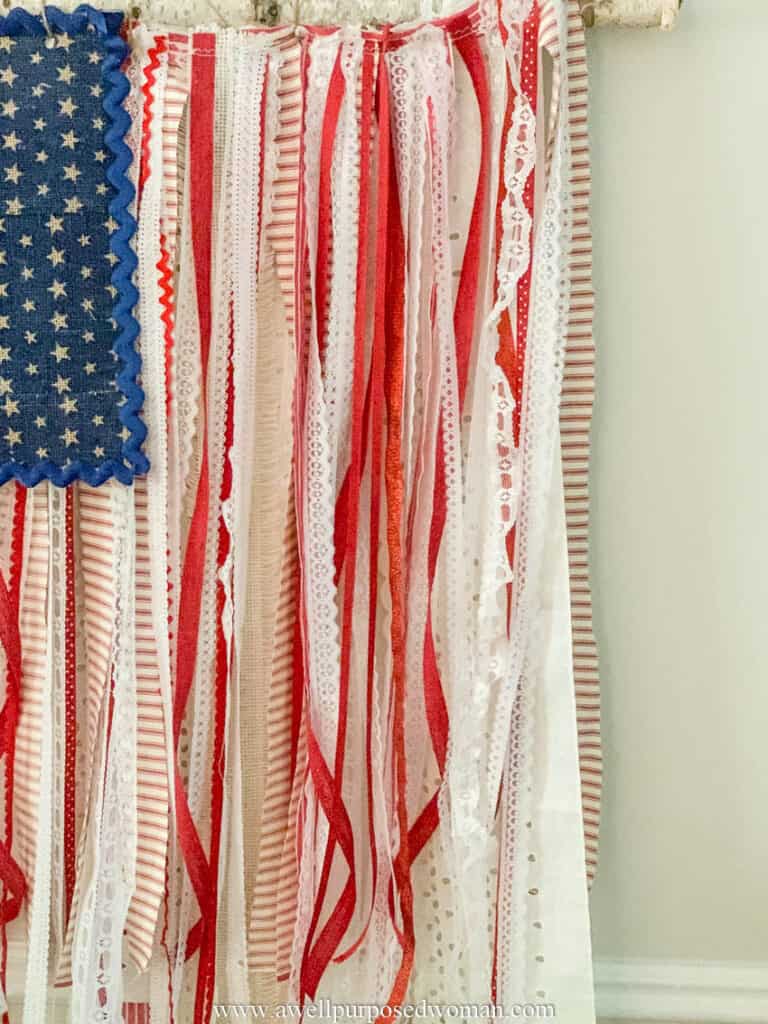
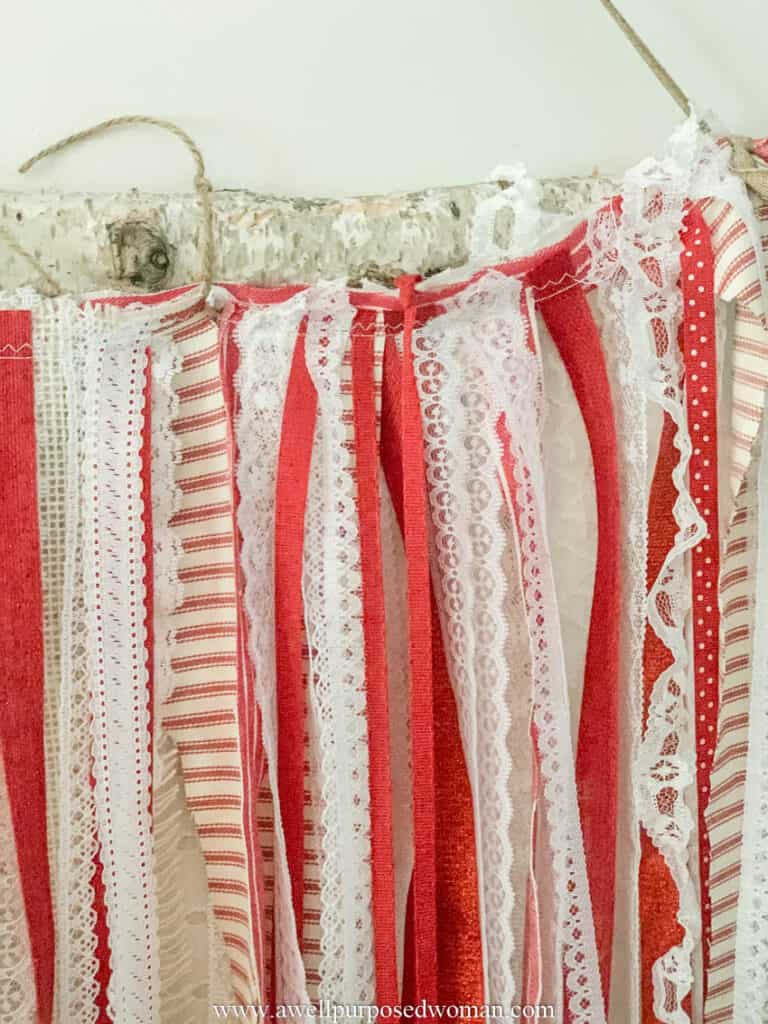
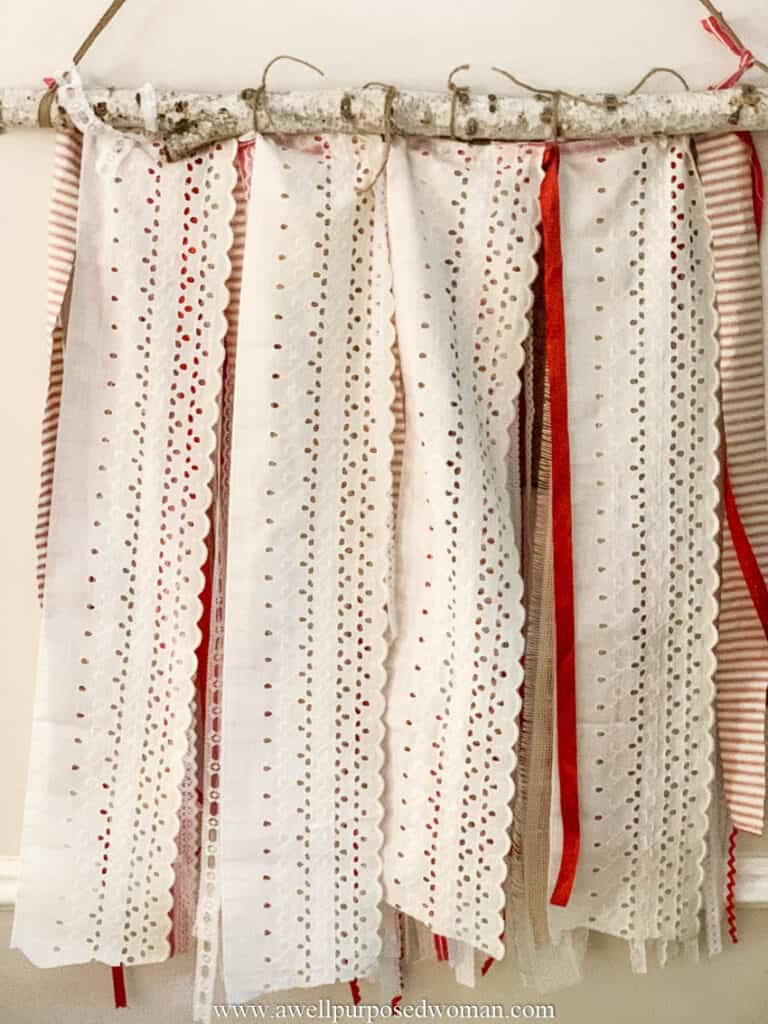
The next step in making your ribbon American flag is to lay out your stripes. I just took my red ribbon and made 7 different stripes by laying them on the ground. Then I took the white lace and layered it in between the red stripes, forming the striped part of the flag.
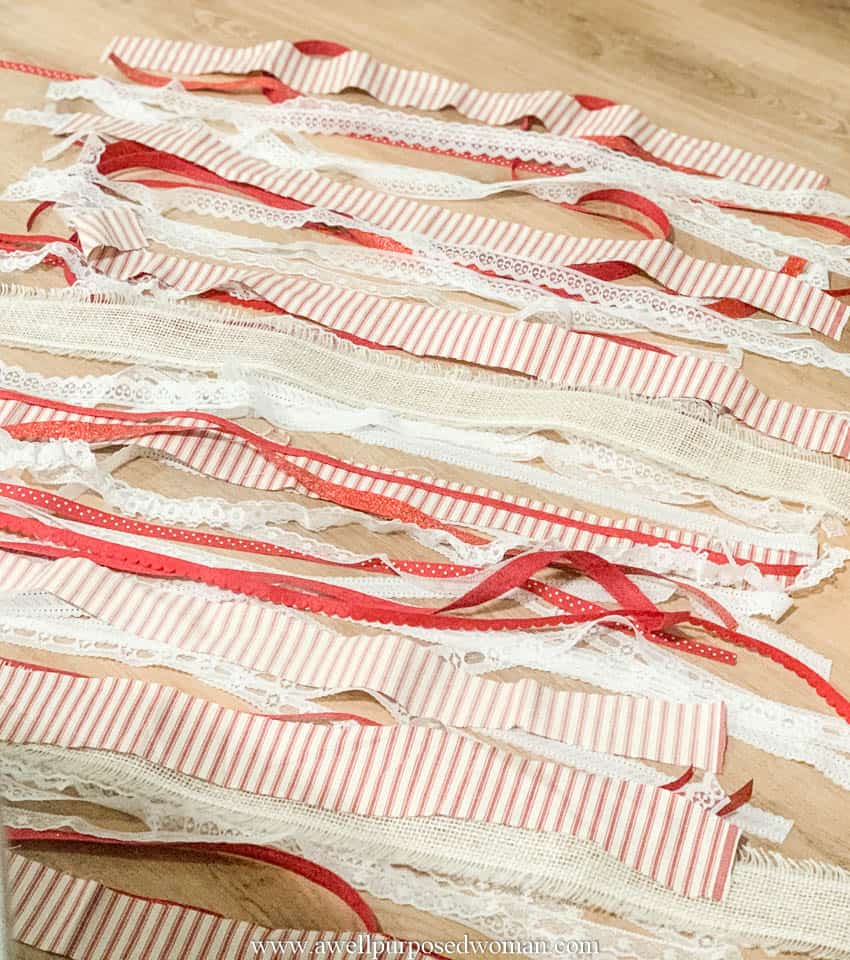
Tip: If you do not have red ribbon on hand. You might be able to find some red fabric. I found an old red and white vintage paint suit and some red ticking fabric and cut strips that were 2″ x 3-4′. These can also be your red stripes.
Step 5: Sew a stitch through the ribbon, lace and fabric
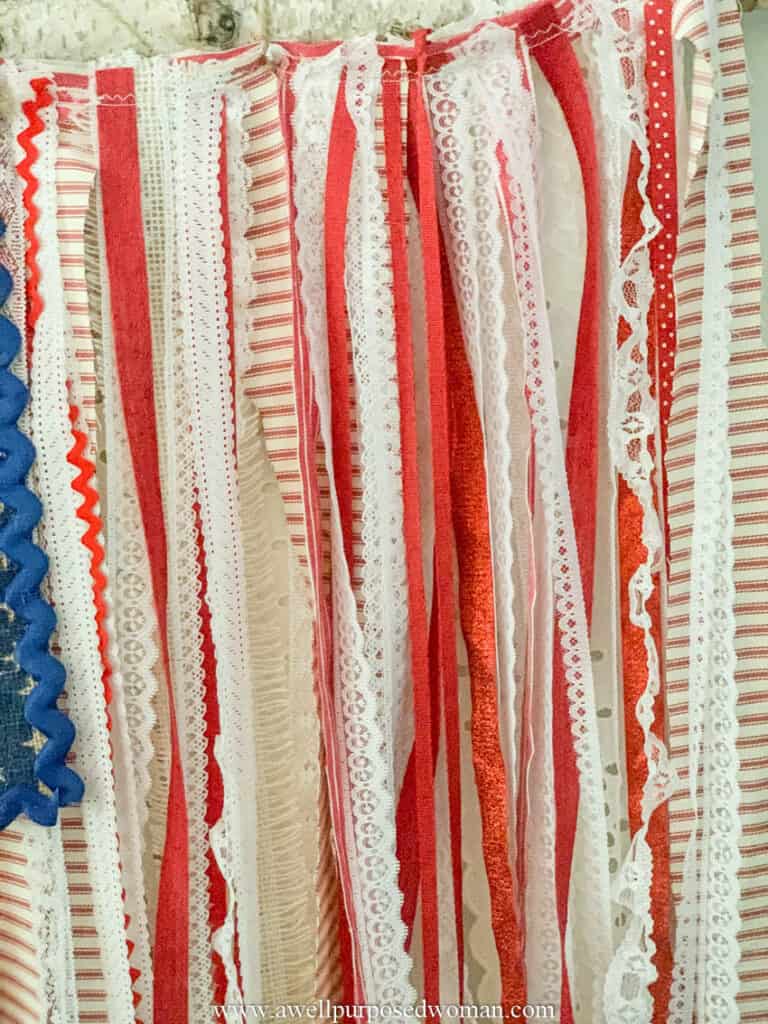
After I was satisfied with the look of the ribbon and lace. I took the ribbon, lace and fabric over to the sewing machine and ran a stitch along the top of all the pieces. I thought this would be a lot easier than trying to hot glue each ribbon, lace and fabric piece to the wooden dowel. And it was a very easy!
But after I had sewn a stitch across the length of the ribbon, lace and fabric I decided it needed to be reinforced. So I cut a 2″ x 30″ piece strip of old fabric. I placed the fabric under the ribbon, lace and fabric stitch and sewed over the length of the stitch again. So now all my ribbons, lace and fabric were attached to the fabric strip. This helped reinforce the ribbon, lace and fabric because they were now hanging onto the strip of fabric.
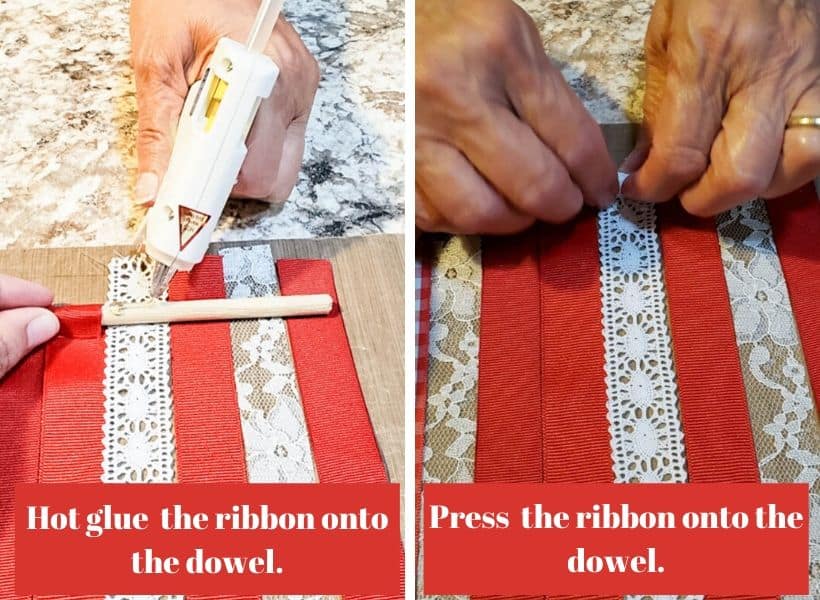
No- Sew Alternative
If you do not want to use the sewing machine at all you can also just use your hot glue gun. Take each piece of ribbon, lace or fabric and hot glue it to the wooden dowel or branch. Or you could hot glue it to a strip of fabric. So all your pieces would hang from the strip of fabric.
Step 6: Attach your flag to the branch or wooden dowel
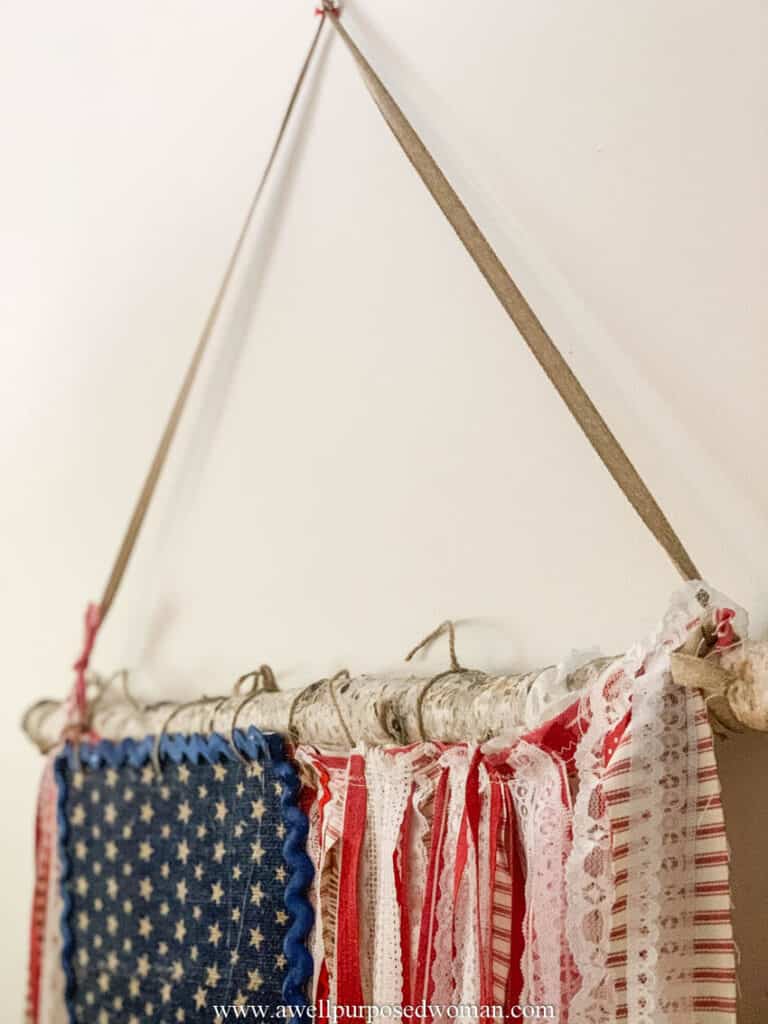
Once all of your ribbons, lace and fabric are sewn or hot glued on the fabric strip. You can hang your ribbons on the wooden dowel or branch. I used twine to attach the ribbon and lace to the branch.
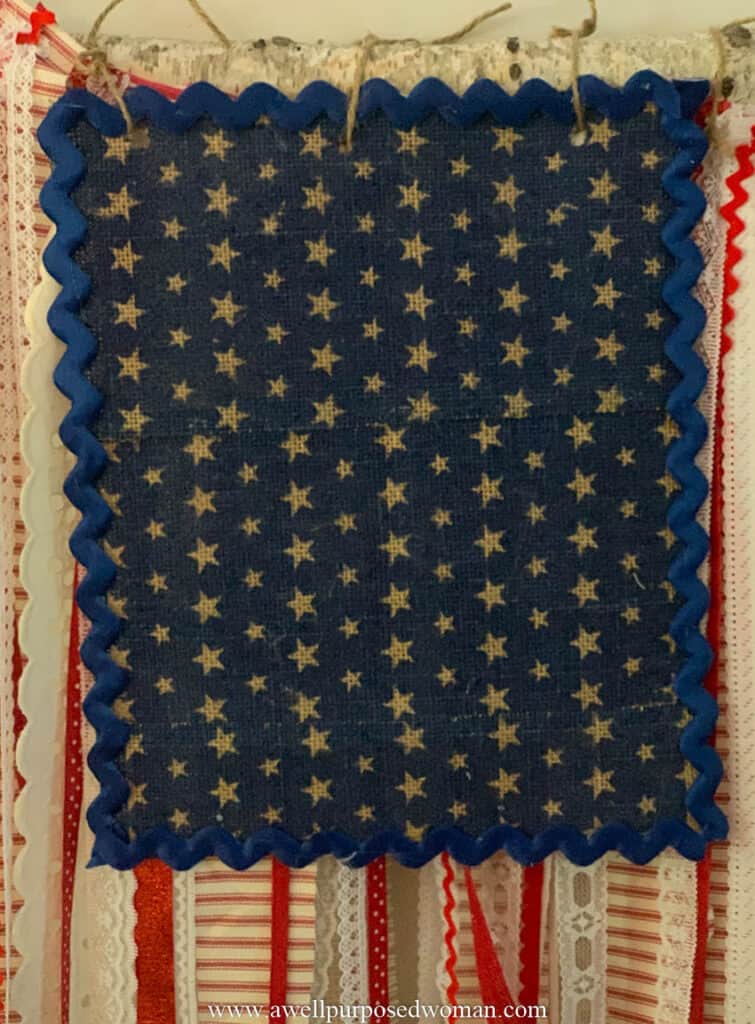
Once your stripes are attached. Take your blue and white stars and tie them onto the branch as well. Since my blue and white fabric was burlap. I hole punched several holes in the burlap and tied the twine through onto the branch.
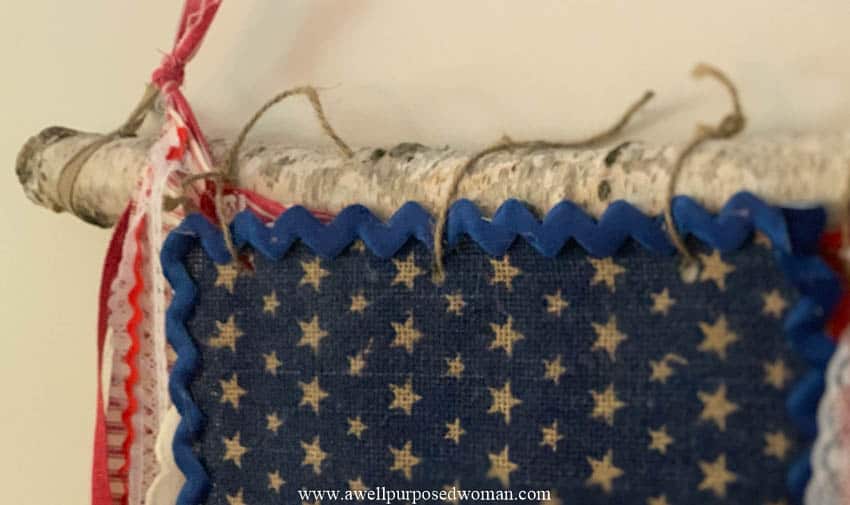
As an extra touch I attached a blue border around the stars section of the flag with some heavy blue ribbon.
Tip: If you notice gaps in your flag and you don’t care for that look. You can attach larger piece of lace or fabric to fill in some of the spaces. I used these large pieces of lace I had on hand. But you could also cut larger strips of white or red fabric to fill in the gaps.
Hang the ribbon American flag by attaching a ribbon to the branch or wooden dowel.
And that’s it! Now you have a beautiful ribbon American flag for the 4th!
What do you think? I love it! And it can also be a backdrop for a photo shoot or outdoor grill out!
Please let me know if you end up making one. It would be fun to see your creations too! And as always if you don’t have time to make it now, then just go ahead and pin it for later!
Take care and God bless,

P.S. If you missed out on making our Patriotic gnomes, they are super cute! Be sure to check out the full Patriotic Gnome tutorial for another 4th of July idea!


Leave a Reply