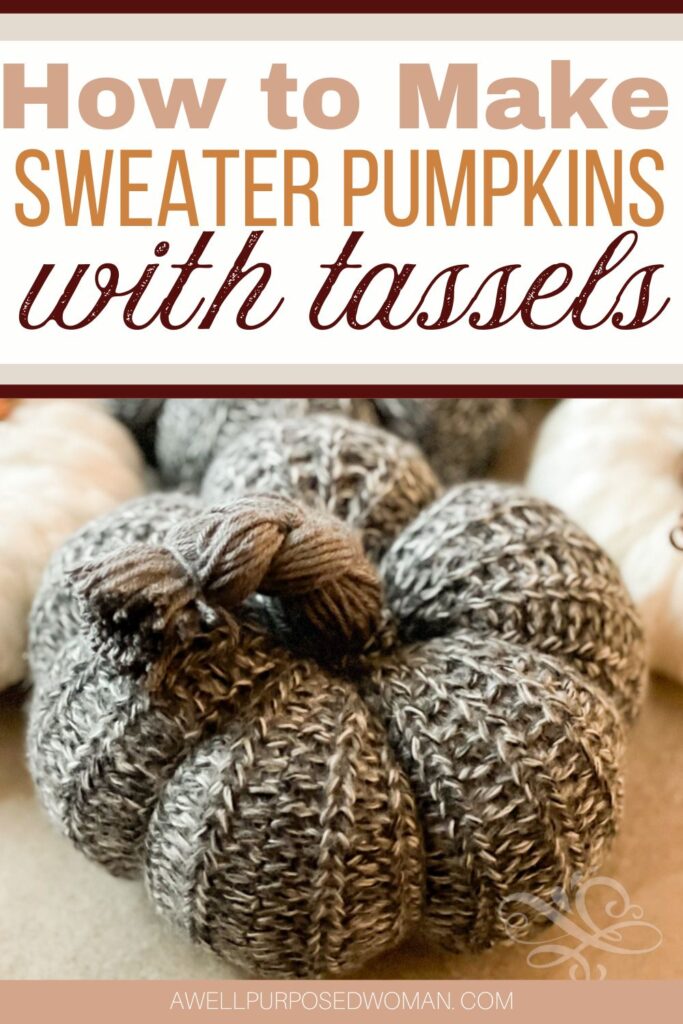
Learn how to make sweater pumpkins with tassels on them. This tutorial will show you how to make sweater pumpkins with tassels on them with a free pattern. Sweater Pumpkins with tassels are a cozy way to welcome fall. Make larger sweater pumpkins with tassels into pillows, and use smaller sweater pumpkins with tassels anywhere in your home.
Last year I saw these cute sweater pumpkins with tassels on them at Pottery Barn. And if you know me, I LOVE Pumpkins! I make them out of socks, out of sweaters, out of old skirts, hair donuts, you name it. If it fits the bill it’s probably eligible for turning into a pumpkin of sorts!
I liked how these sweater pumpkins had a soft little tassel on them for the stem. And they are sold on the Pottery Barns site as pillows. Here they are on the Pottery barn site.
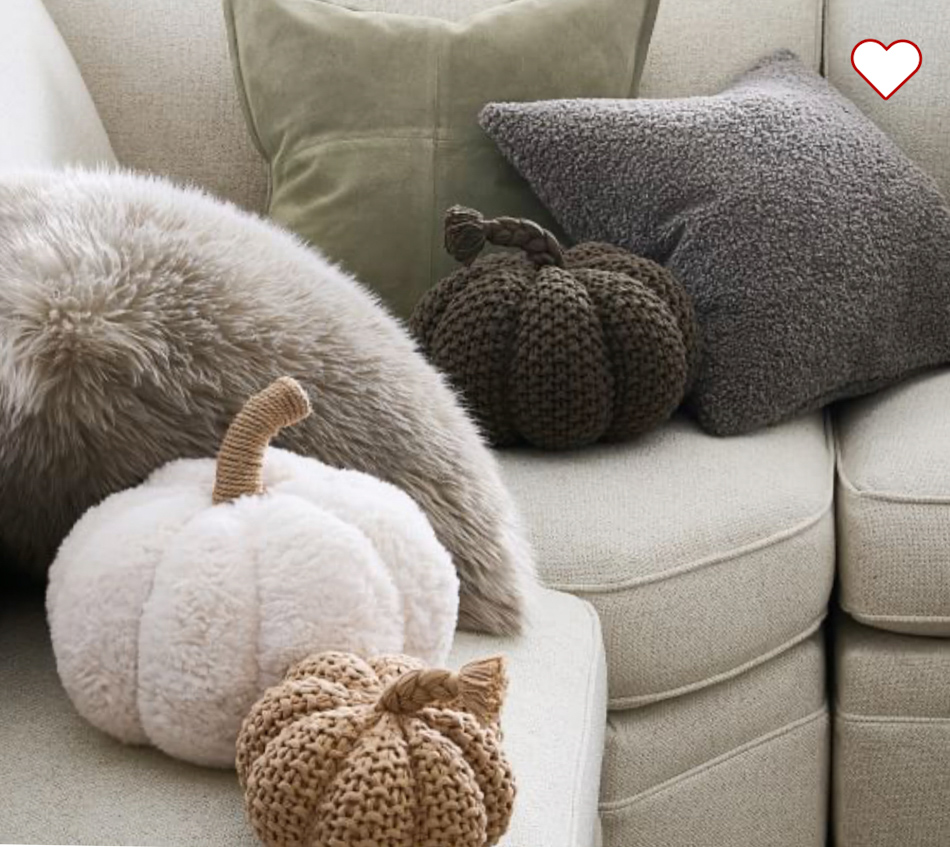
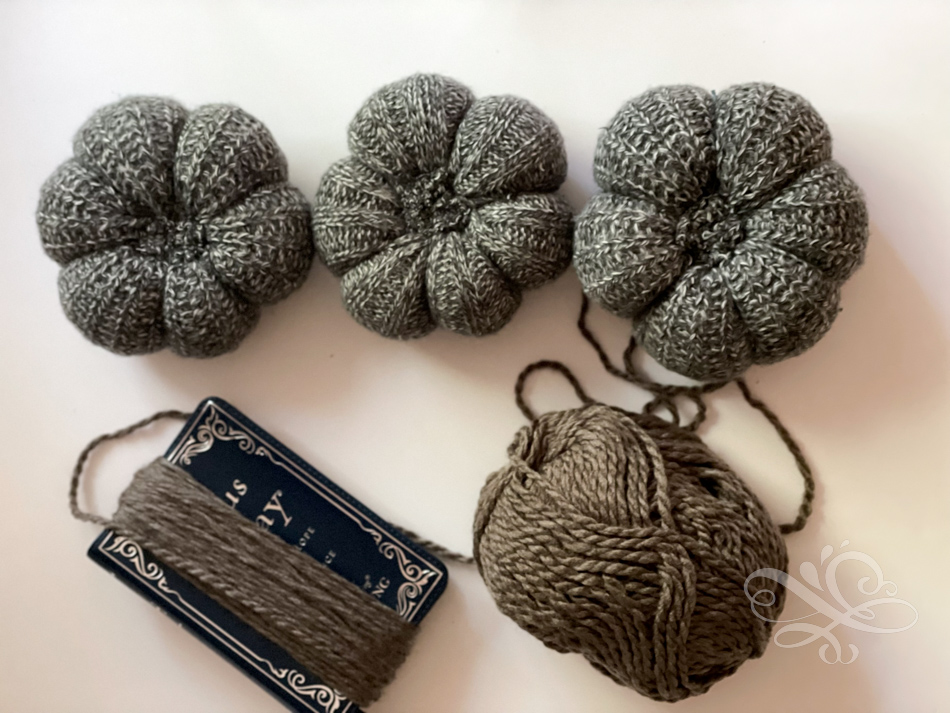
I don’t remember the price on these sweater pumpkins. All I remember is it was above what I was willing to spend. So I got to work on making my own. And for the sake of learning I just started by making some standard size sweater pumpkins with tassels.
Because making these sweater pumpkins with tassels is exactly the same as the tutorial for making sweater pumpkins. The only exception is for the tassel part. So start by making the base of your sweater pumpkins. Then hop back over to this post for how to make the tassel stem.
But either way let’s get started on making these sweater pumpkins with tassels!
Here are the supplies you need to make sweater pumpkins with tassels:
- Old Sweater
- Matching Yarn
- Matching Embroidery Thread
- Need
- Polyfil
- Rice
Here is a video on how to make sweater pumpkins with tassels on them:
Here is how you make sweater pumpkins with tassels on them:
Step One: Make your sweater pumpkin base.
If you have not made your sweater pumpkin base. Hop on over to the sweater pumpkin post. Make your pumpkisn and then head back over here!
Step Two: Make your Sweater Pumpkin Tassel
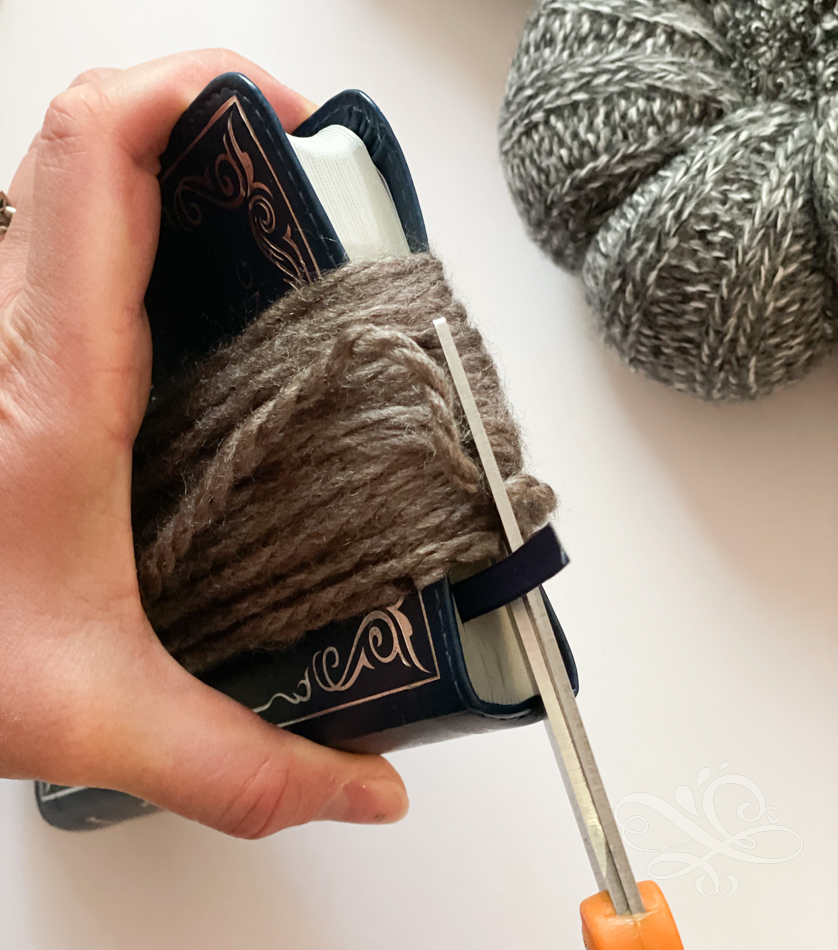
Now take you yarn and wrap it around a piece of cardboard or find a book that is about 10-12″ in length. Wrap the yarn about 20-25 times around the book or carboard. Take a different piece of yarn and tie a knot on one side of the yarn like the picture below.
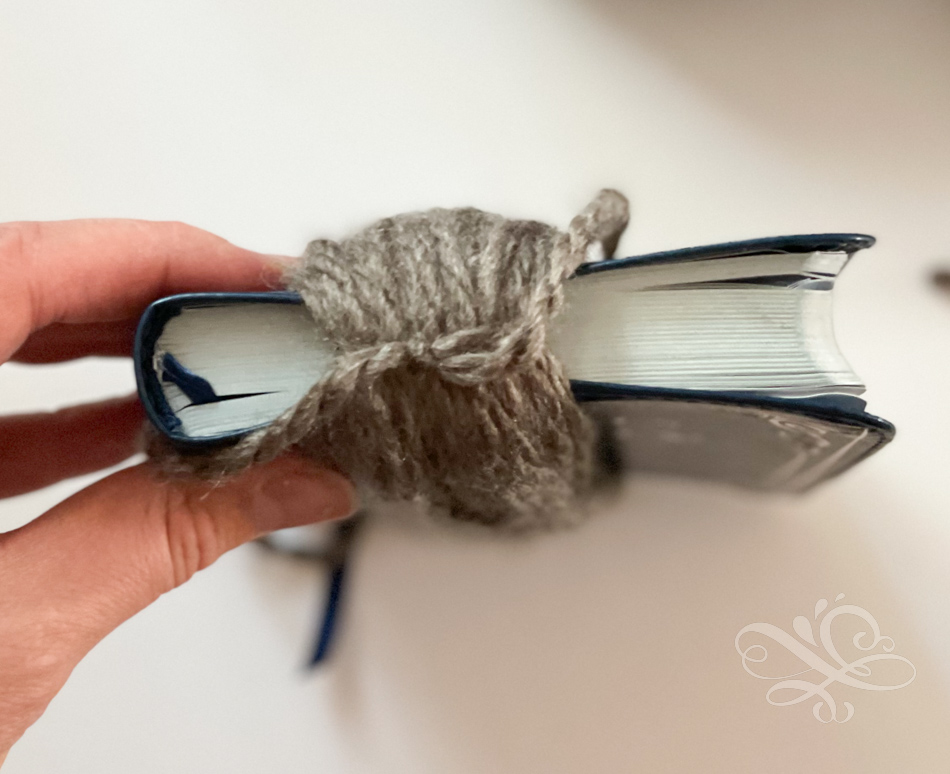
Now take a scissors and cut through the bottom portion of the yarn like below.
Basically you are just making a tassel with your yarn that you will attach to the top of your pumpkins. But now you will have the base of your tassel.
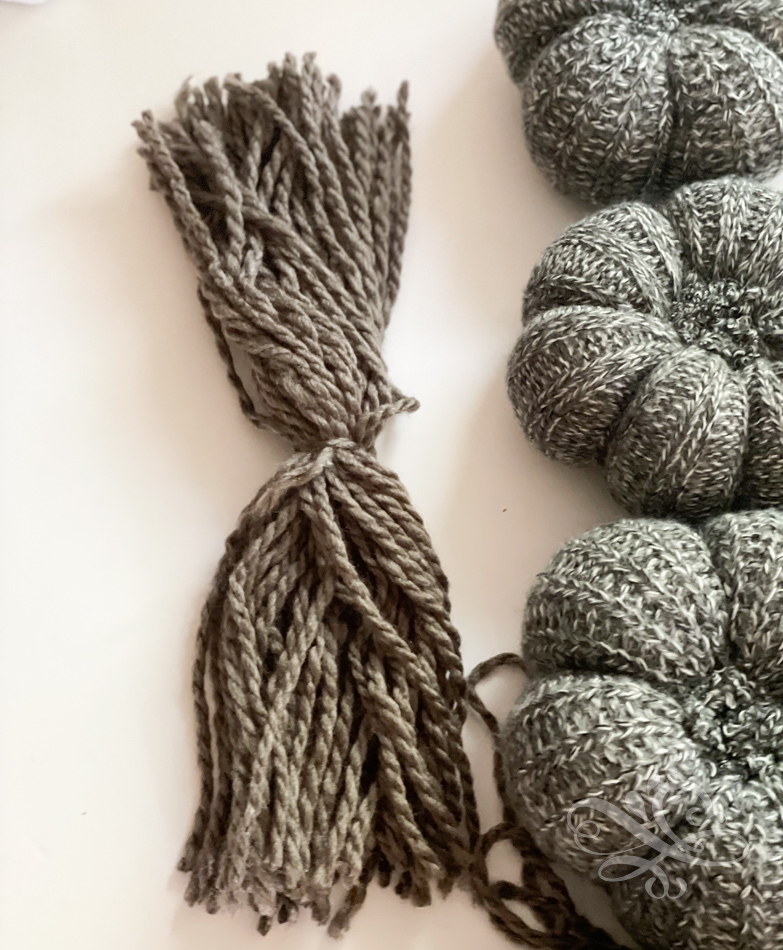
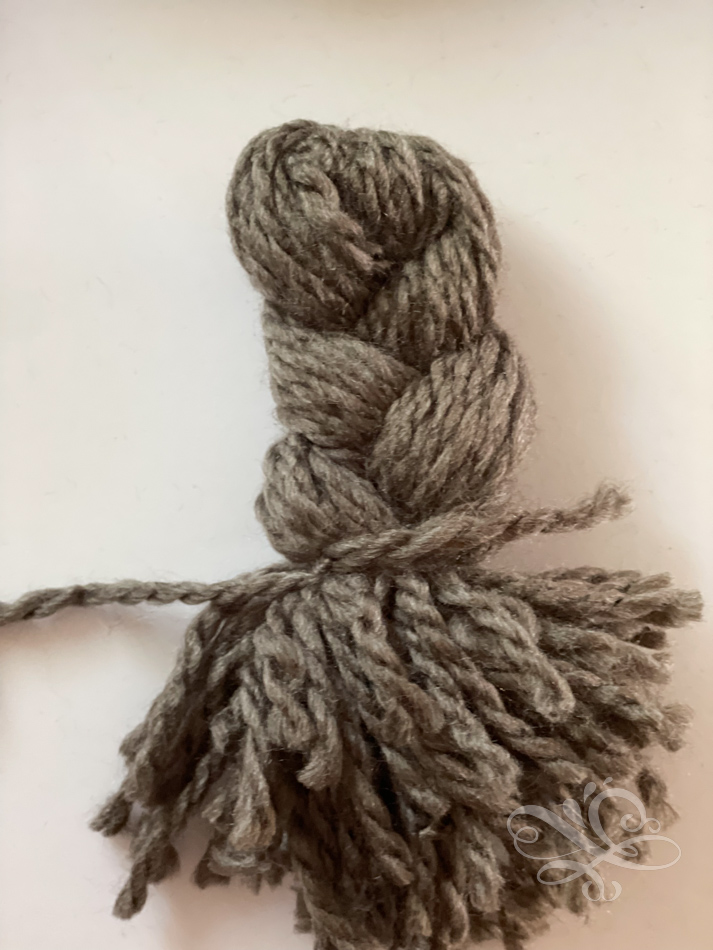
Now take your yarn and put all the pieces of yarn to face downward. Take a piece of yarn that is 10″ in length and lay it underneath your tassel.
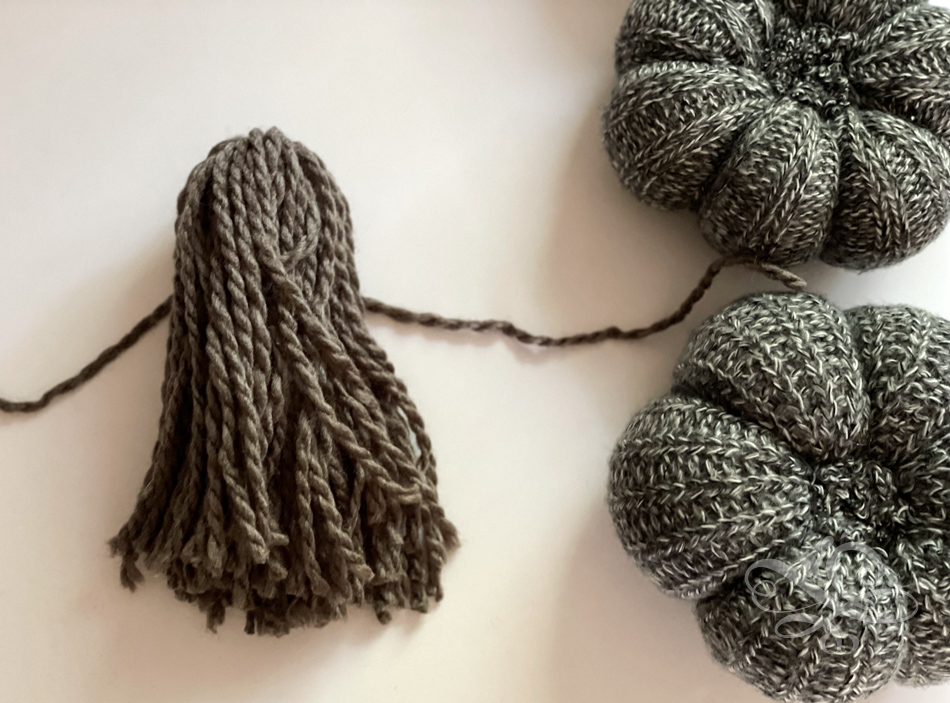
Now tie a know with your yarn around the tassel. So now you will have your tassel
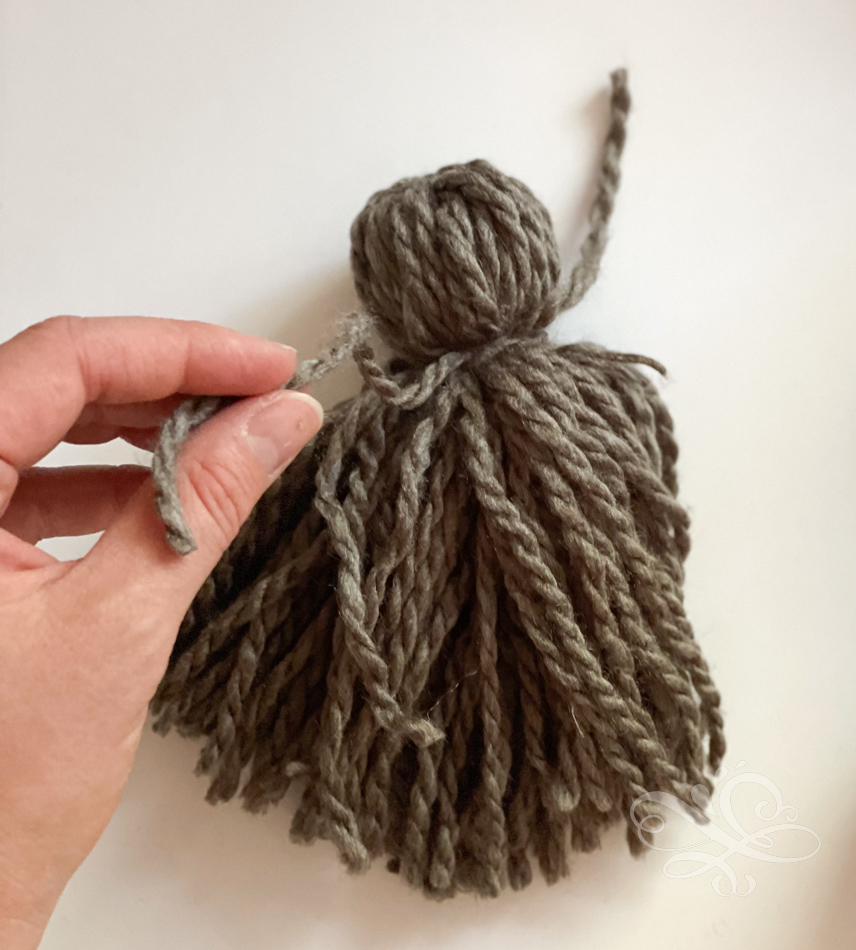
Step Four: Braid your Tassel for your Sweater Pumpkin
The next step is to take your tassel and divide it into three sections and braid it.
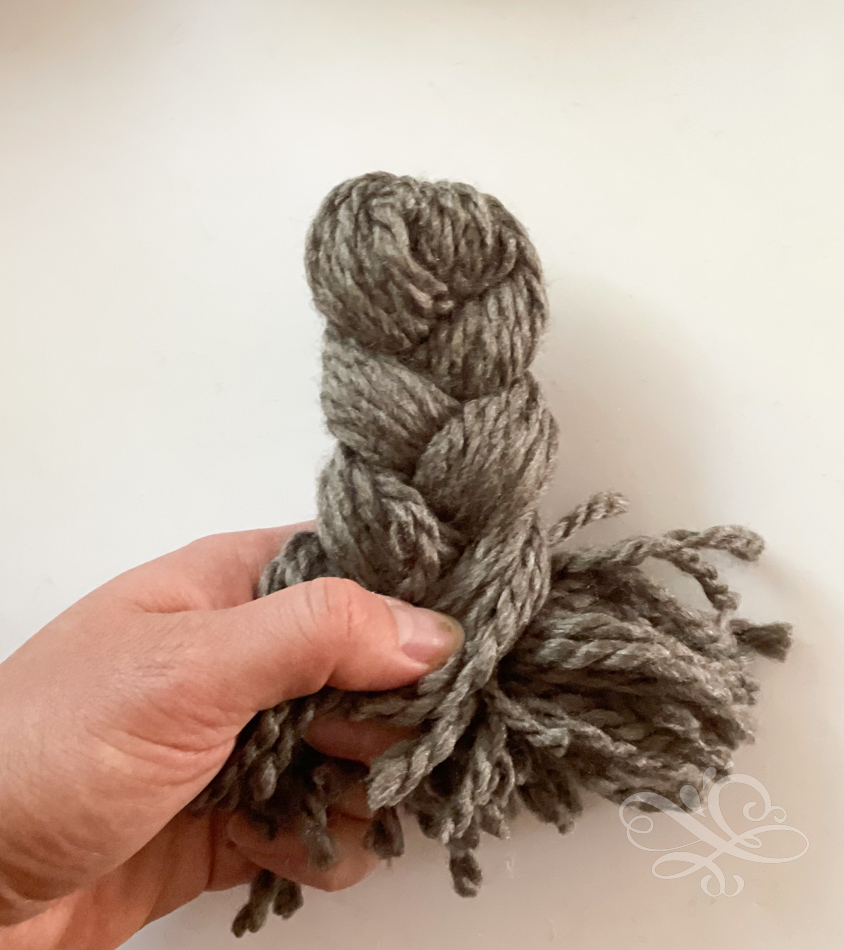
Now you will have your braided tassel. Tie a knot around the bottom of the braid. And trim off any excess yarn that is uneven. Now you will have a braided tassel.
Step Four: Attach Your Braided Tassel to Your Sweater Pumpkin
The last step now is to attach your braided tassel to your pumpkin. Take your braided tassel and sew it onto the top of your pumpkins with embroidery thread or yarn.
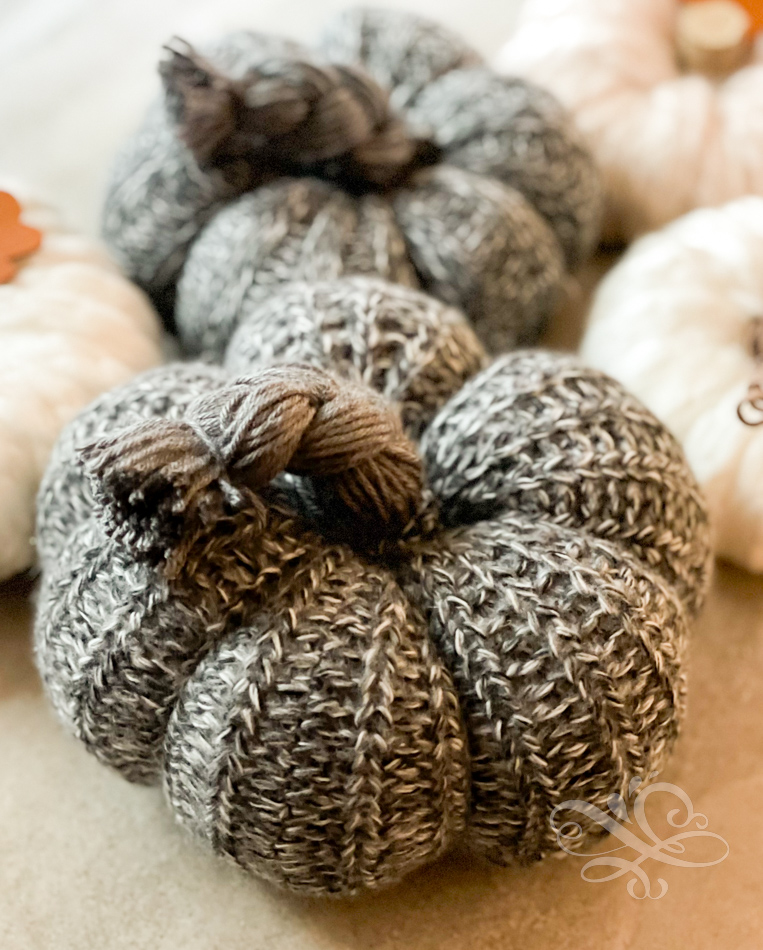
And that’s it! Now you have these beautiful Pottery Barnesque pumpkins for fall at a fraction of the cost! So gorgeous and cozy for fall! If you make a bigger version of these please share them with me at elizabeth@awellpurposedwoman.com.
Thanks so much for stopping by the blog today!
Take care and God bless!

Leave a Reply