Learn how to make a deco mesh wreath the easy way. Deco mesh wreaths can be made for any season and this tutorial will show you from start to finish how to make it the easy way. Learning how to make a deco mesh wreath is so easy even beginners can do it. I promise you deco mesh wreaths are much easier to make than they look.

For quite a while I had no idea how to make a deco mesh wreath. I noticed these fun and sort of wild deco mesh wreaths on Etsy and Pinterest but had no idea how to actually make one. After seeing them for awhile my affection grew and I needed to know how to make a deco mesh wreath! They looked very complicated but I was hoping there was a trick to making them the easy way!
When I am not sure how to make something the easy way I spend time researching the project. I look on Pinterest and YouTube. And when I am pretty confident I have the steps down I jump in. These deco mesh wreaths were no different. But the good news is there a lot easier than I thought they would be. And so today I wanted to show you how you too can make a deco mesh wreath the easy way for really any season!
Watch the full deco mesh wreath tutorial:
So let’s get started!
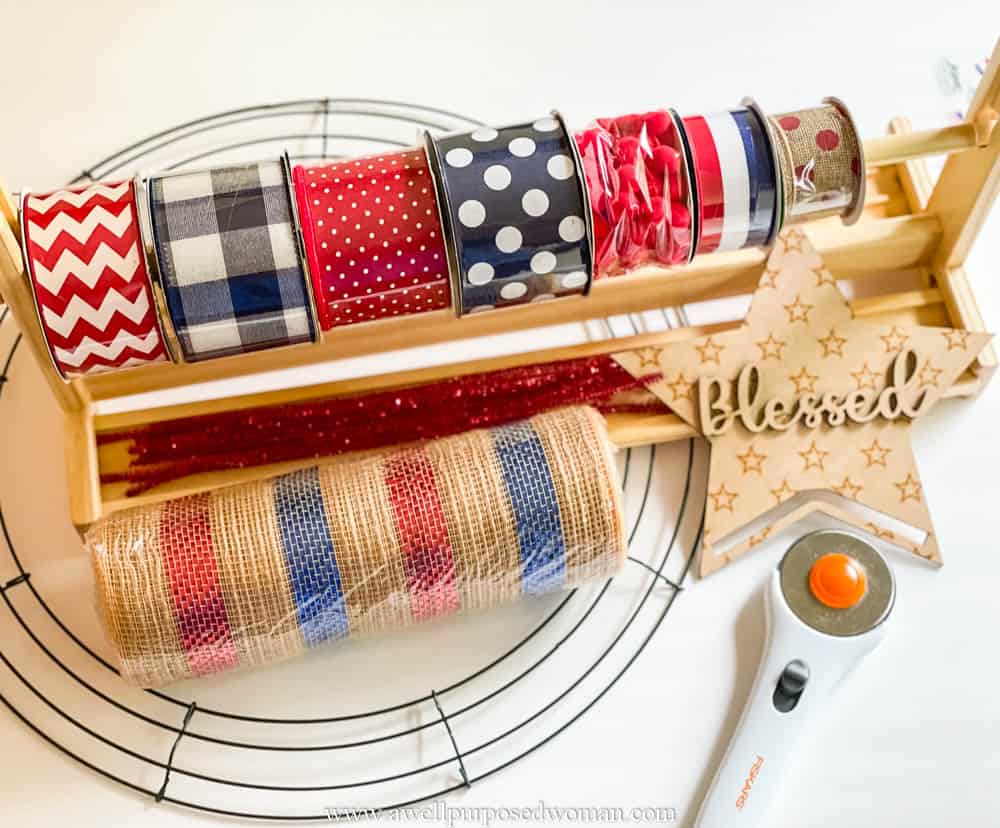
Here are the supplies to make a deco mesh wreath the easy way:
- Deco mesh in at least 2 colors
- 14″ Wire Wreath form
- 4 rolls of 2.5″x 3 yards of different color ribbons
- Pipe Cleaners in coordinating colors
- Scissors
- Cardboard (cut to 10″ x 10″ and 12″ x 5″)
- Wooden star or other Embellishments (Optional)
Here is how to make a deco mesh wreath the easy way
Step 1: Attach the pipe cleaners to the wreath form
The first step in making your deco mesh wreath is to make your wreath form. There are two ways to do this. You could purchase a work wreath like this one. It has pipe cleaner like things already attached. And it is ready to go. Otherwise you can use pipe cleaners and a regular wire wreath form.
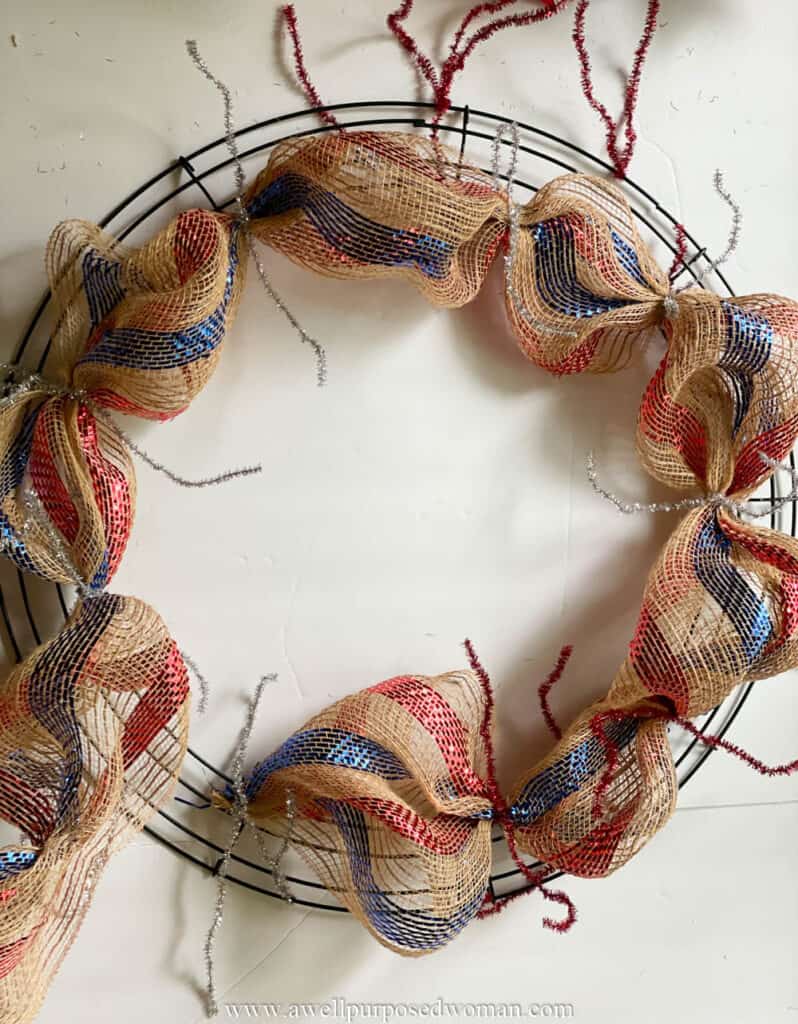
Attach pipe cleaners every 3-4″ on the wreath form. I used the sections as a guide and just attached a pipe cleaner on the inner row at every intersection.
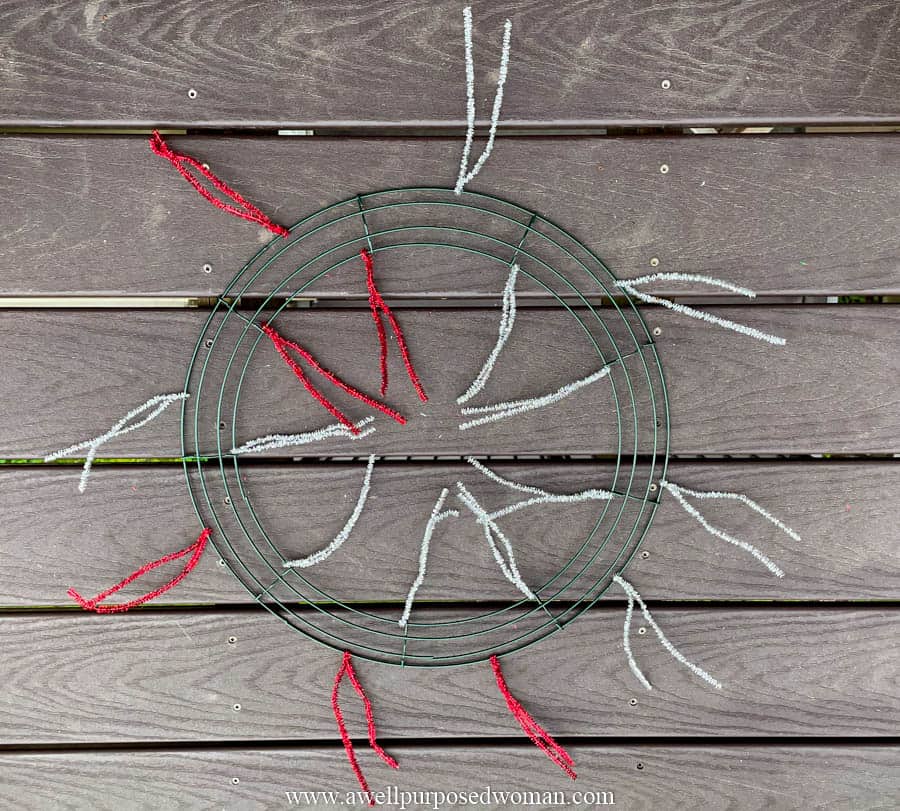
I then attached a pipe cleaner on the outer row every 3″ in between the others I had placed on the bottom row. See the picture below for an example.
Step 2: Add the filler deco mesh to the wreath form
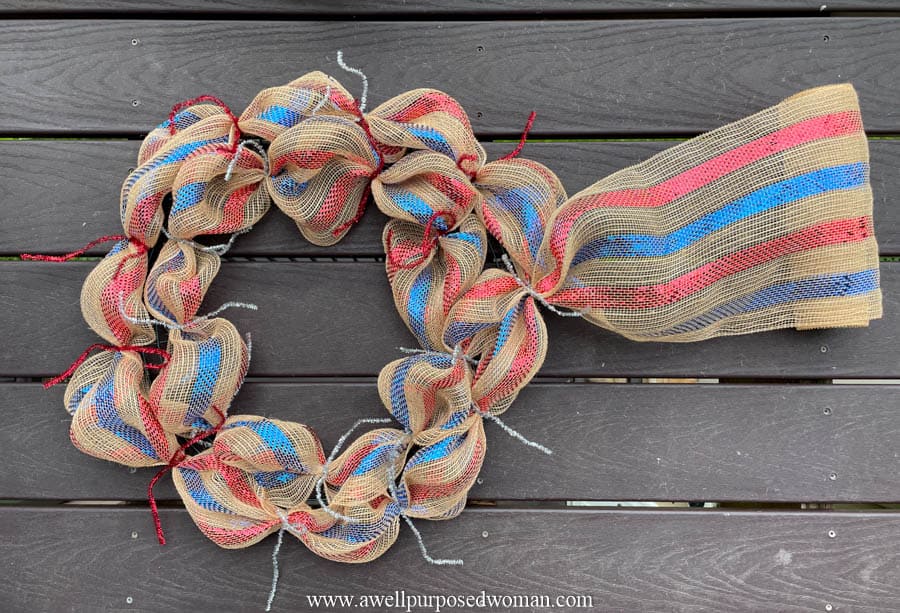
Next you are going to take your 10″x 10 yard deco mesh in one color and fill in the wreath form. This layer is a literally a filler layer. It is made to cover up the wire wreath form. Start with the inner row of the wreath. Bunch the end up and place it in between the two ends of one of the pipe cleaners.
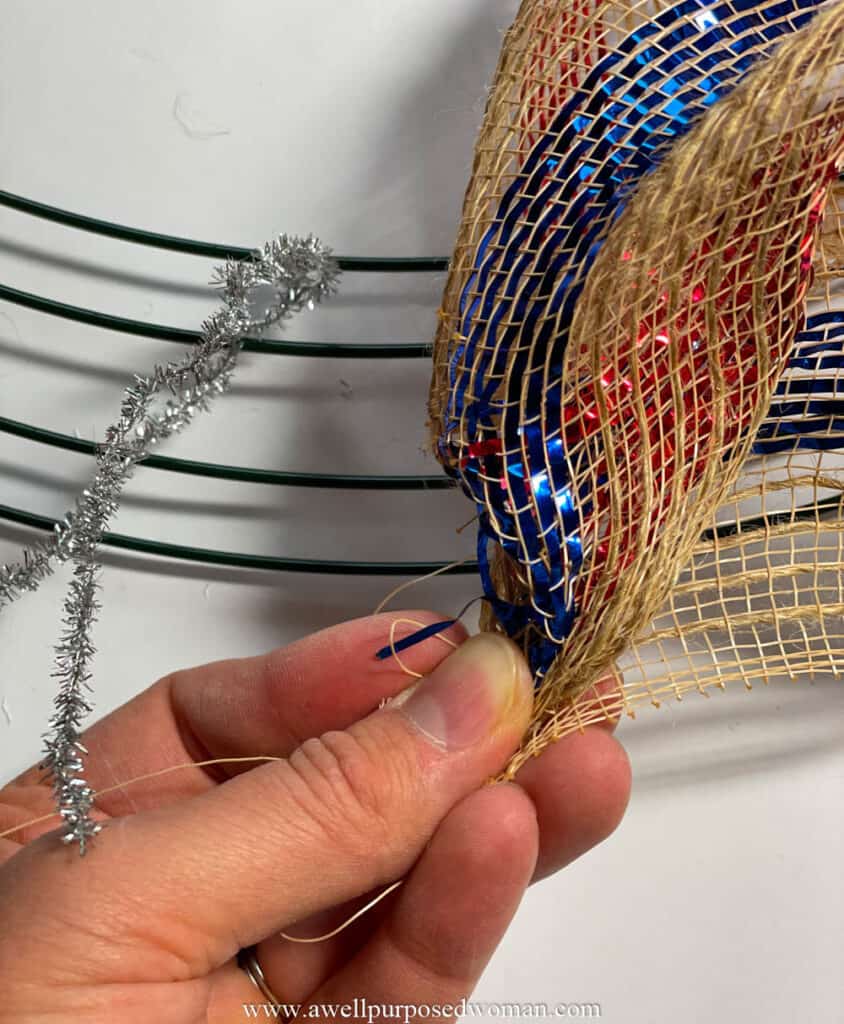
Then twist the pipe cleaner ends together to hold the deco mesh in place.
Create a 6″ bubble/bump/loop of the deco mesh between the first and second pipe cleaners. Now attach the second pipe cleaner around the deco mesh. Keep looping the deco mesh in between the pipe cleaners as you go.
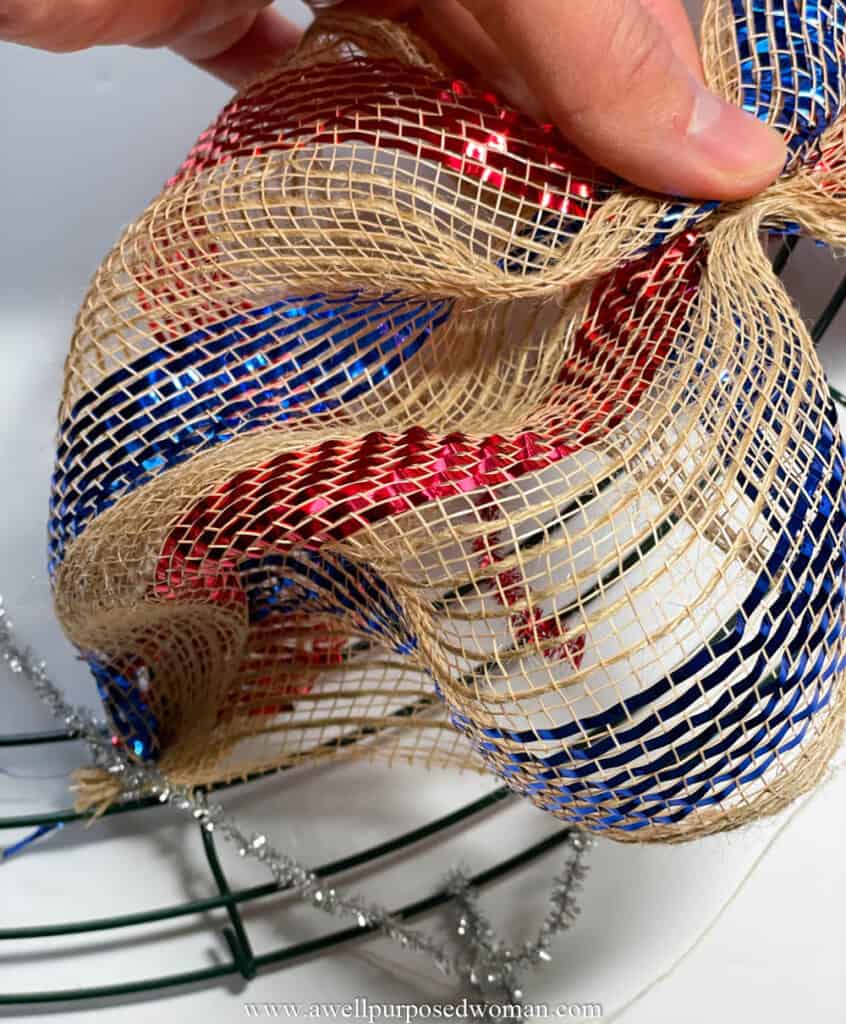
Continue making the loops around the inner row of the wreath until you get to the end where you started.
When you have come back to the beginning where you started open the first pipe cleaner and attach the deco mesh to complete the row.
Now without cutting the deco mesh. Make a loop onto the outer row of the wire wreath form and do the same thing. Loop 6″ of mesh at a time from one pipe cleaner to the next. Keep on making the loops until you come to the last pipe cleaner.
Attach the deco mesh with the pipe cleaner and trim off the deco mesh where you end up.
Step 3: Cut your deco mesh curls for your deco mesh wreath
Now that the wreath form is covered with deco mesh it’s time to cut the deco mesh curls that you will attach to the wreath. Cut the remaining deco mesh into 10″ squares. I used the same color of deco mesh and some burlap mesh to finish my wreath.
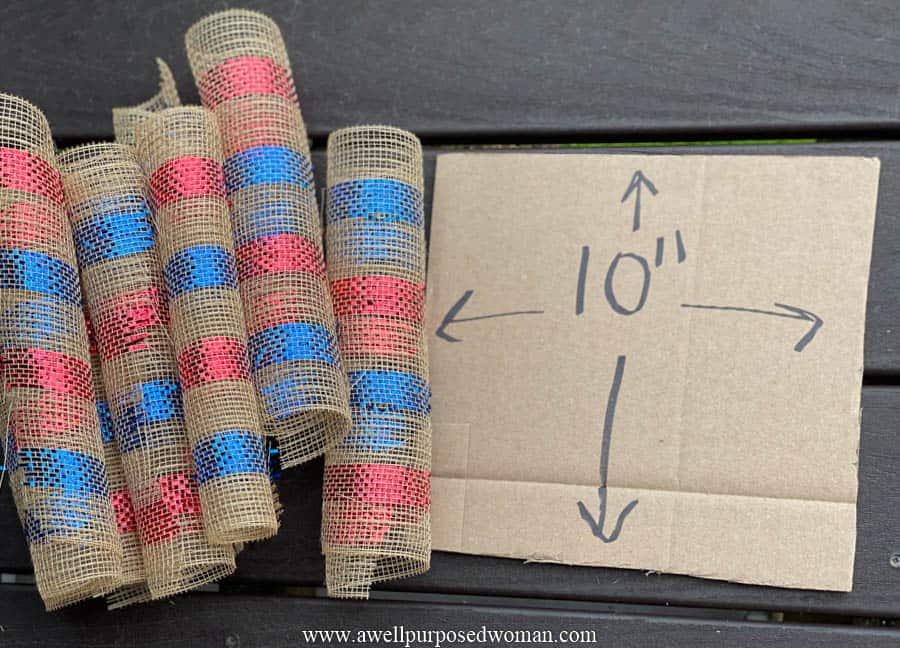
Tip: A quick way to cut multiple squares at once. Cut a piece of cardboard that is 10″x10″. Then wrap the deco mesh around the cardboard multiple times until you have used up all of your mesh. Take your scissors and cut through the edges on both sides. This will make mutliple 10″ squares at once. Do this again if you are using a second color of deco mesh.
Step 4: Cut your ribbon for your deco mesh wreath
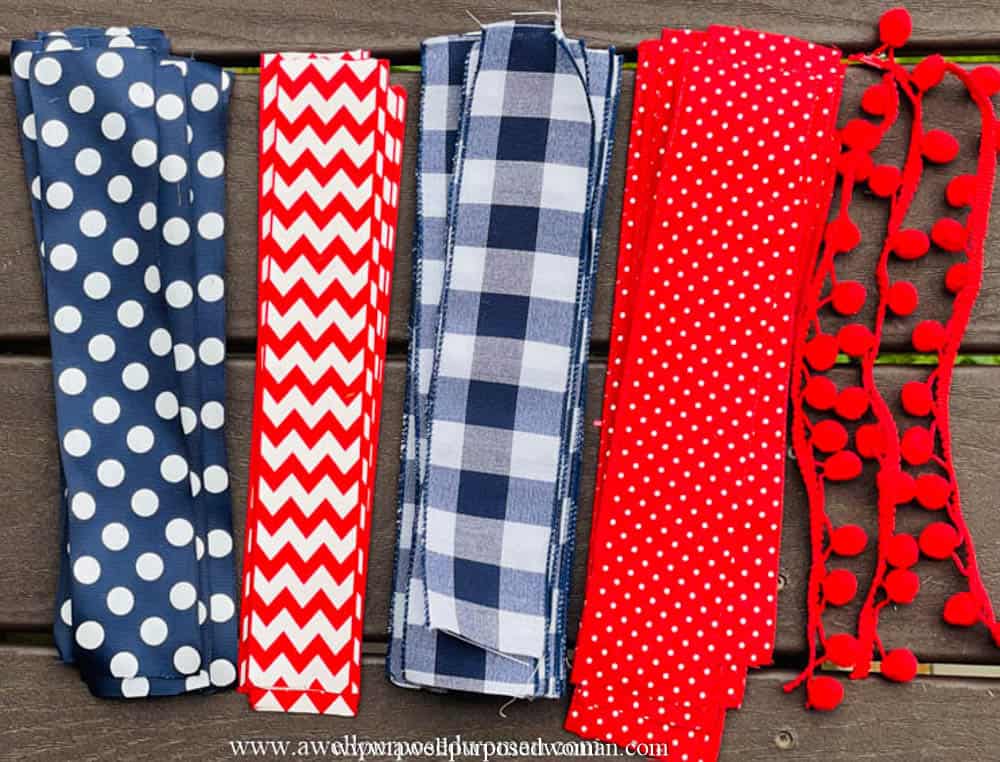
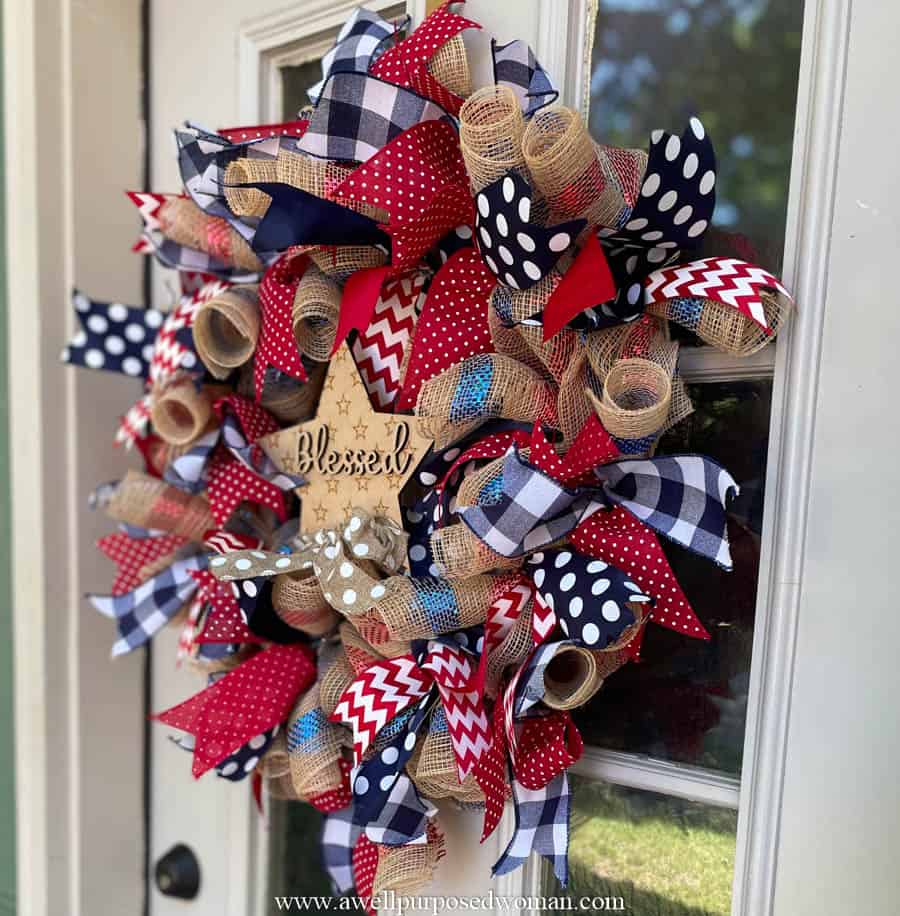
Now you are ready for the best part. Choosing your ribbons. This is the fun part because you can choose any colors or types that you like. Just choose colors that you think go well together. For this 4th of July wreath I choose red, white and blue ribbons. I bought them at Hobby Lobby when the ribbons were 50% off.
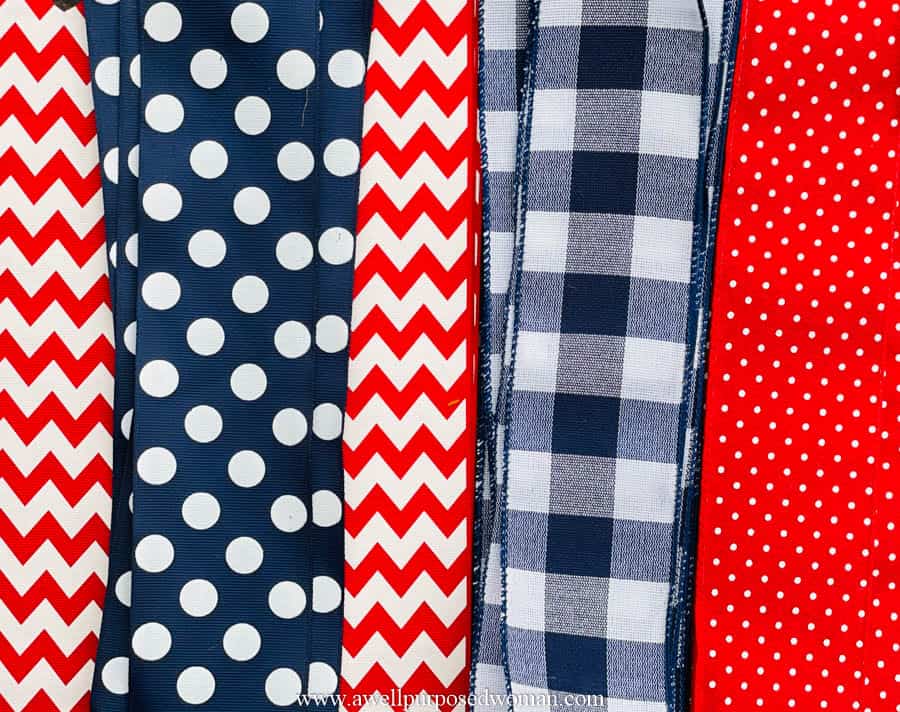
Once you have selected your ribbons, it’s time to cut them to size. You will want all of your ribbons to be about 11-12″ in length. I used 4 spools of 2.5″x 3yd ribbon in red, white and blue colors.
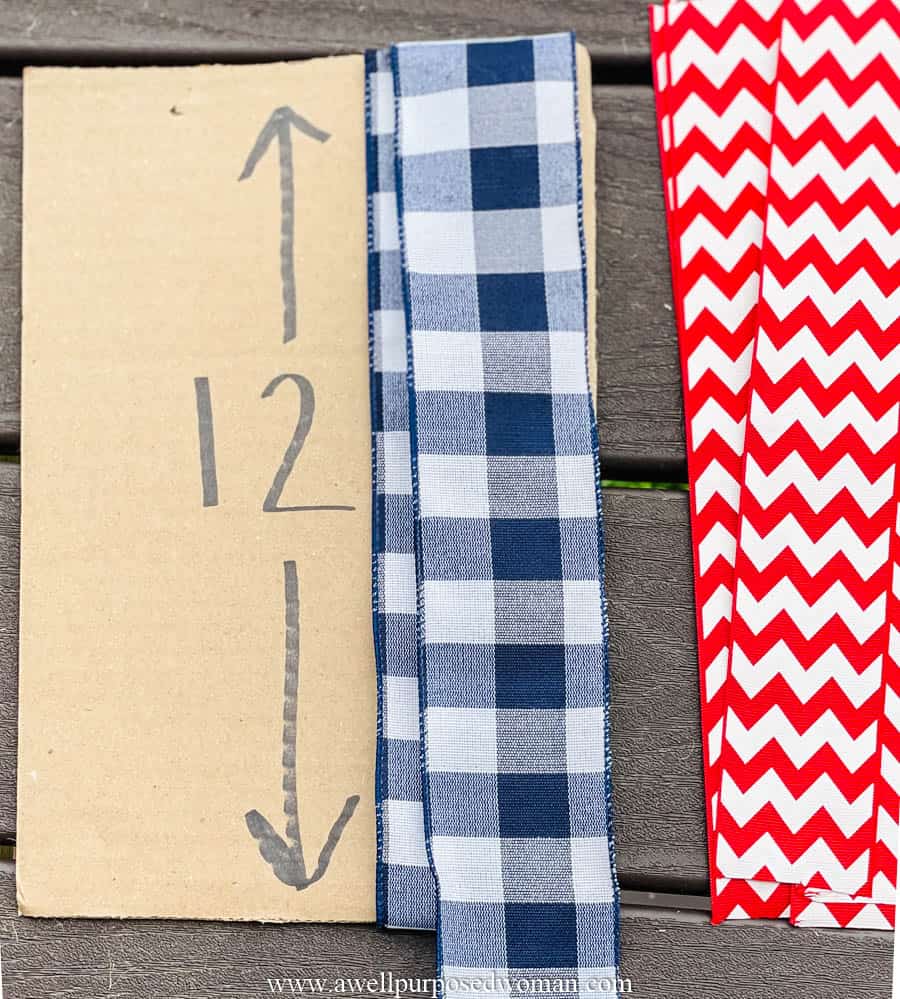
Now cut all of the ribbon into 11″-12″ strips.
Tip: A quick way to cut these strips quickly is to find a piece of cardboard or tag board that is 12″ x 6.” This will be your pattern for your ribbons. Starting with one of your ribbons, wrap it around the cardboard on the 12″ side. Continue wrapping the ribbon around the cardboard until there is no more ribbon on the spool. Now take a good pair of scissors and cut through the ribbon on both ends of the cardboard.
Step 4: Dovetail Your Ribbons
Now that you have cut all your ribbons to be 11″-12″ it’s time to dovetail the ends!
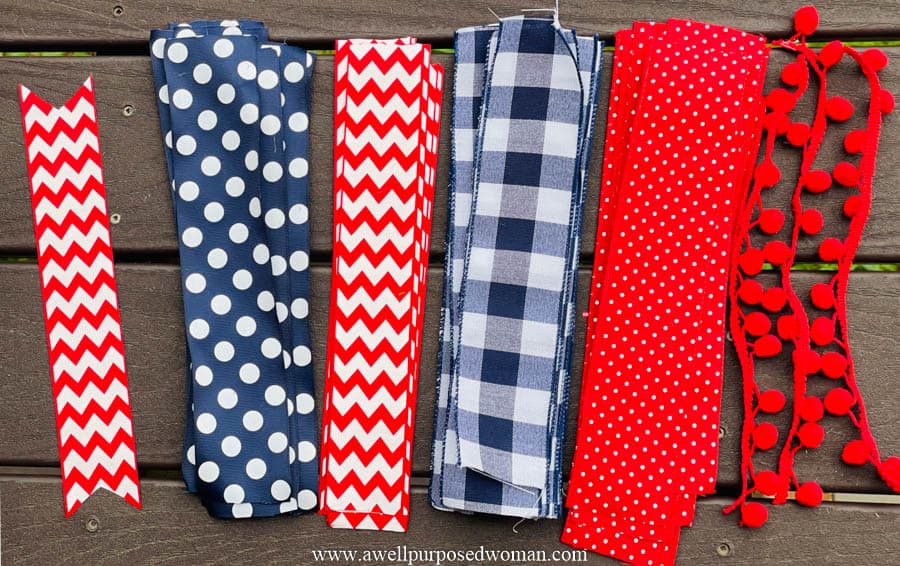
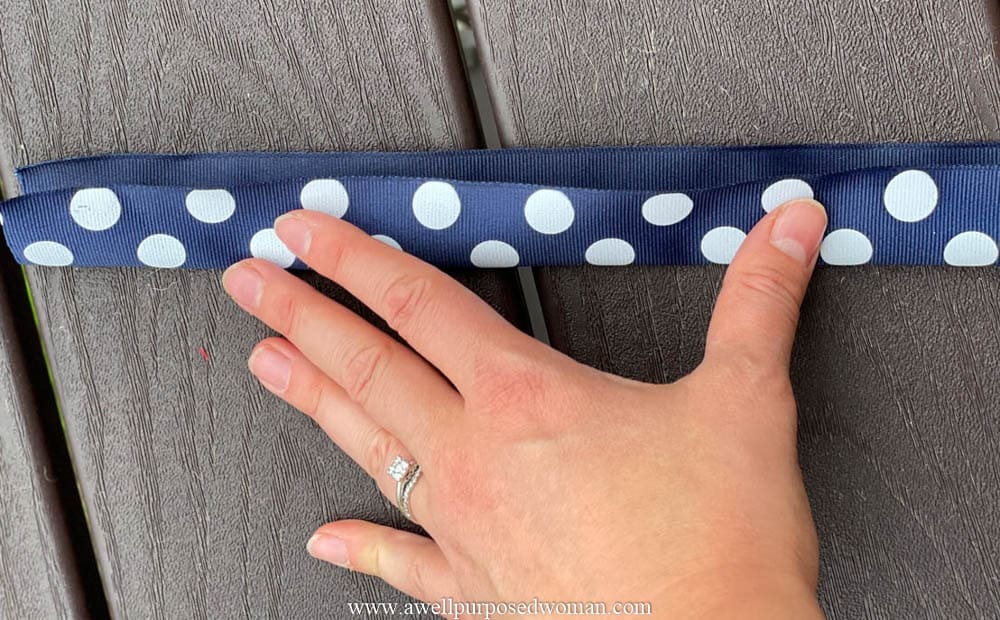
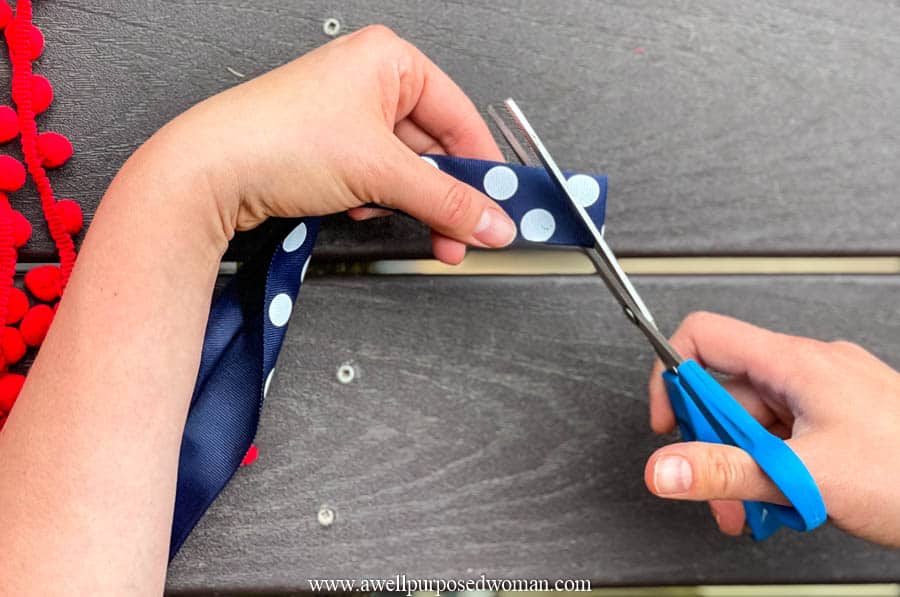
To dovetail your ribbons, take one ribbon at a time. Fold the ribbon in half.
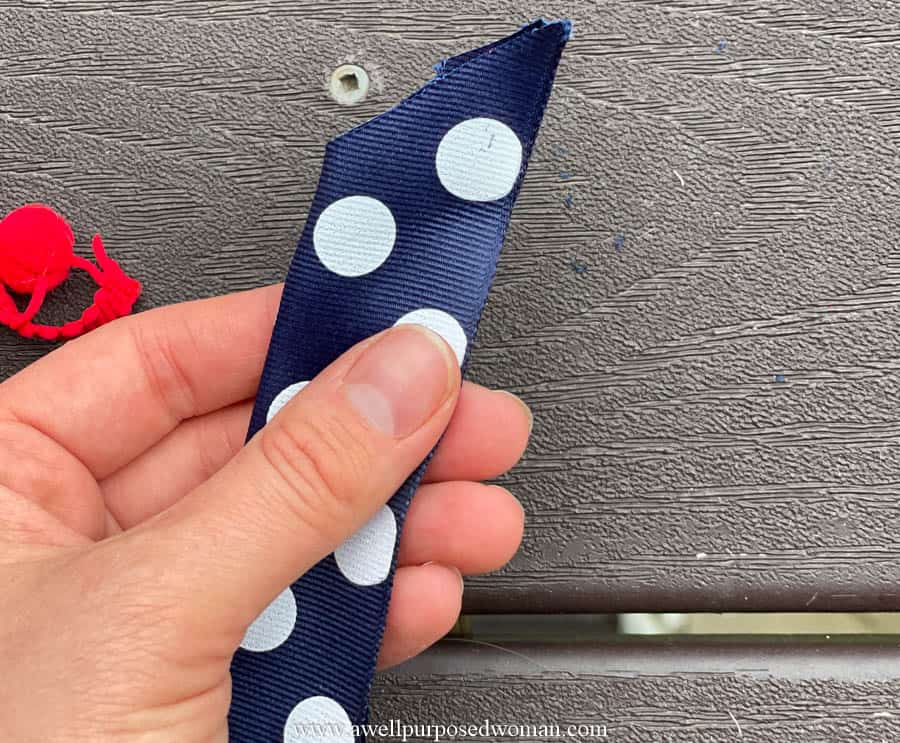
Then starting with the corner of your folded ribbon, make a cut with your scissors angled diagonally from the corner.
Continue to doo this with each of your ribbons on both sides to get the dovetail look. It’s a fun activity to do while watching your favorite show. I did this at my mom’s house while we were watching a show.
Step 5: Attach the curls & ribbons to the deco mesh wreath
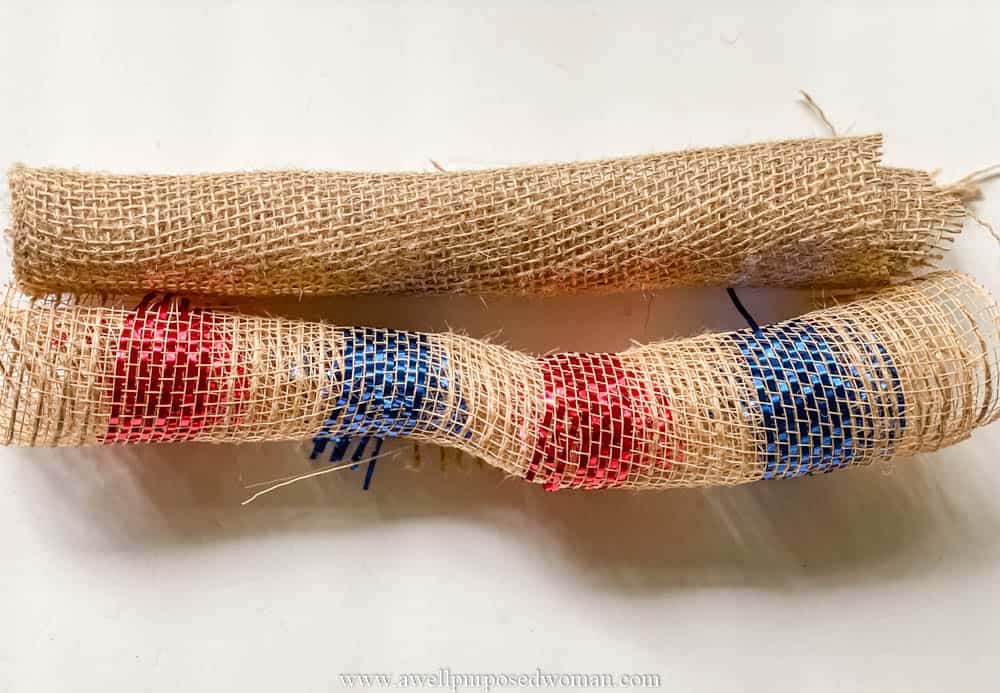
The last step is to attach the curls and ribbon to your deco mesh wreath. Take one of each of your deco mesh 10″ squares and roll them tightly into curls.
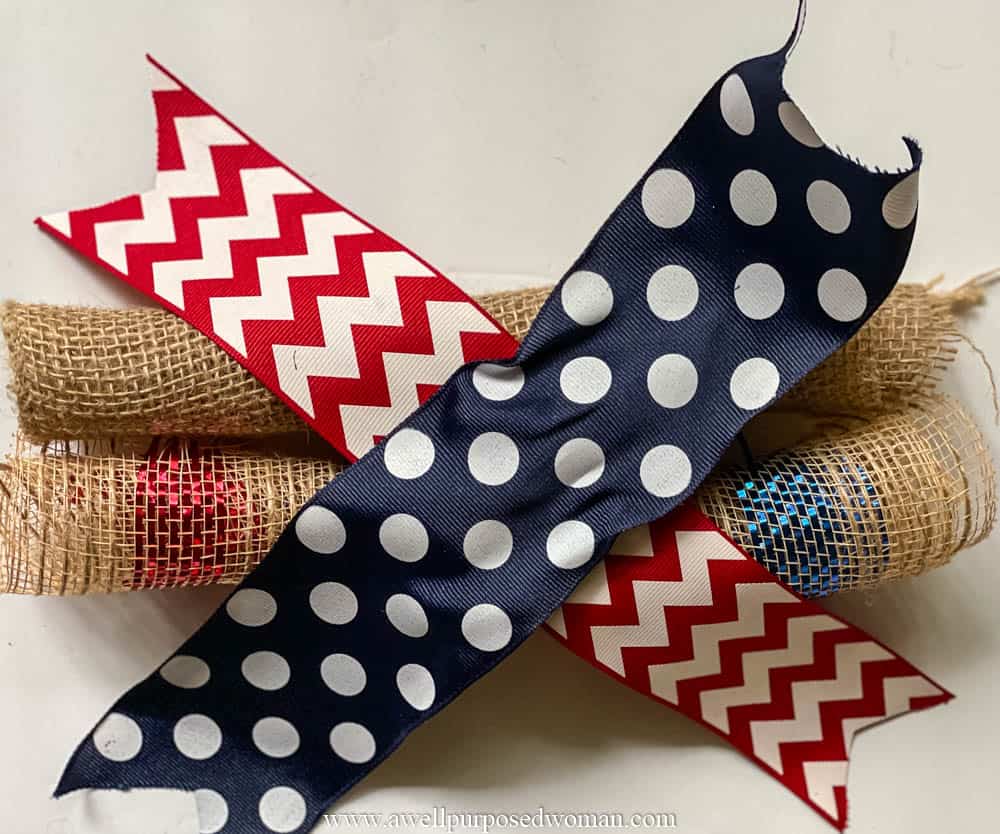
Then choose two of your ribbons in different colors. Place them on top of your two curls. You may have to use your hands to pinch the center of the curls tight. This will be the basic bundle you attach to each of the pipe cleaners along the wreath.
Taking the bundle, unwind one of the pipe cleaners, and attach the bundle by twisting the pipe cleaner closed again. Now you can tuck the end of the pipe cleaner on the back of the wreath.
Repeat this step on every pipe cleaner on the wreath until you go all around the deco mesh wreath. You can also add some embellishments.
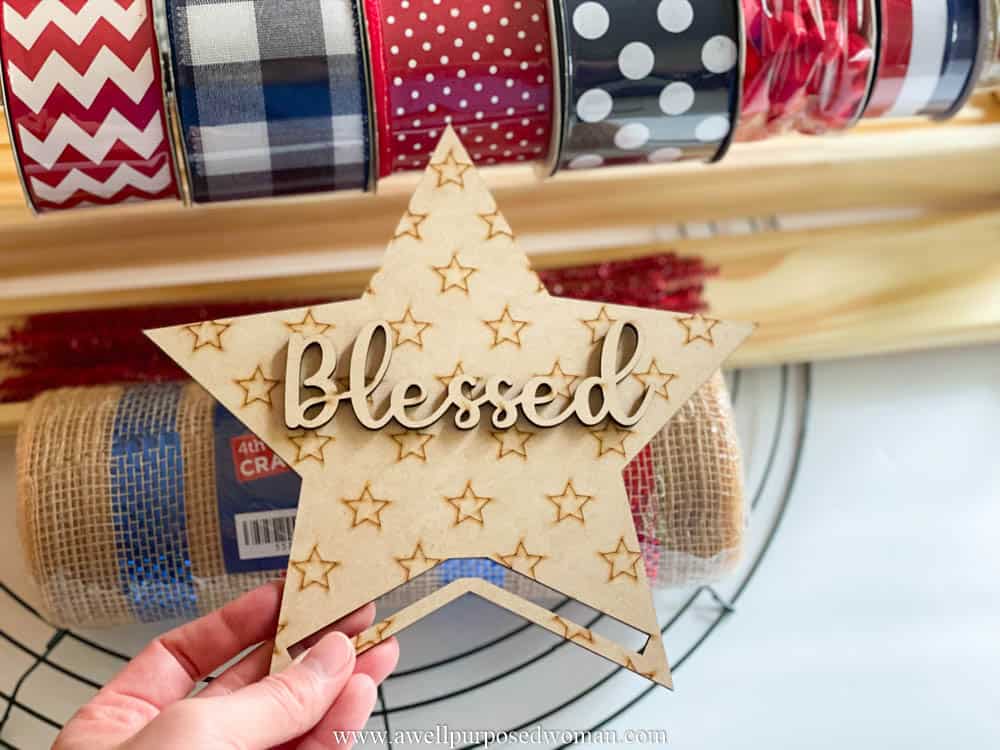
I added this wooden Blessed star sign, but you can add a wide variety of thigns to jazz up your deco mesh wreath!

It is so wild, fun and colorful that I really think I like it! I wanted to finish this wreath for the 4th of July this year but used the wrong size of wreath form intially. I would reccommend a 14″ wreath form for this wreath because it can become big quickly. If you have a larger entry way than the 18″ wreath form is probably fine. With the 18″ wire wreath form you may need to use a few more supplies to get a nice full look!
But that’s it! What do you think of this deco mesh wreath from? Easy Peasy? Let me know in the comments below.
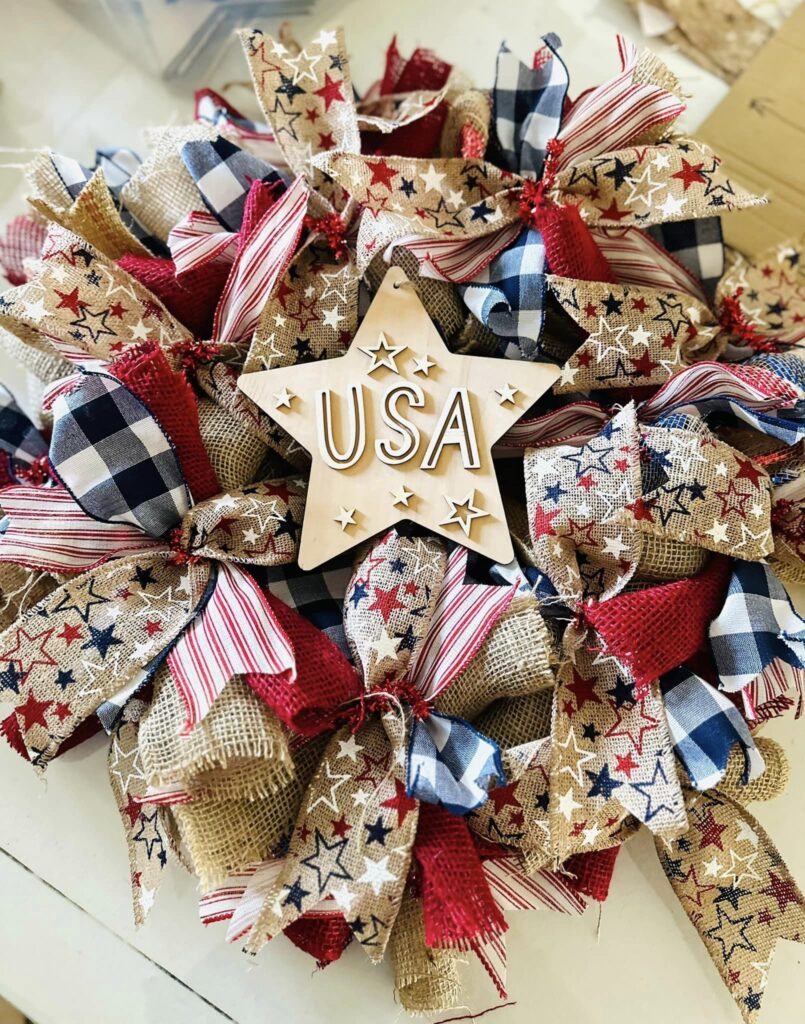
Update: I decided I wanted to try more neutralized colors. So here is another variation of the same deco mesh wreath with burlap and natural colors.
Take care and God bless!


Thank you for the clear easy instructions! I just made a super cute crawfish boil wreath. It was time consuming, but came out great thanks to your site.
That’s awesome! So glad you liked how it turned out. Cool idea! Elizabeth
Thank you Elizabeth for your simple and easy to follow tutorial. It’s been a while since I made one of these wreaths.
The last one I made was for my youngest daughters Beta Club, it was a ” Willie Nelson themed one.”
My oldest daughter requested one for “Football Season.” My 8 year old grandson plays for a youth football community league.
I appreciated the step-by-step instructions to help refresh my memory before I got started. Lol 🙂
Letty
Hi Letty! Wow, those sound like quite some wreaths! Sounds like you have a lot experience making wreaths. Happy to help refresh your memory and look forward to hearing about how your football wreath turns out! Happy Crafting! Elizabeth
Do you have any quick and easy suggestions for finishing off the back. If it is on a glass door where the back is visible or if you don’t want it to leave scratches, it would be helpful to cover it.
Hi Deborah! I think you could use a piece o felt and just hot glue in on the back side to keep it from scratching surfaces. Happy Crafting! Elizabeth
Hey Deb, I bought some round place mats and glue them on the form.
Hi Diana! Coool Idea! Thanks for sharing! Elizabeth
I’ve looked at so many utube videos. After reading this I think I’m ready to give it a try.
Thanks
Good for you Laurie!! Happy Crafting! Elizabeth
Thanks for the great directions! You explained everything clearly, showed a visual and I am ready to go!
Hi Paula! Thank you for your kind words. I hope it turns out beautifully! Elizabeth
What did you do to hide the pipe cleaners?
Denise
Hi Denise, I just twisted them on the underside. The ribbons take up so much of the view you can’t see the pipe cleaners. Elziabeth
So cute and you made it so much easier! One question, did you use the wired or no wire ribbon?
Thank you!
Hi Susie, the wired ribbon works to hold its shape better. That’s what I used. Elizabeth
Very cute. I so many wreaths. I am a hoarder. I admit. LOL Going to therapy for it but not helping.
Thank you for sharing.
Hi Stephanie! Thanks so much! I am glad you liked the wreath. Hope you can find the help you need. Happy New Year! Elizabeth
I have been looking for a wreath like this with instructions. Thank you so very much. Love it and I will be a follower for sure. Thanks again
Hi June! Thanks so much! Glad you found the instructions helpful. Take care, Elizabeth
This was great and I finally learned what I wanted. Thank you
Ronda
Hi Ronda! I am glad it helped! Happy Crafting! Elizabeth