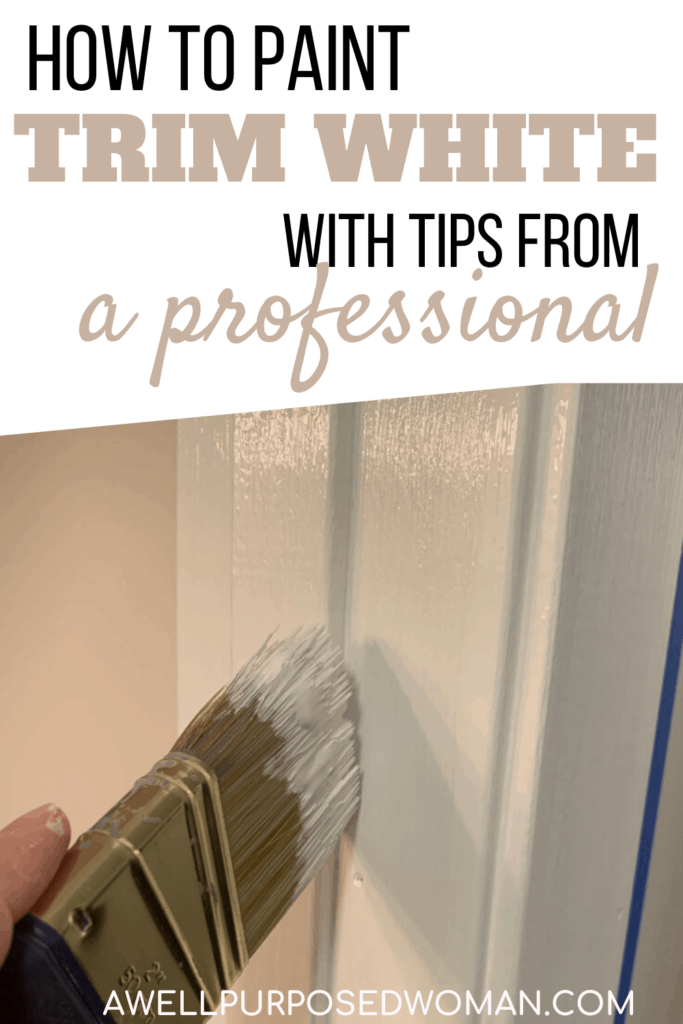
How to paint trim white without sanding. Learn how to paint beautiful white trim like a professional. Did you know you can paint beautiful white trim without sanding? Here’s how to paint beautiful white trim according to a professional painter no sanding required.
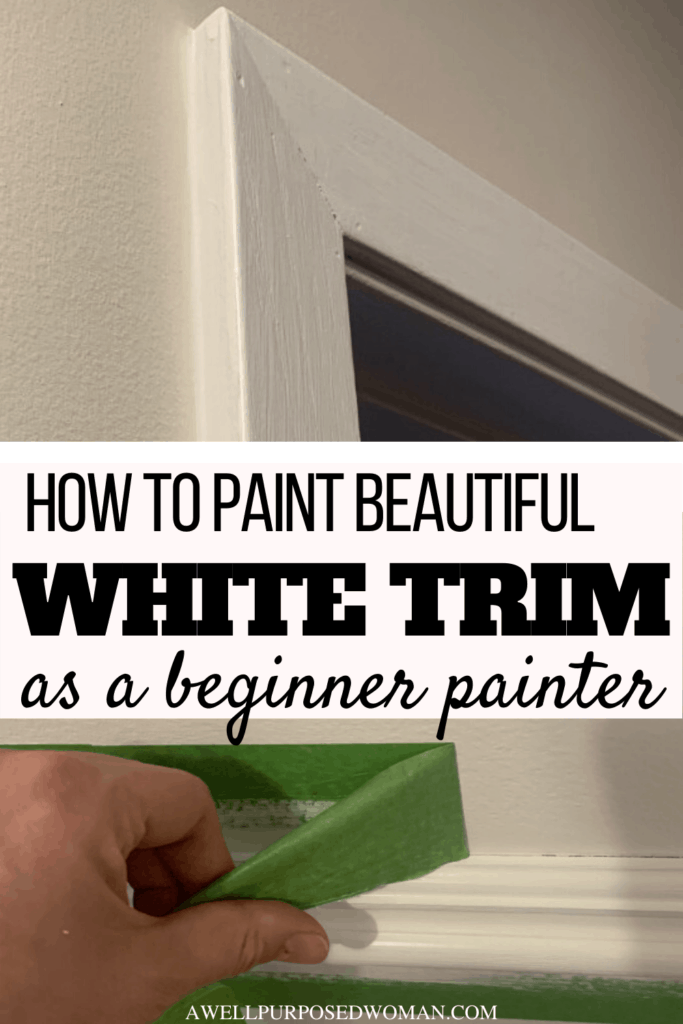
Help on painting white trim from a professional Painter
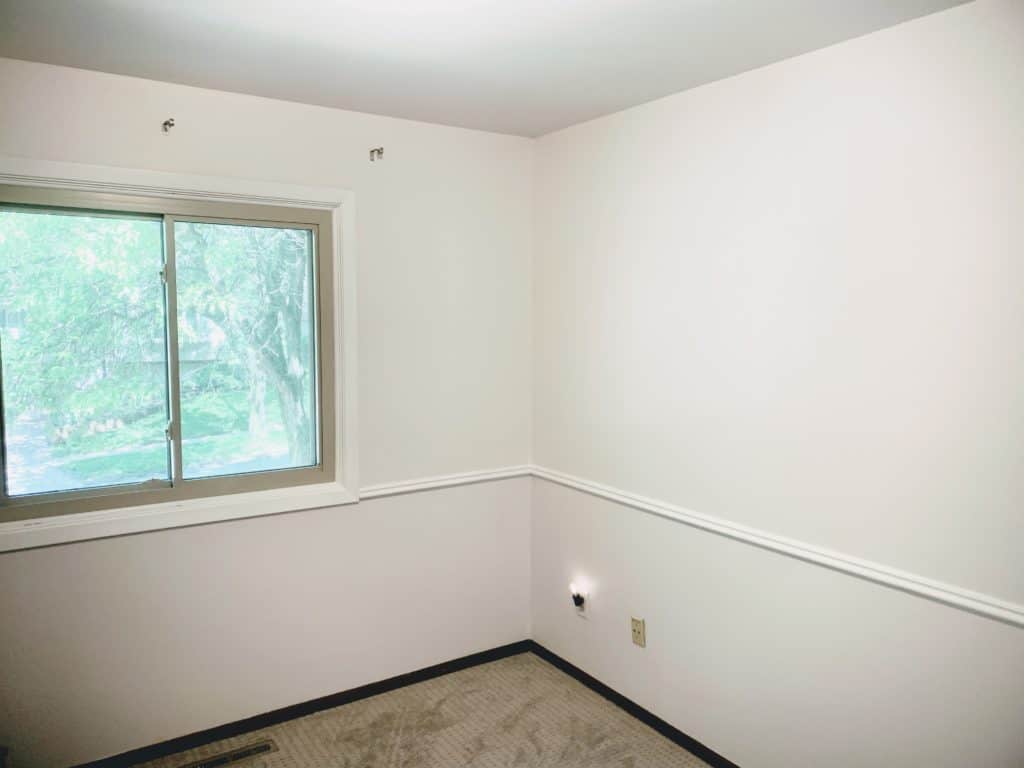
Deciding to paint the trim white in your home is a big decision!! It can dramatically change the look of your home. And since trim is everywhere in your home you want to make sure to get it done right the first time! Of course the fear is you could mess it up big time. After all once you paint that first white stroke on your trim you are committing to paint the rest!
Painting the trim white also effects the doors and closet doors. So it can quickly become a very expensive update as well. I shared a whole post on how to update the closet doors you may want to check out if you plan to update the doors along with the trim.
But for me I was really dedicated to the idea of painting our trim white, but I still felt it was a bit of a risk. I was SO thankful that we hired a professional painter to help us out with our ceilings because he also gave us paint lessons on the side.
Lessons from a professional painter on painting trim white
Our painter gave us step by step instructions and helped us out when we got stuck. Especially when we were going to tackle projects that we were uncertain about like the painting the trim or paneling white. Both my husband and I were forever grateful for his willingness to teach us being a professional painter. It really gave us both a great deal of confidence to tackle any painting job in our home.
In this post I will share with you the tips that our professional painter taught us on painting the trim white. I will also share the products that he encouraged us to use. There is definitely more than one way to paint your trim white, but I do feel by following our painter’s steps we achieved the beautiful white trim we were wanting.

The finishing touches he taught us really helped to give it that professional feel. So if you are not able to hire a professional and you are up for the task, then this tutorial is a great alternative for you. I even made a guide to go with this post just for. The guide has all the instructions and a shopping list. This way you can reference the steps while shopping and painting for your trim.
It’s possible to DIY beautiful white trim!!
So if you are considering painting your trim white but are feeling a little uncertain like I was. I want to reassure you that it is totally possible! It can be intimidating but if you are committed to having white trim then by golly you can do it! Even if you are new to owning a home, and new to painting like both my husband and I were.
I have added affiliate links to this post for your convenience. If you have any questions about the recommendations feel free to email me. If you purchase through these links I receive a small commission (with no extra charge to you).
Here’s are the supplies needed to paint beautiful white trim:
- Free Printable Guide
- Oil based primer
- 2 Wooster shortcut brushes
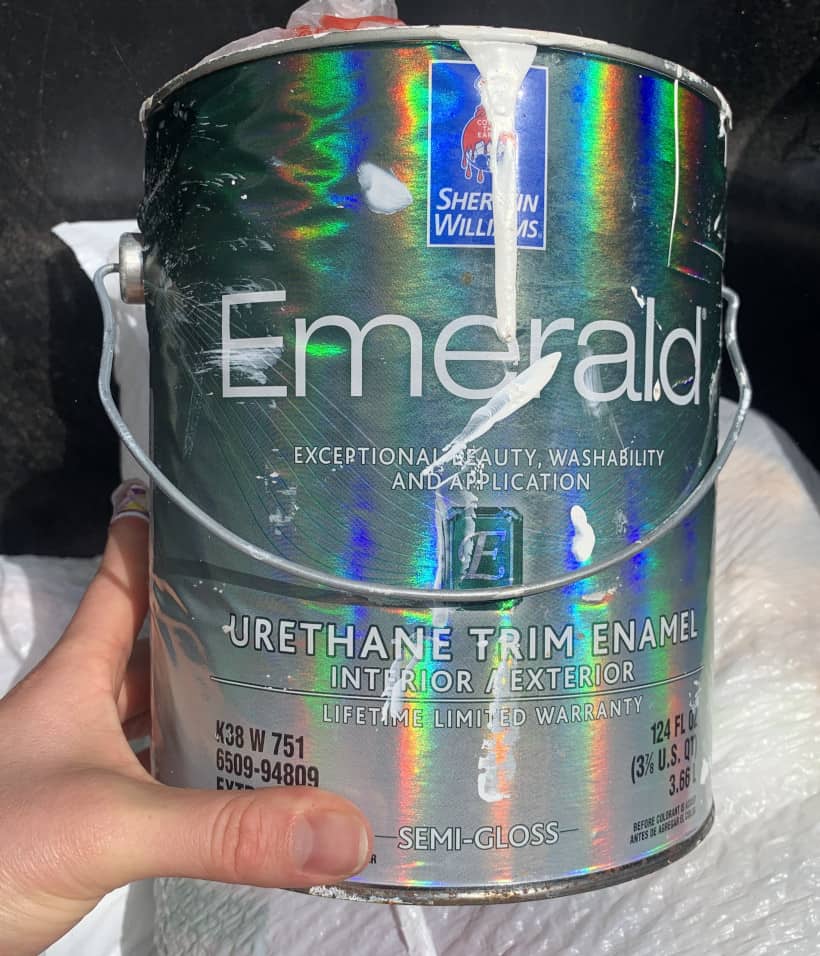
- Sherwin Williams Emerald Urethane Trim Enamel- Semi Gloss (It’s spendy but exceptional)
- Kwik Wood Wood-filler
- Sandpaper
- Frog or painter’s tape (If you plan to do your entire house, buy a multi-pack for sure!)
- Drop cloths or plastic tarps (just make sure no paint can get through)
- screwdriver
Here’s how to paint beautiful white trim:
Step 1: Prepare the wood trim you will be painting white
a. Clean the wood trim
The first step is to prep your trim. If you have any dust or debris on your trim. Scrub it off with soap and water. Let it dry.
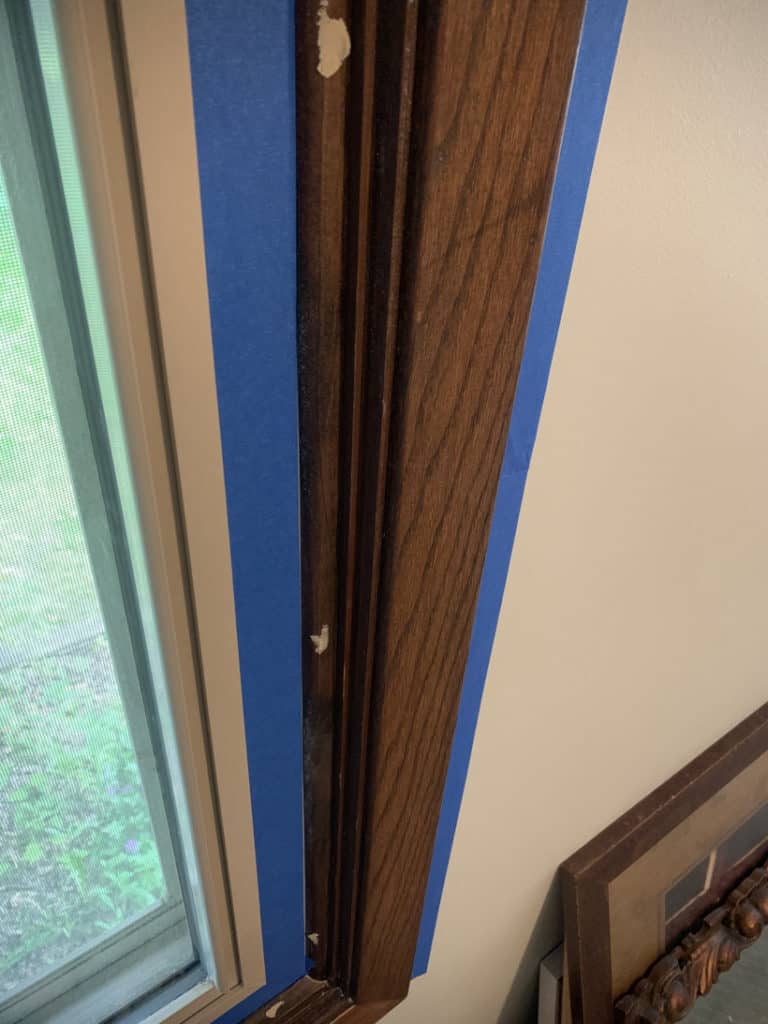
b. Fill in nicks or holes in wood trim
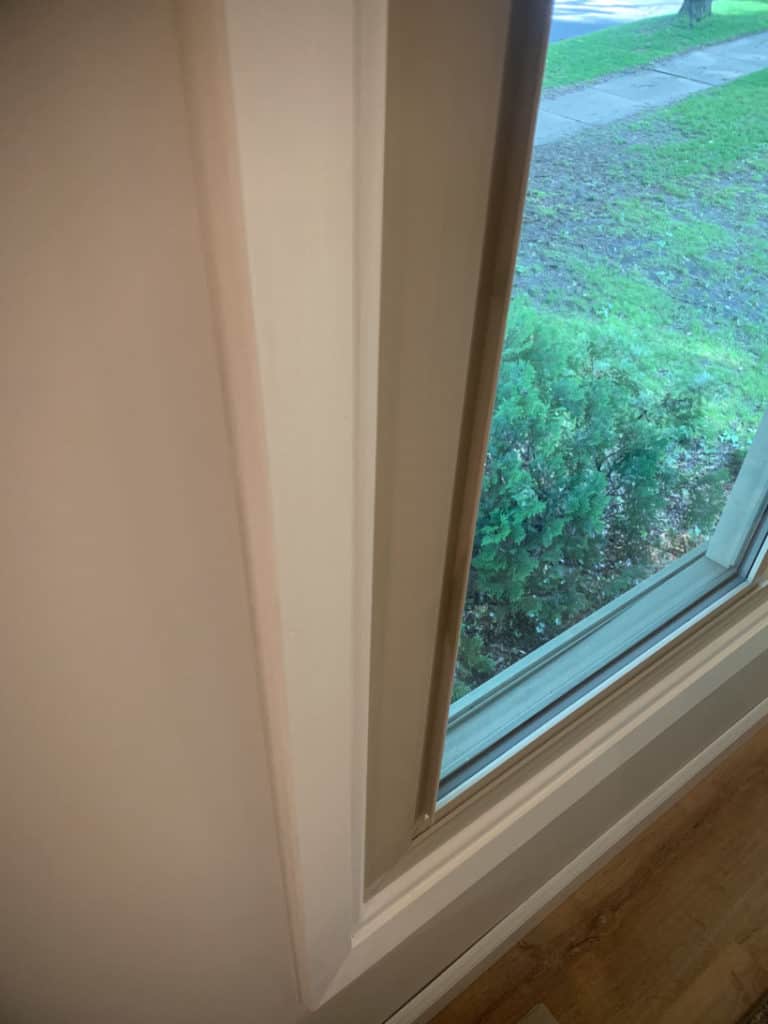
If you have any holes or nicks in your trim you will want to fill them with the wood-filler. In our windows the quarter round on the windows had small nail holes. I had to fill all of those will wood-filler before painting.
c. Sand off wood filler from wood trim
Once the wood-filler is dry. Sand off any rough edges even with the trim.Then clean the surface again with a rag.
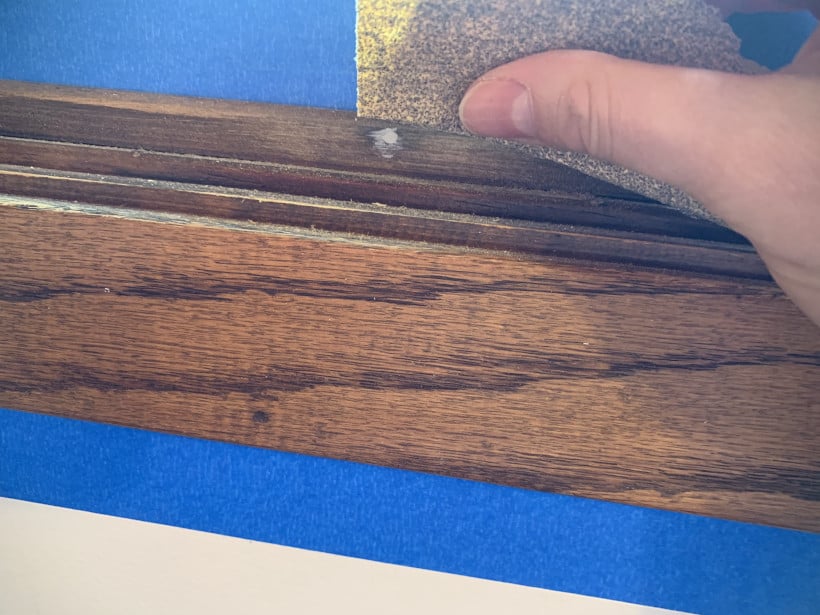
Tip: you may be tempted to just try to fill small holes with the primer and paint. Don’t skip this step. You will be much happier with your end result. A lot of times the paint does not fill in the holes. So you still have the small holes in your trim, it just stands out more now because it is white.
Step 2: Remove doors or other hardware
Use your screwdriver to remove doors and other hardware. Keep your screws and hardware labeled in Ziploc bags so you will remember what hardware goes where.
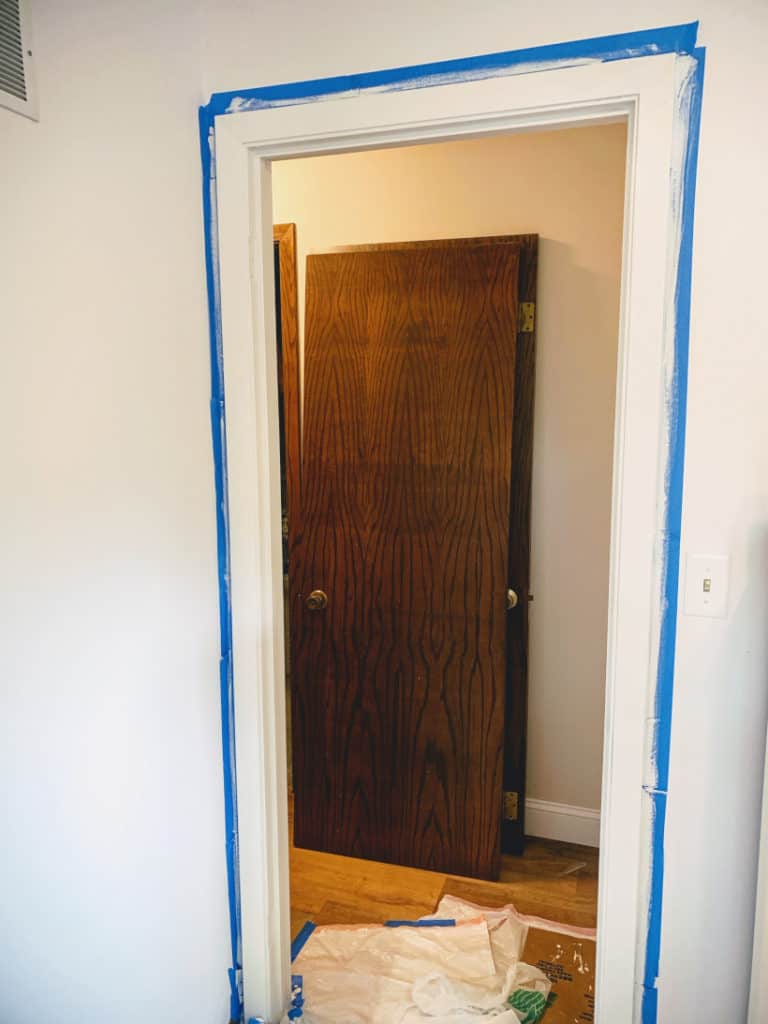
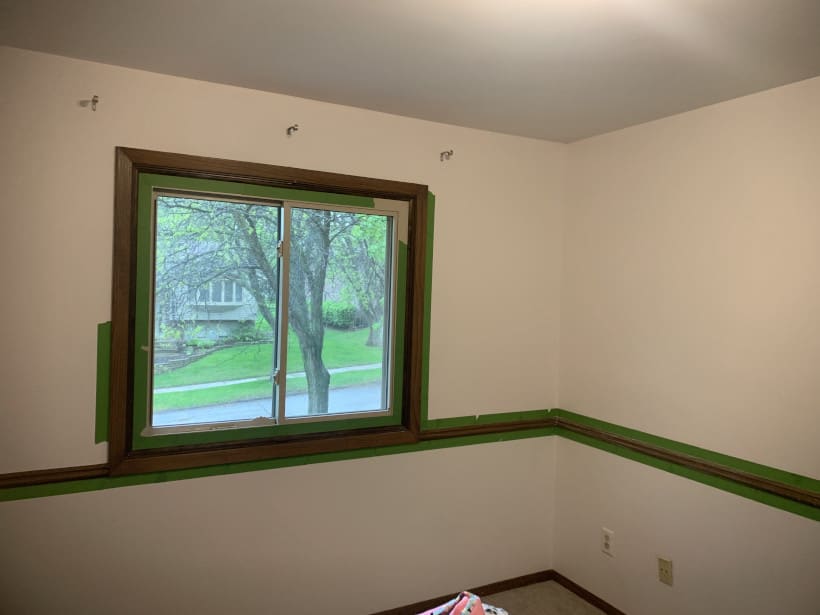
Step 3: Tape around wood trim
This is really one of the most important steps. Tape around walls, floors and move anything you don’t want to paint with frog tape. When I ran out of frog tape I did use regular painter’s tape. Either frog tape or painter’s tape works.
Tape along the edges of the trim and ensure that you are taping in a straight line. Any areas where the tape is not close enough to the edges will need to be touched up, so its worth taking your time to tape well.
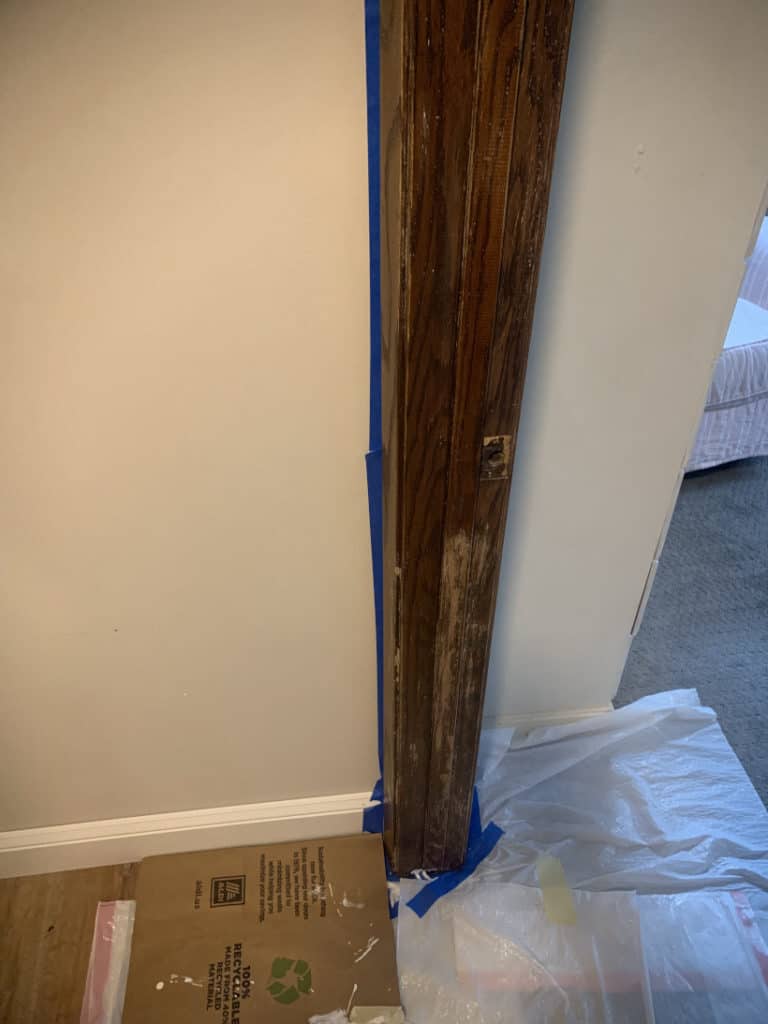
Even more importantly we REALLY did not want paint to get on our floors since we just installed new ones. So on the floor you will want to stick the tape underneath the baseboards as far as they will go. You can use a butter knife to poke it under just a little bit more.

Put multiple layers of tape around doorways and baseboards. Then put drop cloths or plastic underneath the tape covering the floor.
You will also want to cover furniture or anything in the room that you do not want paint to drip on. We moved furniture and other items to the center of the room or into a different room if necessary. When I worked on the closets. I pinned a sheet up over all the items inside.
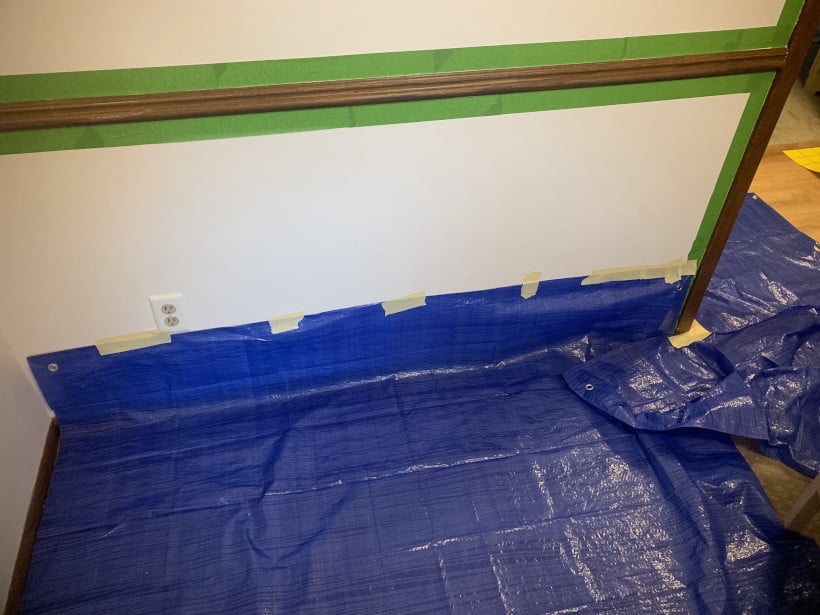
Take all the time necessary to ensure things are well covered. You won’t regret it!
Tip: If you are replacing your flooring too, paint your trim first! If painting walls at the same time as trim. You will only have to tape once! Bonus!
Step 4: Apply Oil Based Primer to Wood Trim
Phew! Now you can actually start painting.
A good rule of thumb is always to work from top to bottom. So start by painting doorways, chair rails, and windows. In our house we decided to install taller baseboards. So we did not paint those at the same time. But work on baseboards last if you were going to paint them as well.
Also a note about oil based primer. It’s smelly! You will want wherever you are working to be well ventilated. We kept our windows open and fans on. Also you will not want your children around the smells. We had our daughters play in other rooms or outside while we were painting. Since we did our trim in steps this worked ok for us.
Even though I did not enjoy working with the oil based primer, I ended up doing two coats of the primer. Only one coat is necessary. But with two coats I got much better stain coverage. This was helpful because our trim was so dark, and we were painting it white. (So this was not something our painter had showed me. I just discovered this after painting a lot of trim.)
Tip: I found with our very dark trim the color was a purer white when I used two coats of primer. Plus you will save money in the end by using less of the trim paint, which is considerably more expensive than the primer.

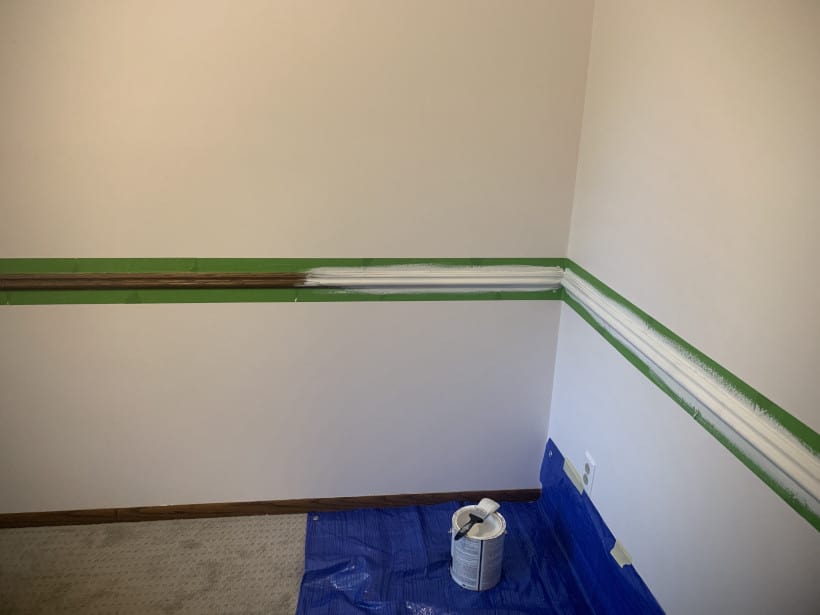
Step 5: Paint with white trim paint
The next step is to paint over the primed surface with the trim paint. You will want to sand off any drips from the primer before you paint, but other than that let the party begin! 🙂 This is by far the funnest part because now you can really start to see the transformation of your trim.
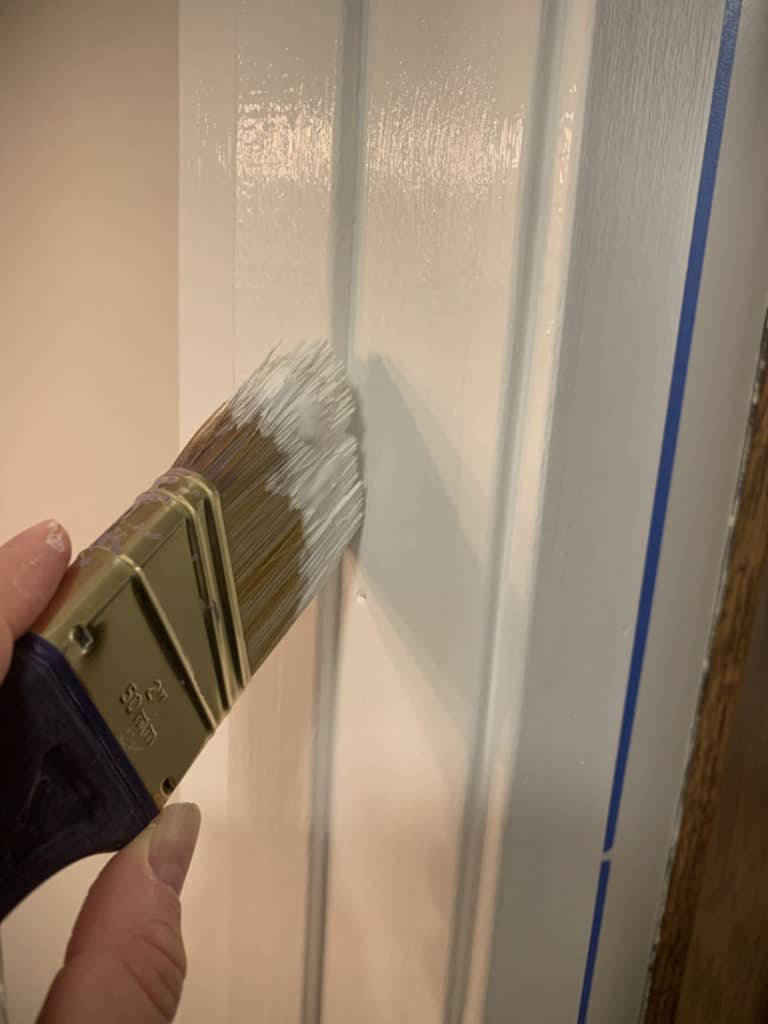
I found the Wooster shortcut brush really worked well in the corners and in the places the wood joined like on doorway corners. If you are still seeing some spots where the stain is showing through then apply another coat of the trim paint. After your paint dries and you are pleased with the color you can move onto the next step.

Tip: With 1 coat of primer, 2-3 coats of trim paint was needed. With 2 coats of primer only 1-2 coats of trim paint was needed.
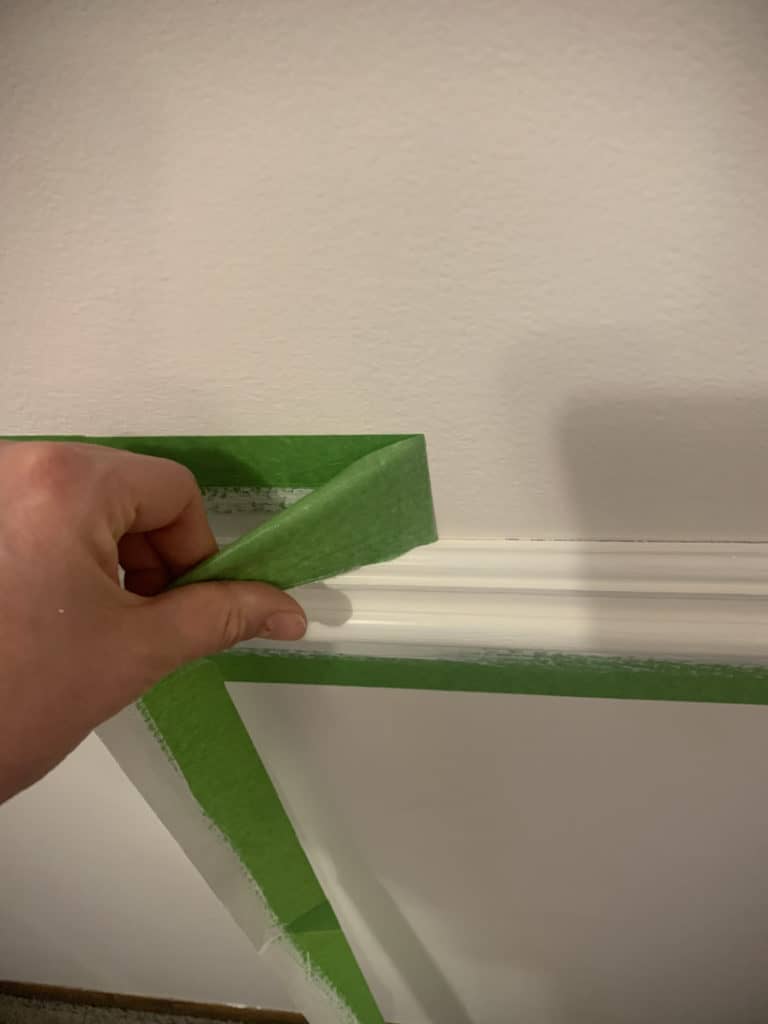
Step 6: Remove the frog tape & fix any trouble spots on white trim
Now that you are pleased with your results. Go ahead and remove the tape. Our painter recommended pulling off the tape folded over. Like in the picture below. Also pulling the tape off just before it dries. I pulled mine off just after it was dried because of time and that worked fine as well.
The final step to get professional looking white trim
****There is one final step to give you that really professional look for your white trim.
Finish off your trim by caulking around your trim. This is the final touch that really makes your trim look absolutely stunning! Check out the complete beginner’s guide to caulking trim & baseboards.
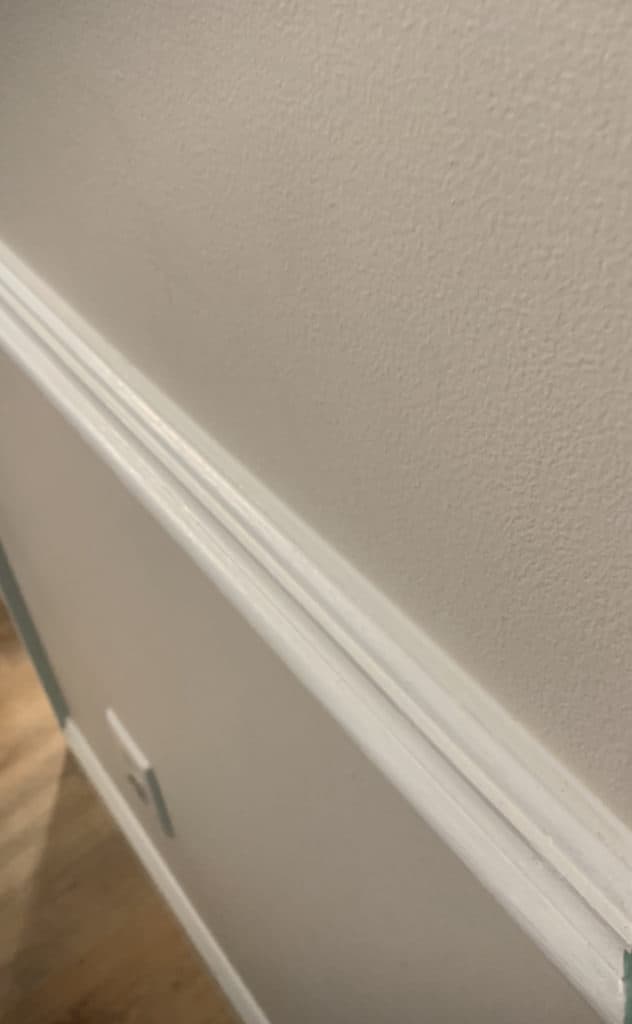
But that’s really it for now! You now have beautiful professional looking white trim. You reached your goal and you didn’t let fear stand in your way! It really is dramatic. I absolutely love how the white trim reflects more light.
I am working on putting together some before and after photos. Below is a picture of our dining room before we moved in and the after is after we painting the trim white!
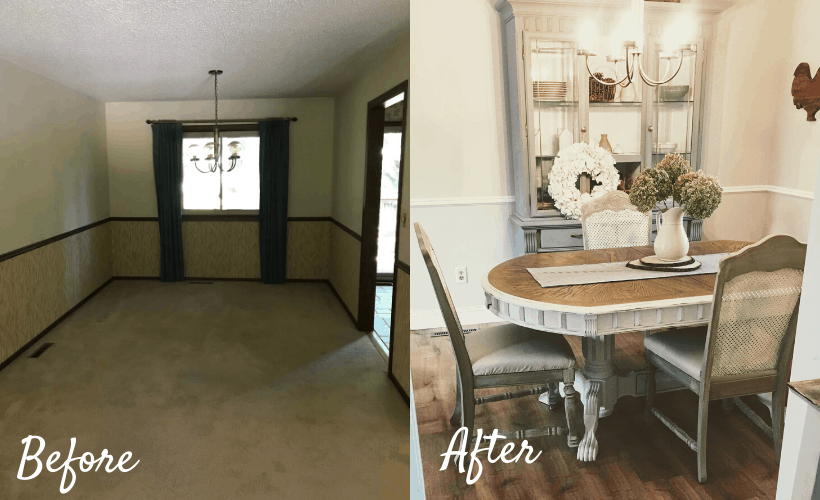
Every room just looks brighter and more scrumptious! As I mentioned if you are interested in learning how to update your closets as well, I have another post on updating old closets into modern ones you may want to check out.
Painting trim white can be a daunting task, and I am so thankful I had some professional advice on this project. I am glad I could share it with you too. Let me know if you decide you are up for the task and tackle your own trim! Or if you have any questions.
Take Care,

P.S. Don’t forget to download your free guide to make painting your trim white easier.
No time now, be sure to save this post for later!
And you believed your “professional” painter that you will have beautiful trims without sanding. How sweet of you.
Did he also tell you that you van plant money trees in your back yard?
Yup! And turned out awesome. That was four years ago and trim still looks great! Elizabeth
Maybe I missed it but did you sand all of the trim before starting to paint? We have that 90’s orange/honey color and want to paint it white. But the thought of sanding everything already makes my hands hurt.
Hi Hannah,
No we did not sand the trim first. We just used an oil based primer and applied several coats of the trim paint. We had dark walnut trim and it covered just fine. Happy Painting! Elizabeth
Hi…. I am days away from starting to prepare and paint all the trim in my home! I love your tips and guide and am going to use your method, only adding a scotch brite step after the trim is washed and dry! The dreaded question that I have is about how long did it take you to finish? I have taken a week of off work and will have the weekend before and after…. Am I kidding myself if I think I’ll have it done in a week?
Thanks much!!
Hi Jennifer! Every project I have ever taken on takes 3 times as long as I think. Because it’s always hard to calculate moving items out of the closet or away from the trim/ removing hardwarde/ filling holes etc./waiting in between coats for things to dry. That being said if you have a lot of the prep work done I think you can accomplish quite a bit in a week. Of course depends on the size of your home, etc. But really that is probably a good amount of time to put quite a dent in your trim work. All the best to you! And I hope you will love the results. Take care! Elizabeth
I am a professional painter/faux finisher/muralist and have enjoyed reading your post. Thank you for informing your readers of the ventilation tip while using oil-based paint and primer. It’s such an important safety tip. For me, oil-based products provide a blended and smooth finished surface, however, I prefer water-based products because the clean-up is easier and environmentally safe. Valspar Bonding Primer is an excellent product that I use for most of my projects along with either a 2 1/2″ or 3″ angled brush and sometimes a sponge or nap roller for the final coat depending on the project. I loved your finished dining room picture. Great job. Thanks for sharing with all of us.
Thanks Diana for your tips. I do not like working with oil based primers either but they do seem to work better at covering the wood stains. I like your tips though thanks for sharing! Thank you! Elizabeth
I am 74 & have always done my own painting. The real “secret” to trim painting is to use an angled brush. Best control & no need to tape anything! Last year we had to have our entire house repainted inside & out because of hurricane damage. Watching some of the painters was almost excruciating because of the mess several made. It does take time & practice as well as good quality paint. Long strokes means fewer brushstrokes. No one should hesitate to take on a painting project. Budget aside doing ones own painting is rewarding!
Hi Lynn, thanks so much for your input. It sounds like you have some really great experience! Angled brushes definitely make it sooooo much easier! I would say they are a game changer. If someone is not as comfortable with having a steady hand than tape can also help give people a little bit more of confidence. Thanks for your comments. Elizabeth
Hello! Thanks for the helpful tips!
What is the color name of the SW trim pint that you used?
Thanks!
Kelly
Hi Kelly,
It was just the color of the trim paint. We did not tint it at all and just used the semi-gloss finish. Elizabeth
Thanks for the tips! This may be a silly question because it all depends on how big the house and how fast one can prep and paint, but what’s an estimate turn around time for this project? Are we talking weeks or months?. I would be painting the trim while we live in the house and just ordered if it was possible without going crazy from the mess? Still not sure I want to tackle it but would love to have all white trim and don’t want to pay a professional. I currently have light tan trim. Did you paint your doors too or just replace them?
Hi Holly, you are right it does depend a great deal on the size of the house and amount of trim you are painting. I would say it could be completed in weeks. I did a few rooms at a time because we were also living in the home at the time. We did paint the doors for temporary use but will most likely just replace them. Elizabeth
Looks great! What do think is the best method for eliminating or diminishing brush stroke lines on the trim? What kind of brush did you use?
Hi Laura, I try to use a very light brush stroke and be very careful when applying the paint. It is possible to use a small roller as well. I used the Wooster brush that I listed above. Elizabeth
So does your friend recommend painting the walls first and then taping and painting trim last?
I don’t remember him suggesting an order about walls or trim first. Just more about painting top to bottom. So always do things higher in the room first. I have seen other articles about doing the trim first. But I would say just do it so you tape as little as possible. We did the walls first so we only taped the trim. That worked well. You don’t want to tape twice! Elizabeth
Wise choice painting that trim! I find dark oak to be so man-cave-y.
Just for the record, I know of no professional painters that waste time with the tape. My ex- was “in the biz” and he and his buddies laugh about Harry Homeowners and their tape. He finds that by the time they’re done “helping” by taping, he’s done with a room or two. Pros know their brushes and surfaces!
Not saying it’s a bad idea for non-painters, which is probably why your pro suggested it as a step.
Your advice about taking the time to fill holes, etc., is one most people skip. THAT is truly a difference between a pro and homeowner.
Thanks for a nice post!
Hi Christine, Yes that does seem to be true with our painter as well. He re-did our ceilings and as a courtesy to us painted all the areas where our ceilings met the walls. This way we didn’t waste time with tape. I would say the deciding factor is confidence. I have found the tape is helpful if you don’t have the confidence to make straight lines with the paint. After re-painting our entire home, we grew in confidence and used less painter’s tape. I agree with your comments. Thanks for sharing! Elizabeth
I have quite dark trim in my home. The previous owners painted some of it a sloppy white, some of it mauve (yes, you read that correctly), and left some of it stained. I am hoping to get it all a beautiful white in the near future. Thanks for spelling this all out!
Sure! Happy to help. Let me know how it turns out. You could always link back to this post. 🙂 Elizabeth
I am really surprised you caulked after you painted. I have learned the hard way to prime (I use Zinnser Shellac based primer, because shellac is THE only type that prevents bleed-through of knots) , caulk and paint. Dirt and grime — think cat fur — will stick to caulk and not wash out. You also can’t sand caulk. Doing this in between coats covers the caulk and seals it from dirt.
Other than that, great job. Painting trim is such a serious drag, but makes such a huge difference!
I agree. Caulk first, then paint. Bare caulk attracts dirt and turns yellow in a very short time.
Hi Christine, good tip. Thanks for sharing! Elizabeth