Learn the steps involved in how to prep a chair for upholstery. This tutorial will show you step by step everything you need to prepare your chair for re-upholstering. Re-upholstering is possible with just a few tools and zero experience. I hope this French Chair Makeover inspires you to try your own hand at upholstering.

If you are a DIY upholsterer like me then here is how you prepare your chair for upholstery. I never sought out to be an upholsterer but when inspiration with this French chair struck, I listened. Learning how to upholster your own chair is something anyone can learn. I know because I was anyone and had zero experience.
I started upholstering when I re-did this cane back chair and these dining room chairs but this French chair makeover has been by far my most involved. It was a challenging and exciting process. And I am excited to share with you exactly the steps I took to prepare, make the pattern and re-upholster this beautiful French Bergere chair from the late 1950s.
You can check out any part of the series or start with this post and follow along for the rest of this series on How to Upholster a French Bergere Chair. But let’s start on preparing your chair for upholstery!
This post contains Amazon affiliate links, which means if you make a purchase after clicking a link I will receive a small commission with no additional charge to you.
Here’s all the supplies needed to prepare your chair for upholstery:
- Upholstery Tack remover or Flat head screw driver
- Pliers
- Phone or camera
Here are the steps to prepare your chair for upholstery:
Step 1: Study your chair and take photos, photos, photos
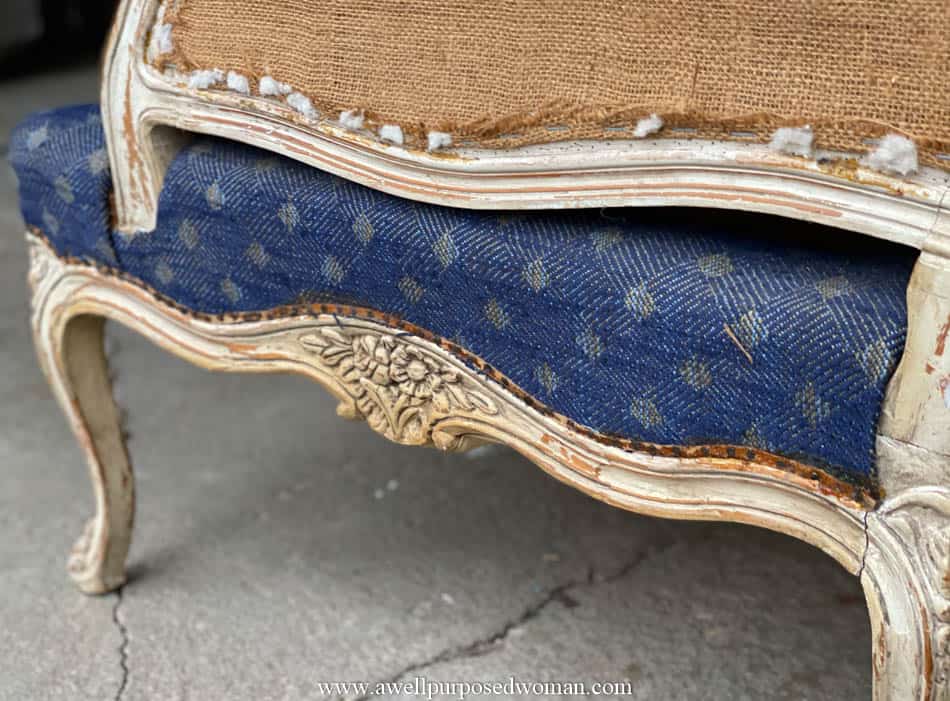
The first step in preparing your chair for upholstery work is to look it over. Pay attention exactly to how the chair was upholstered the first time around and make observations. Here are the different areas of the chair you will want to pay attention to.
Front of the Chair
Start by photographing full pictures of the chair. You want to have a good overall picture of the chair. This way you can zoom in on the photograph if you get stuck.
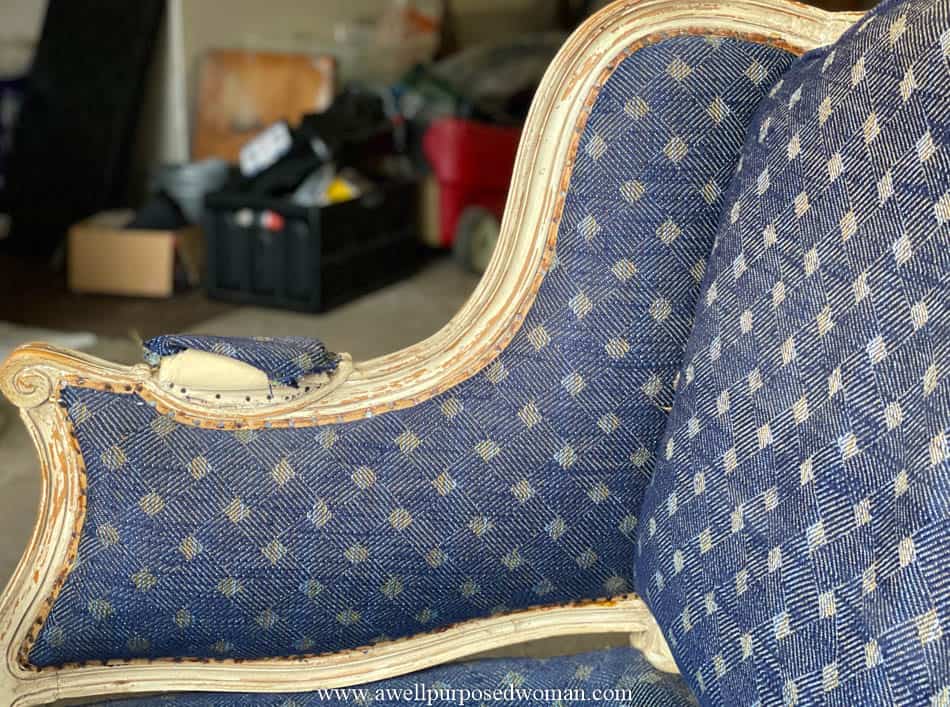
Sides of chair
Pay attention to the arm rests, areas along curved edges and areas closest to the back of the chair where different pieces of fabric meet. Which pieces of fabric do you suppose were upholstered first? Make notes.
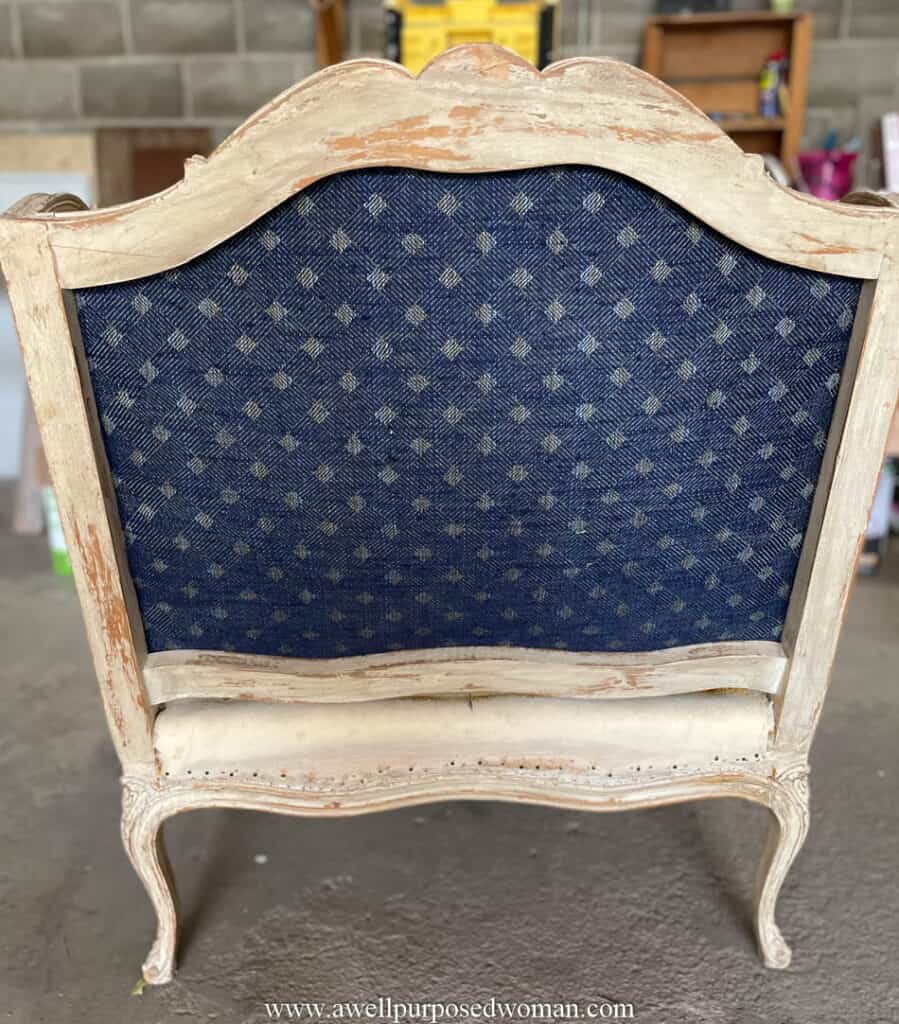
Back of the chair
Look to see if the fabric is outside of the frame or inside of the frame. If there is padding and foam what was attached first? If you can make a note of it when dis-assembling it will make re-upholstering it much easier.
Make mental or physical notes as you take it apart about how the chair is assembled. How many layers of padding and foam are in the chair? Where is the batting and foam located? Take pictures to help you remember.
Areas where seams meet on the chair
Photograph and observe how the upholsterer put the areas where fabric meet together. Areas such as arms and legs of the chair.
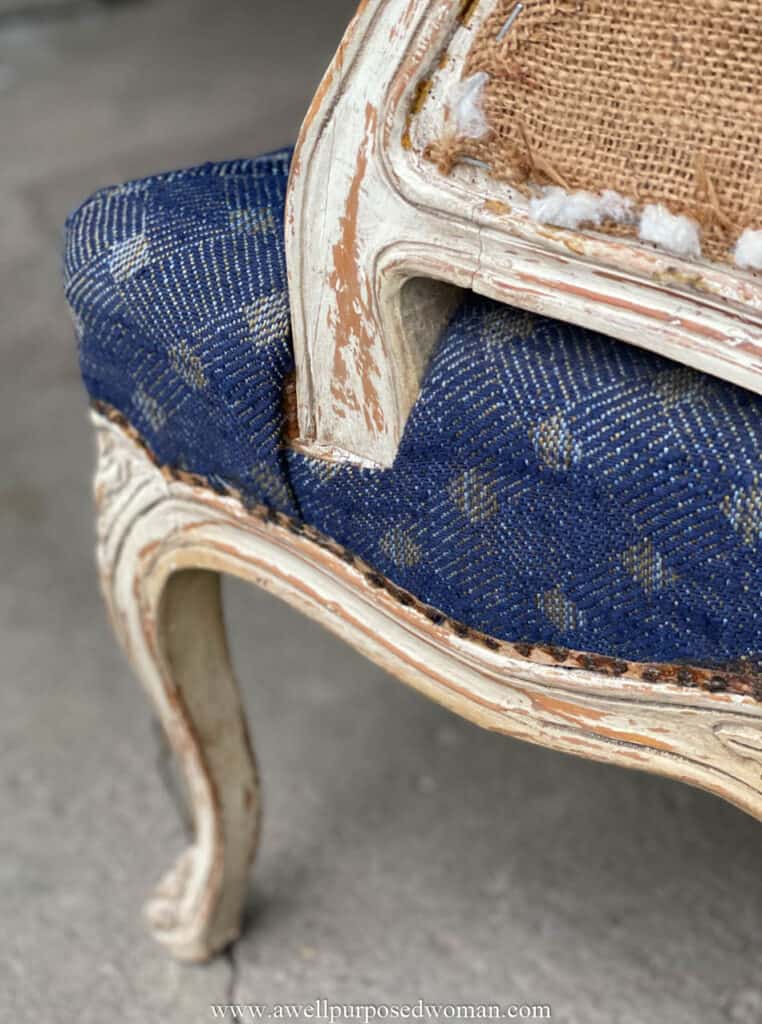
Edges of the chair
Look at the edges of the chair. How was the chair upholstered? Did they use tack strips/ staples/ both?
Even if you decide to do something different by looking at the original work it will give you a sense of how to re-assemble the chair.
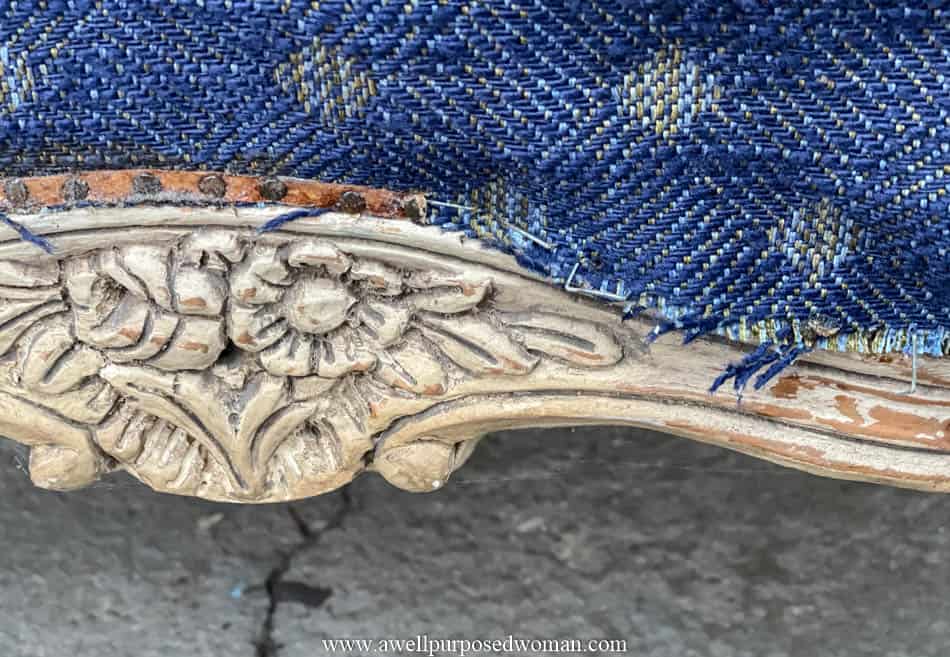
Piping of the Chair
Take pictures of the piping. And make a note if the piping is stapled/ glued/ or sewn.
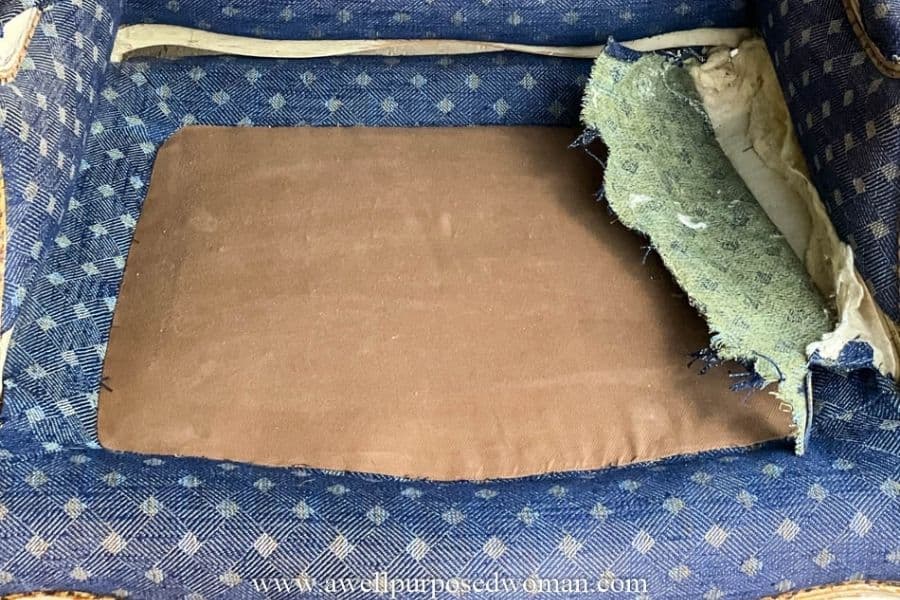
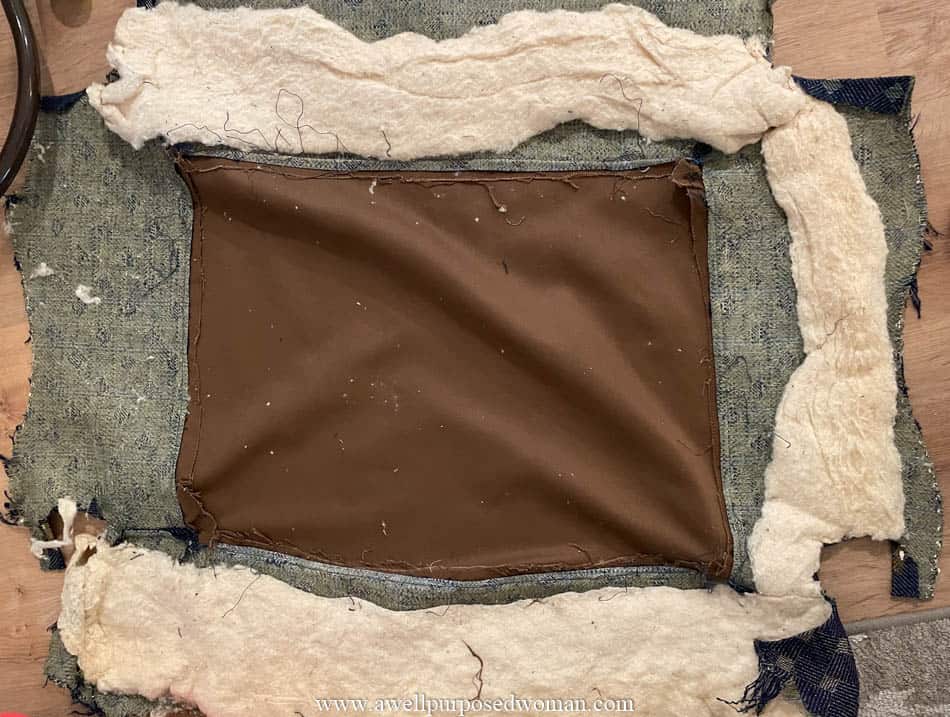
The deck of the chair
The bottom of the chair was sewn. And before I removed the deck I made a note. Then I removed it as one piece.
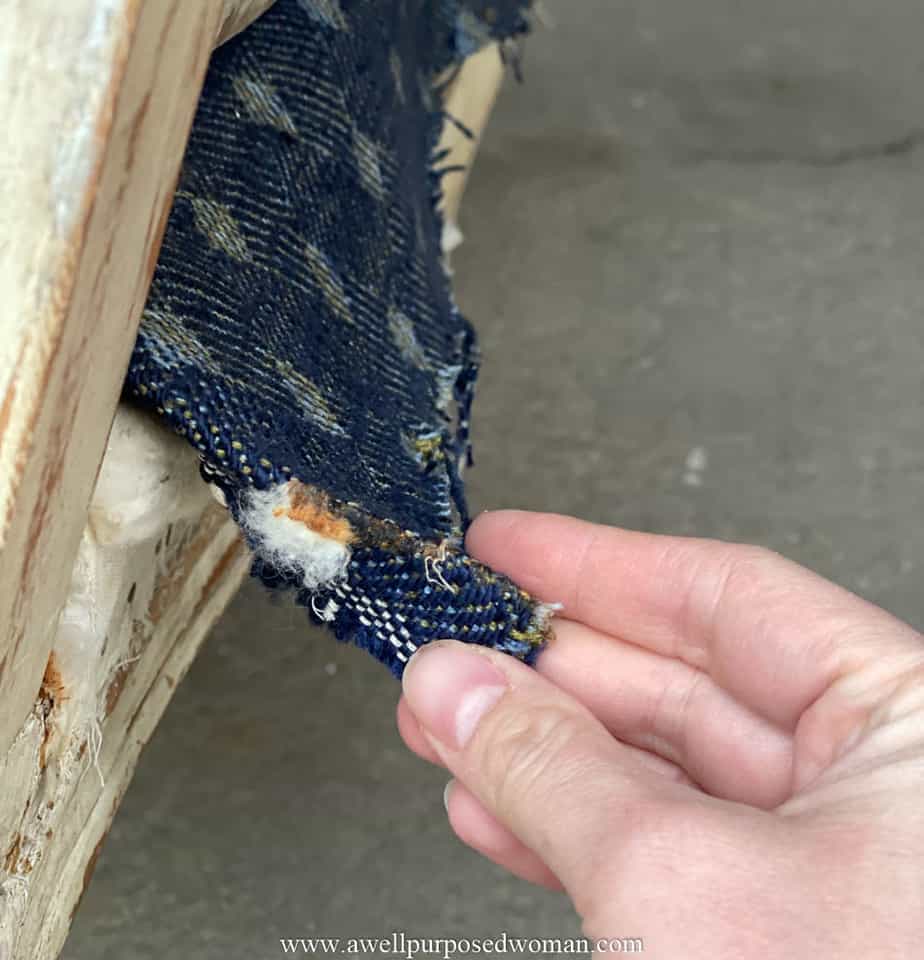
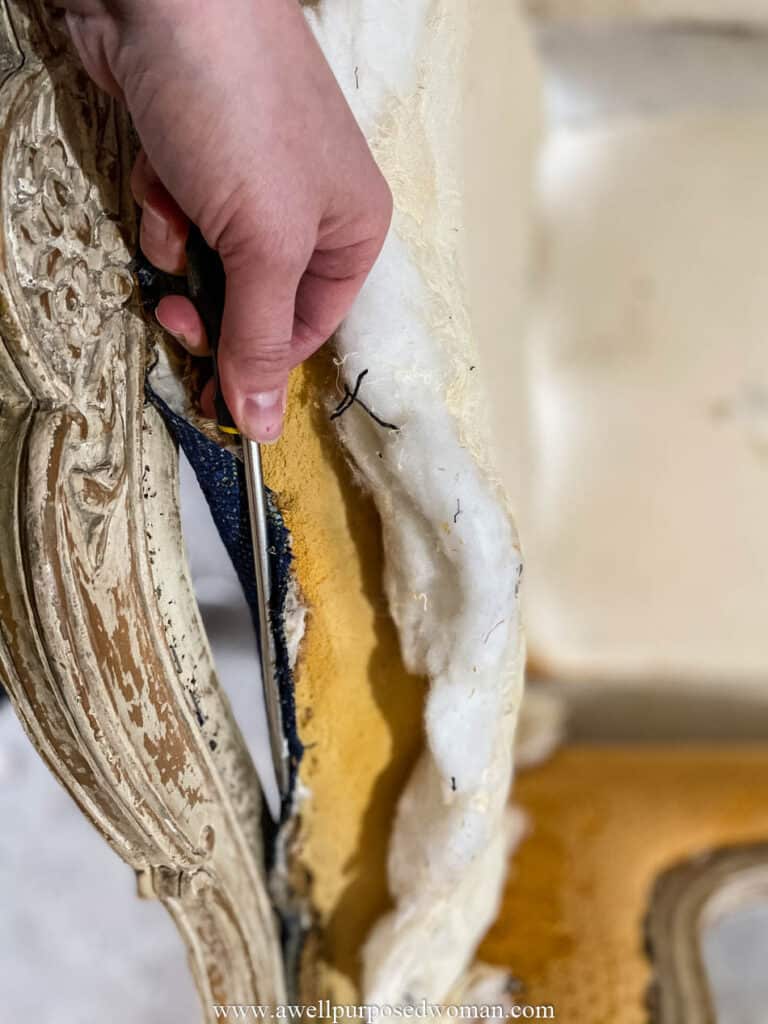
Step 2: Remove the Old Fabric from the Chair
Piping first
Using the tack remover start removing the fabric from the chair. With this chair I started removing the piping from the chair first.
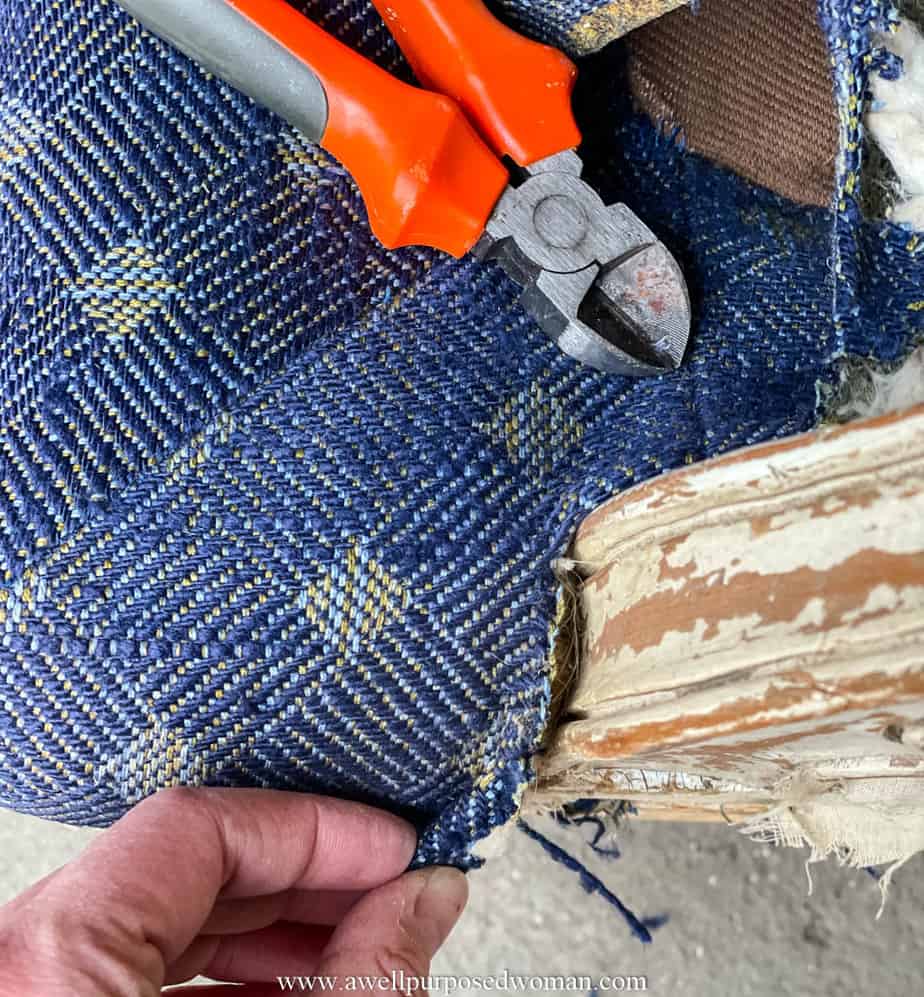
Remove the sides, deck and front of the chair
After I removed the piping I used a flathead screwdriver to remove the fabric from the chair sides, deck and front of the chair.
Remove the bottom deck of the chair
Using the flathead screwdriver I first removed the tack strips. Then I used the screwdriver to pull out the staples all around the edges of the chair.
Tip: If staples or tacks are difficult to remove you can pull up on the fabric a little bit first to try to loosen them.
Try to remove the fabric carefully so that you can use it in making a pattern to re-upholster the chair.
Don’t worry about doing a perfect job but just make sure the piece of fabric is still intact to use for a new pattern.
I removed most all of the staples and tack strips but it was not necessary to remove everything perfectly. Just make sure you have enough surface space for the new tacks and staples for the new fabric.
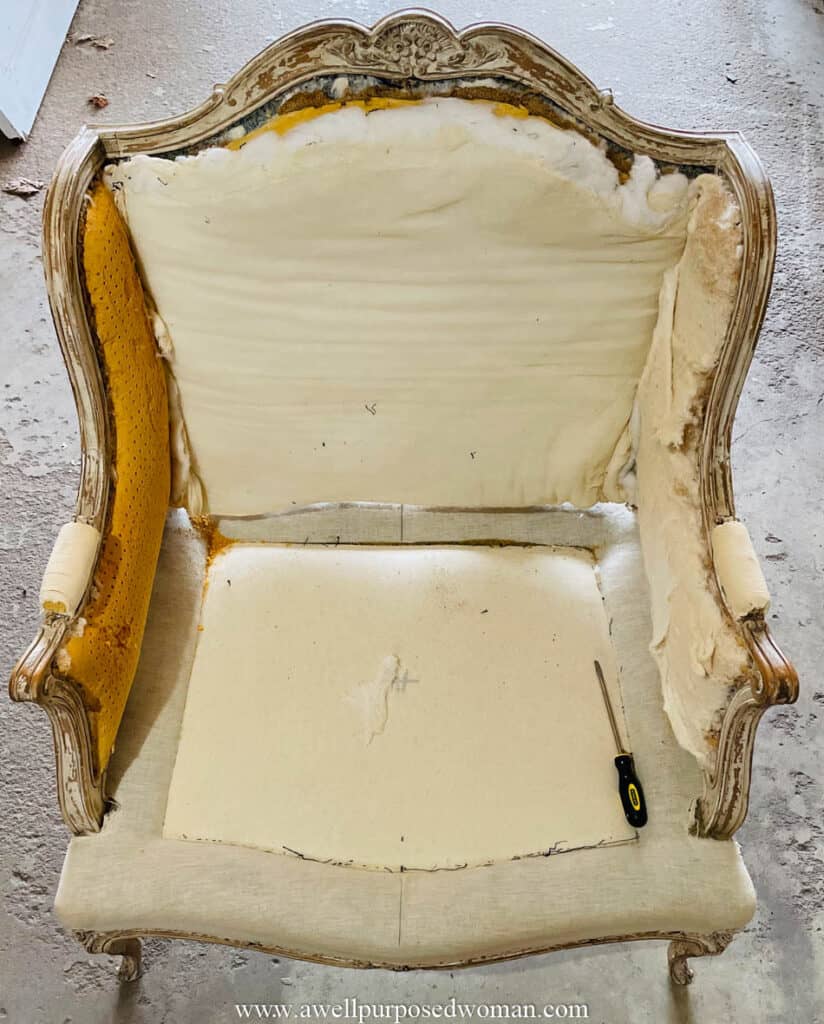
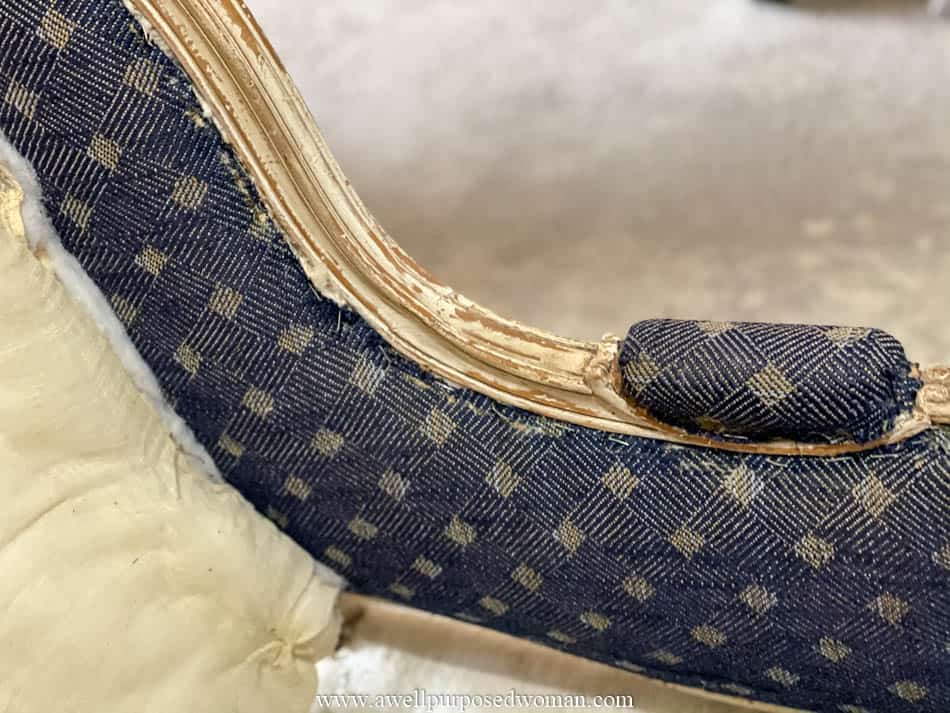
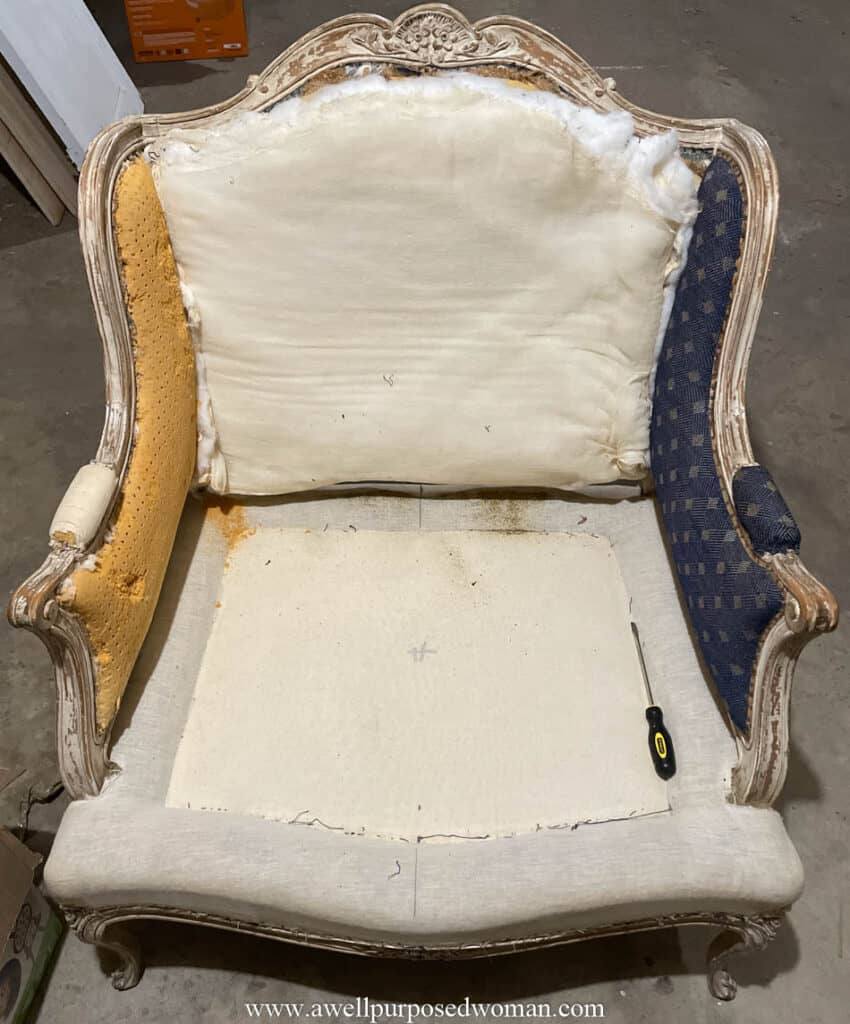
Remove the back of the chair
The last part I removed was the back of the chair. There were multiple layers of padding, foam and batting. I tried to keep the stuffing together as much as possible.
After I removed the back of the chair, the chair was ready! At this point I wasn’t sure what I had done. So if you are thinking that about your piece of furniture you are not alone! Don’t worry you will get it back together and you are going to love the end result.
The next step is to learn How to Make a Pattern for Upholstery so hop on over to that post and keep going with your chair. If you missed the original post on this French Bergere chair makeover check it out.
Take care until next time and God bless!

No time to upholster now? No worries just pin for later!


Fabulous explanation! My upholstery books don’t explain in the detail that you do.
I love your finished project!!! It turned out beautifully!
Thank you Christine. I am glad that it is helpful. And thank you so much for your kind words! Elizabeth
I have never reupholsted anything! You did a great job & I really 👍 the look. You have a very good eye for decorating.
Thank you so much Cecelia! I really appreciate your kind words! Elizabeth
Wow Elizabeth!
What an excellent, detailed, step-by-step tutorial on furniture re-upholstering!!
The before and after photos of the re-upholstered chair reveal excellent craftsmanship!
Congratulations for a job well done 👏
Blessings,
Mom
Thanks mom! Thanks for all your encouragement! I love you, Elizabeth
Hello,
I would never have purchased this beautiful chair with the intention of re-upholstering it. The idea terrifies me. However, there have been several occasions when I have wished I had mad upholstering skills. I admire your tenacity and bravery. It turned out stunning. Thank you for sharing, perhaps some day in the future I will tackle a much less complicated upholstery project. 😊
Hi Ellen, yes it was a bit intimidating. I thought through how to do it many times before I got started with it. But I would say if I can do it that anyone can learn how to do it, considering I literally have 0 experience. It does require patience and a bit of bravery perhaps. I started by just upholstering dining room chairs. And if you buy a very inexpensive chair you don’t have much to lose if it doesn’t turn out. Let me know if you ever give it a try. I believe you could do it if you want! Elizabeth
Cannot abandon this beauty
You did a fab job and tutorial is excellent
It takes time
No gain without pains
Love it!
Rita
Thank you Rita for your kind words! Elizabeth
Gorgeous new fabric. I love it🤗
Thank you Kathleen! That means a lot to me. Elizabeth