Learn how to make a pattern for upholstery the easy way. Making a pattern to upholster a chair is simple and this tutorial will show you the trick that is most often used. This process of making a pattern for upholstery is easy with any chair that has old fabric on it.

The first step in learning how to upholster a chair on your own is learning how to make a pattern for your chair. Today I will show you how easy it is to make a pattern of your own. And before we go any further I should let you know this tutorial is part of a French Chair Makeover series. If you missed How to Prepare your Chair for Upholstery you can go back and start with that post.
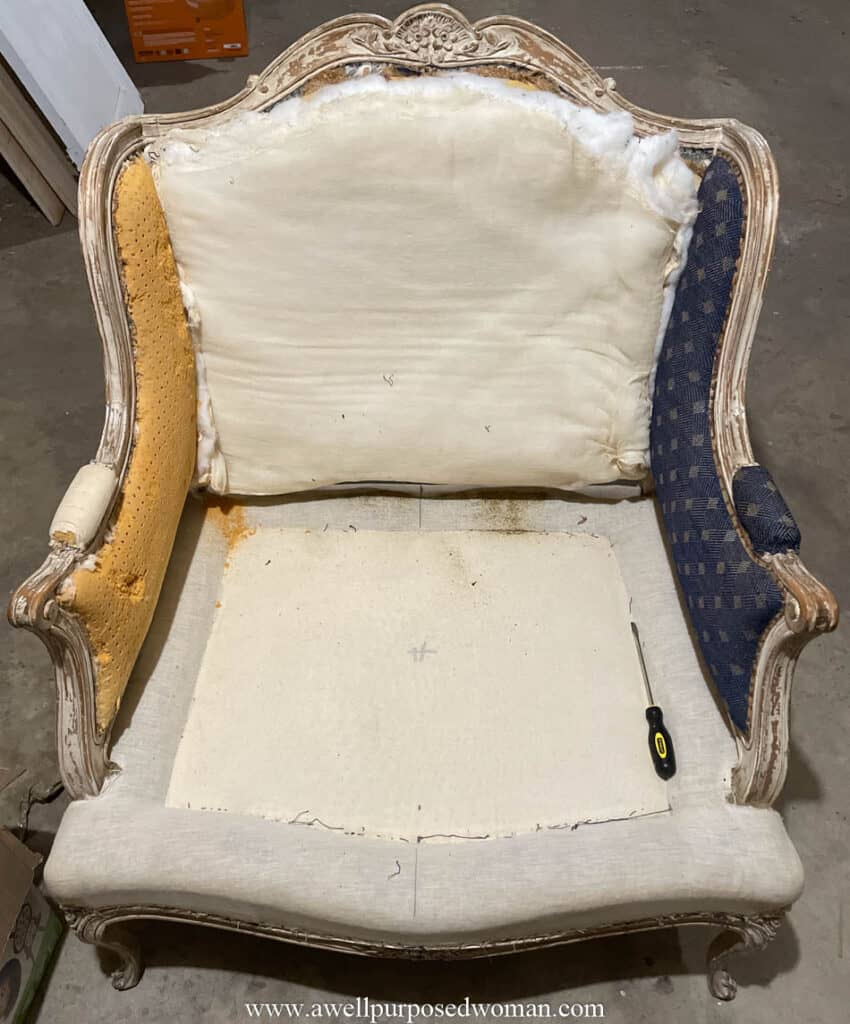
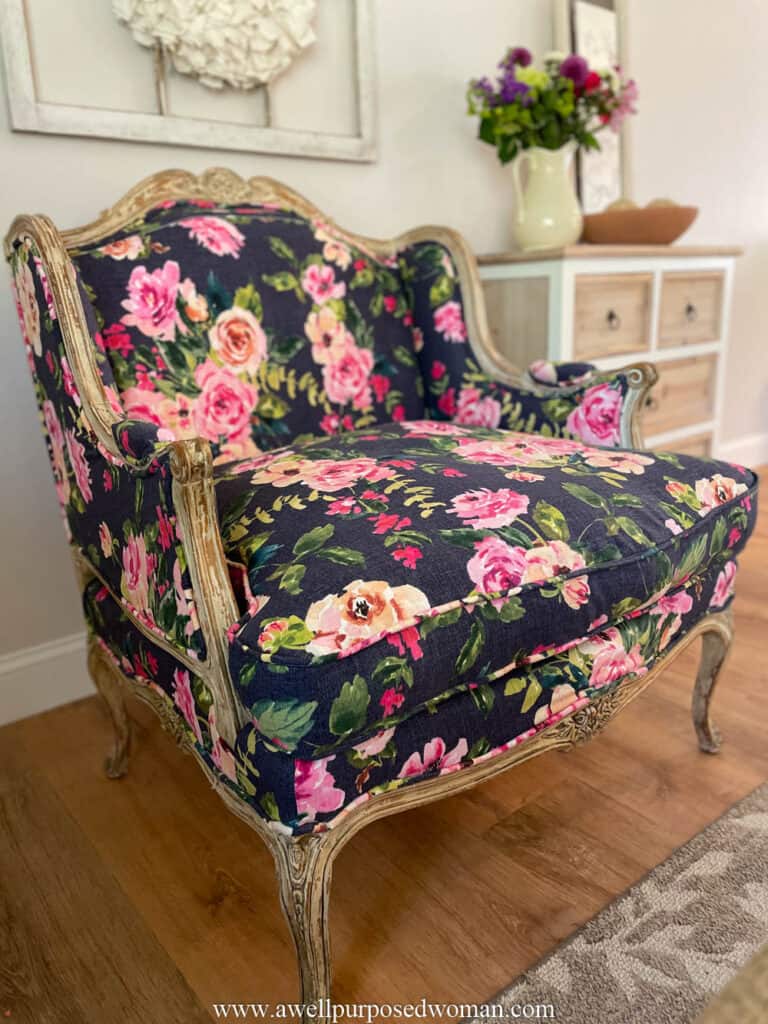
But otherwise today let’s get started on learning how to make a pattern for our upholstery project, which is this French Bergere chair.
Here are the supplies you need to make your own pattern for upholstery:
- Old Fabric from the chair
- New Fabric (I needed 7.5 yards)
- Scissors or rotary cutter
- Sewing pins
- Dressmaker’s pencil or marker
Here’s the steps to make a pattern for upholstery:
Step 1: Remove the old fabric from the chair
The first step to creating a pattern for your upholstery is to remove the old fabric from the chair you are upholstering. If you missed How to Prepare a Chair for Upholstery you can check out how to remove the fabric in that post.
Step 2: Use the old fabric as the pattern for upholstering
After removing the fabric from your chair keep track of where each piece goes on your chair. Then use the old fabric piece as a pattern for the new fabric.
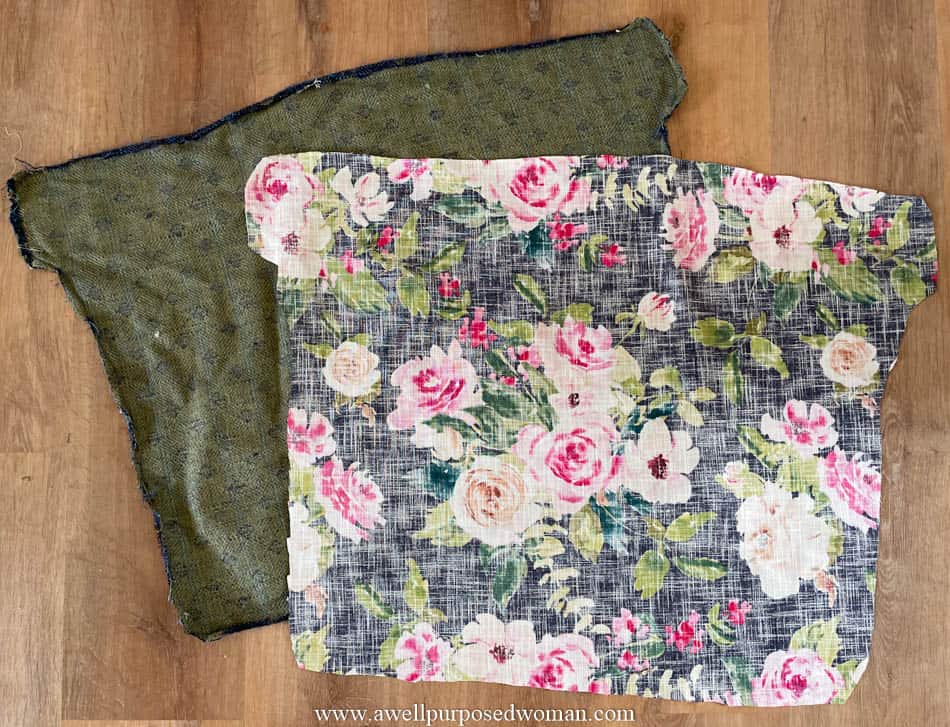
Tip: To remember where each piece of fabric goes, use a marker to write the part of the chair the piece is taken off of on the back of the old fabric.
Use sewing pins to pin the old fabric onto the new fabric. Then cut out the pattern for each piece of your fabric.

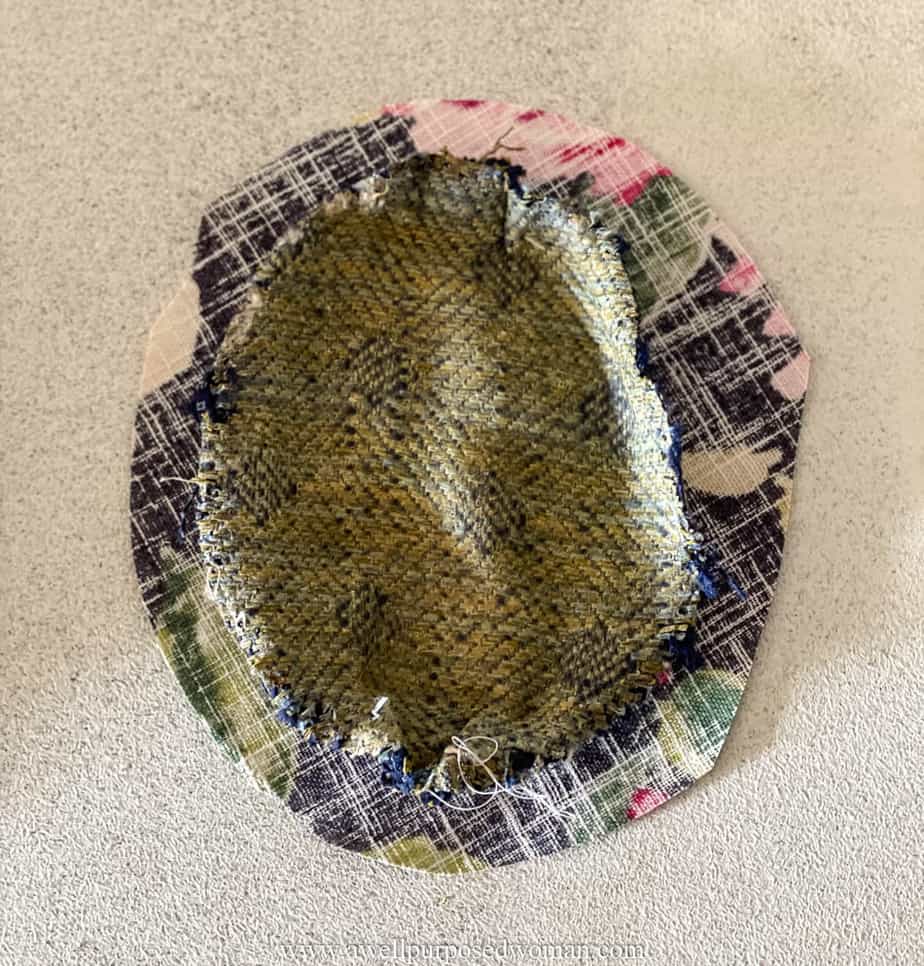
Seam Rip Fabric
On areas like the cushions, deck or back of the chair, seam rip the pieces of fabric apart. Then use the old pieces as a pattern for the new pieces. For more information on creating the cushion you can check out this post on How to Make a Cushion.
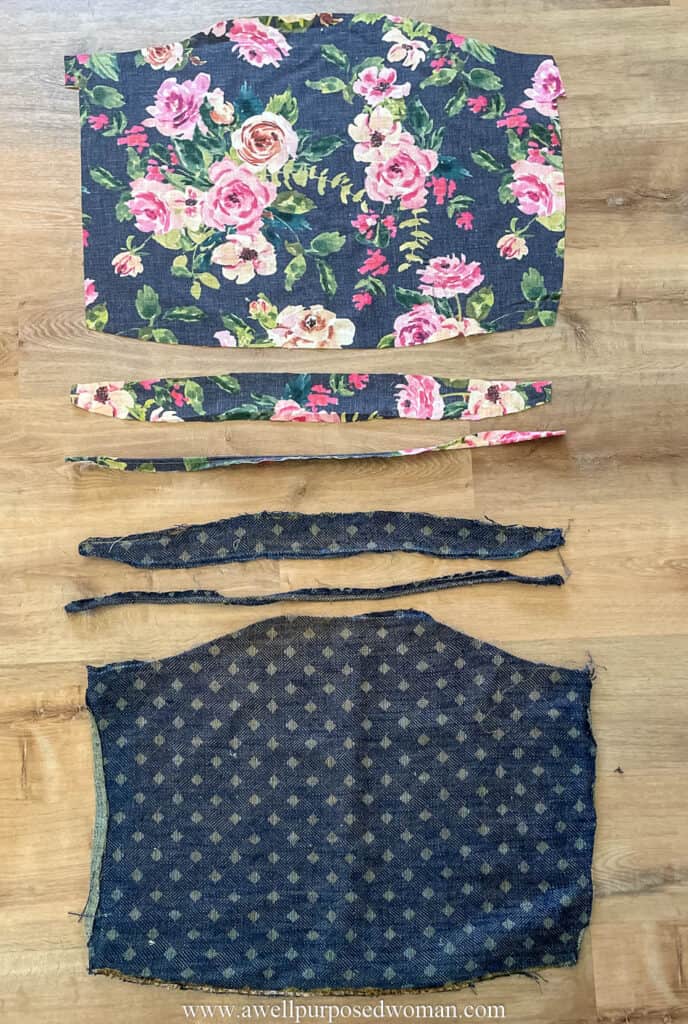
With my chair I cut my pieces of fabric with at least an additional 1/2″ on each side for the inseam. Also pay close attention to folded areas. Because in folds you cannot often see the additional length of fabric. You do not want to cut your fabric too short. You can always trim it later but it is difficult if you cut too much off.
For my French chair I cut my patterns very close to the original pieces of fabric. And overall I was pleasantly surprised with how nicely they fit back together on my chair.
And that’s it! This is how you can make a pattern for upholstery the easy way! If you have any additional tips or questions feel free to comment below. Otherwise let’s move onto the next step: How to make a Cushion with Piping.
Take care and God bless!

Leave a Reply