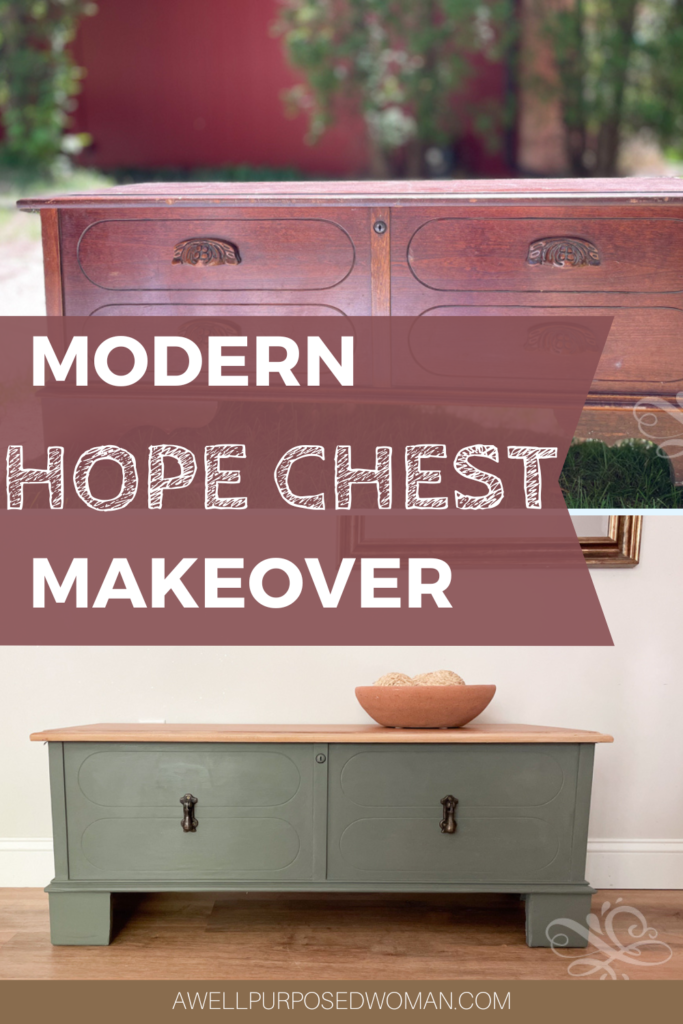
Inspiration to turn an old Lane hope chest into a stunning modern BEAUTY. This hope chest makeover uses a combination of paint and stain. Continue using your old hope chest for years to come!
The hope chest makeover has been such a fun project for me, mostly because of all of your input. It feels a lot more like we are making this chest over together and I love that!
Yesterday I shared the paint color I chose to use for the hope chest. And I was sorta surprised at how many of you like sage green as well! And
Wednesday I talked about how I found this hope chest at a neighborhood garage sale. The hope chest sat in my garage all winter. I slowly made attemps to re-do it but for some reason I couldn’t quite picture the final result. Well, today I am going to show you how it turned out.
Picking the knobs for the Hope Chest
I selected the knobs I for the hope chest today and I think I LOVE the final result!
Thanks for everyone’s input on yesterday’s post. There were definitley two knobs that stood out to everyone. D & E were by far the most popular ones.
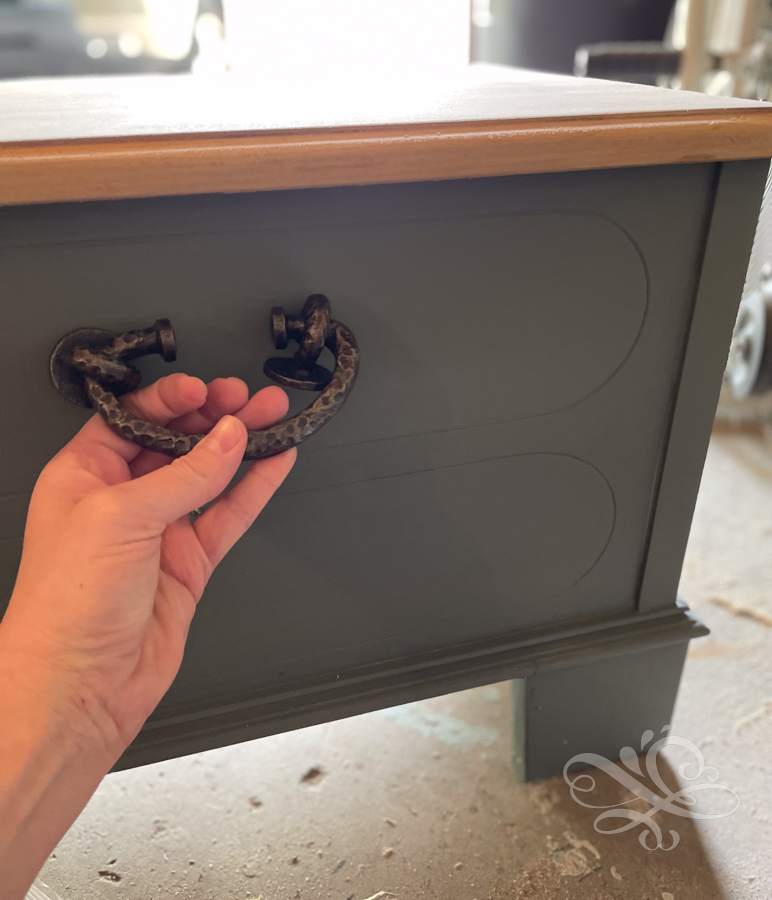
I really loved the chunkiness of D and I liked the uniqueness of E. So it was a really touch choice. But in the end…. drumroll please….I went with E!
The Hope Chest Reveal
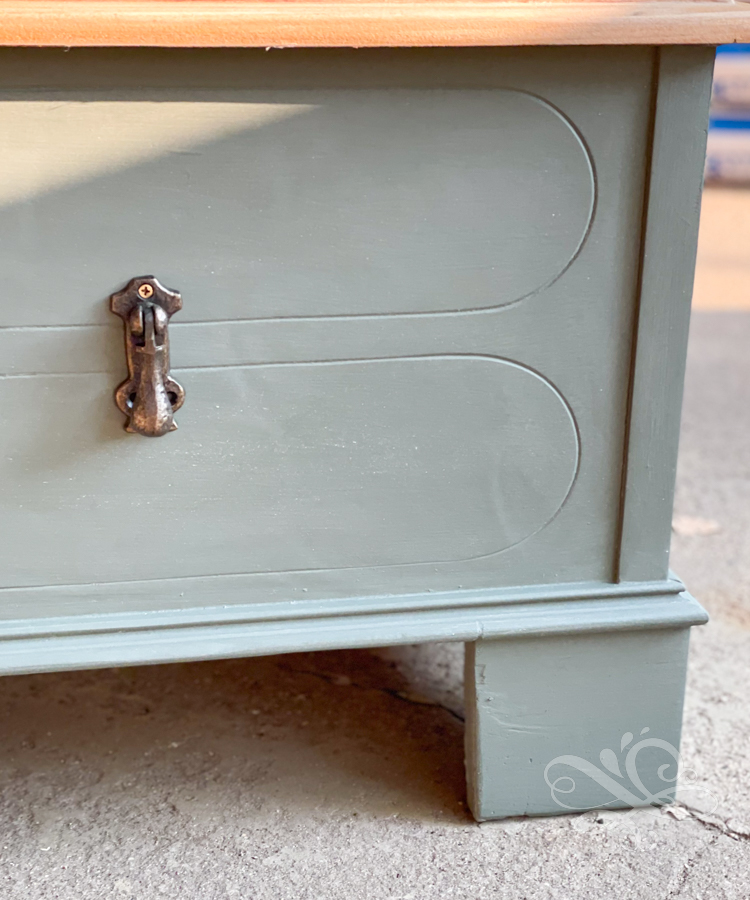
The hope chest does not open on the front sides so any handles or knobs are only serving a decorative purpose. I felt the knobs that were similiar to a door knocker were the right fit functionally and decoratively.

I love how the color fit with the bare top of the hope chest and the sage green. This really is not how I had pictured the hope chest makeover to go but in the end I really liked how everything worked together.
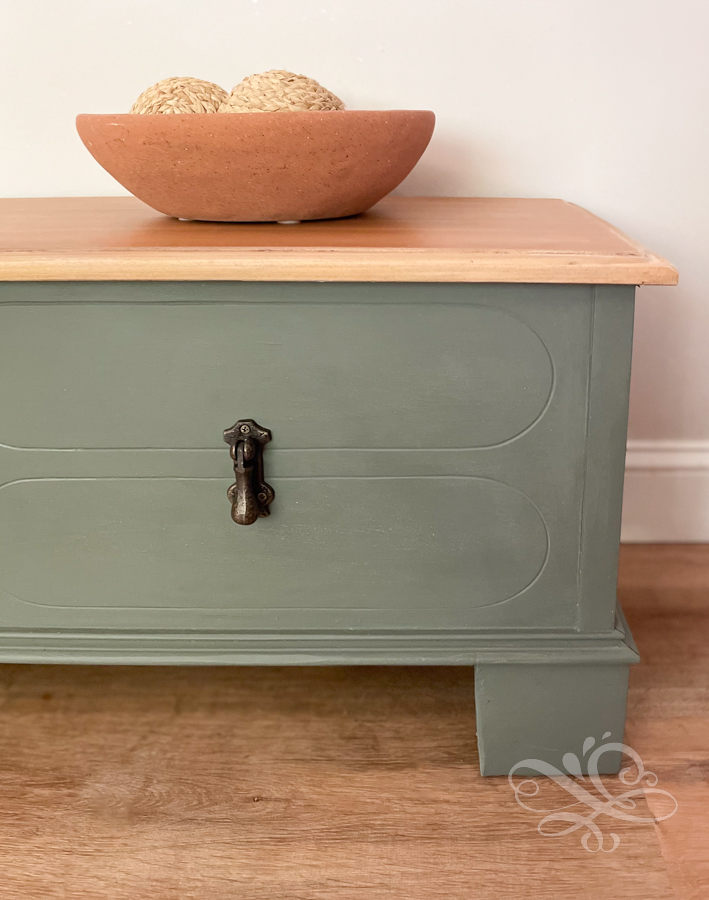
I think the beauty of creating is the process. I rarely know how a piece of furniture will end up because things (including my mind) change as I go. And I adapt to those changes to create a piece I am happy with in the end.
Even though I love how this hope chest makeover turned out. I decided I really didn’t have a need for it in our home right now. So I was thrilled to find a happy new owner for it! She is also moving into a brand new home this week. So I hope this hope chest will be a blessing to her and her family!
I would love to hear from you in the comments below. Would you like this piece of furniture in your home?
Thanks for following along and for in your input as I re-did this modern hope chest! If you missed any of the posts you can check them out below!
Happy weekend!

Finding the Hope Chest at a Garage Sale
Deciding whether or not to paint the Hope Chest
Painting the Hope Chest Sage Green
Want to remember this hope chest makeover? Don’t forget to pin it for later!

The chest is beautiful I would love to have that but my house just isn’t big enough but it came out awesome. Great job
Thank you so much Kim! Elizabeth
It’s a beautiful thing to give something old a new purpose….Very inspiring… Thank you for sharing your creativity with us.. We appreciate the time and care you put into it! ♥️ Blessings!!
Hi Doreen! Thank you for your kind words. I appreciate you reading and your feedback. ❤️Elizabeth
Love the sage green with the natural top…and the door knockers you chose are spot on. It is a nice clean, modern look. Definitely a piece I would welcome in my home.
Hi Paula! Thank you so much and thanks for your feedback! Elizabeth
Not a fan of painting beautiful wood
Hi Mary! Yes I get that too! Definitely beauty in preserving wood too! Elizabeth
Beautiful! Greta job!
As far as looks I agree the hardware you chose also was the best choice. If a person has to use the knobs or handles for opening and closing a door or a drawer, the ease of use is very important to me. I have a tall cabinet now in my basement, waiting for me to paint it and I plan to cover the inside back of it with fabric in a kind of delicate wallpapered look. The handles on the glass doors are very hard to operate ad I purchased some from Hobby Lobby as replacements, which I believe will really help the look but also will be easier to use for opening and closing. I plan to replace the dresser in our bedroom with this tall cabinet, which will take up less floor space. Also bought a tall floor mirror that will probably lean against the wall as a replacement for the mirror that was on the dresser. But as you say, remaining open to what the final result will be is important — otherwise I start to worry about the project way too much and rob myself of the joy of the process.
Hi Barb! That sounds like a fun project! Would love to see the before and after pictures! Yes, sometimes it surprises you how things turn out. All the best to you & Happy Crafting!