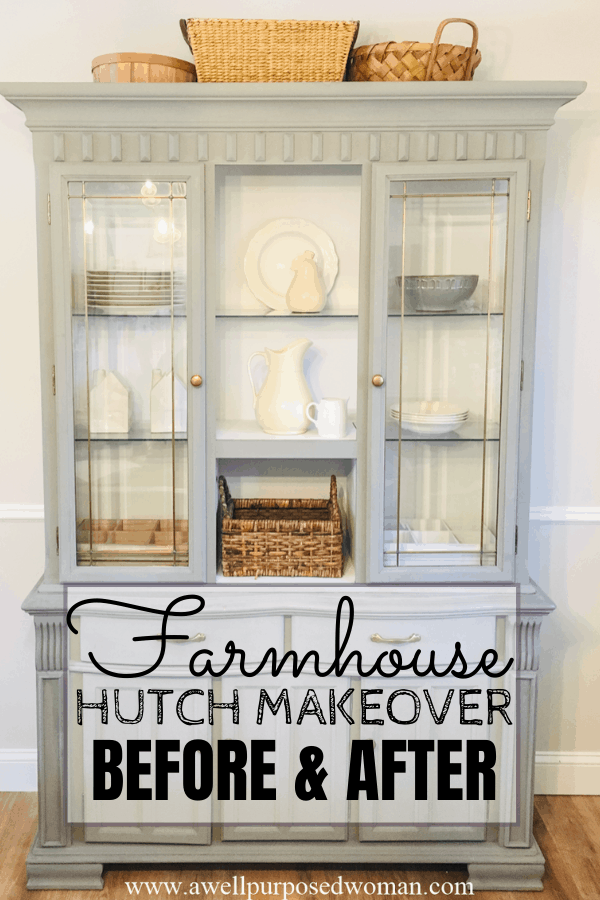
Do you have an outdated hutch? Check out this farmhouse hutch makeover before and after. Just a few coats of gray chalk paint totally transformed this outdated hutch! This farmhouse hutch makeover gave an old piece a new look, that I came to love!
This post contains affiliate links for your convenience (which means if you make a purchase after clicking a link I will earn a small commission but there is no additional coast to you)!
Happy Friday! Don’t you just love a good deal? I think the only thing better than a good deal is a great deal! And even better than a great deal is a free deal!
This hutch is one of those free deals.
When we purchased our home last August. I had an extra 1000 square feet to furnish. I didn’t want to be house poor with new furnishings. So I did what any average person would do and I started searching the freebies on Craigslist and Facebook Marketplace!
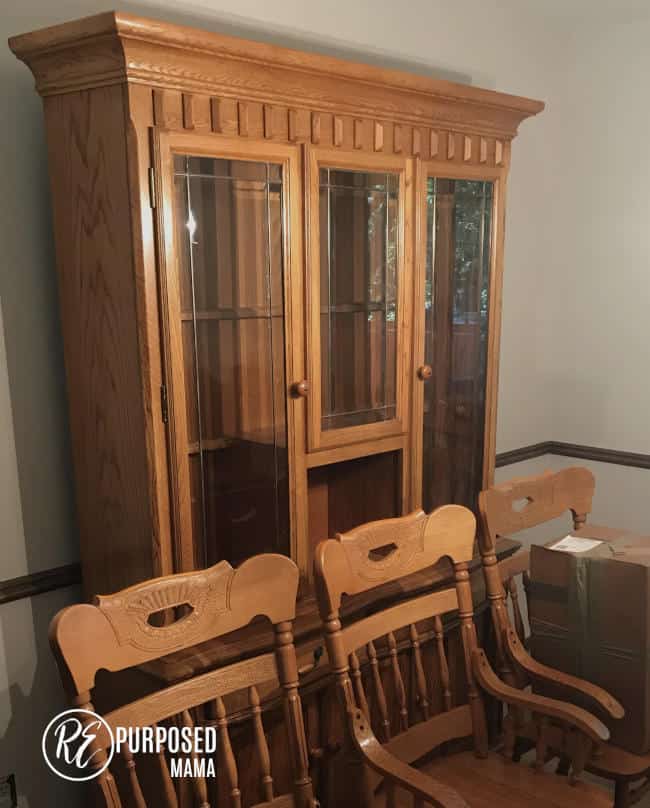
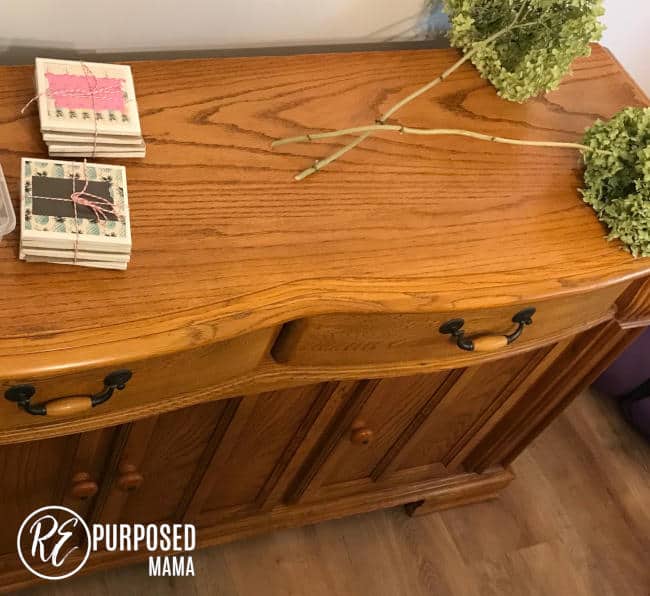
Before
One of the new spaces in our home was a formal dining room. So naturally I was on the hunt for a new dining room set. I looked for several weeks until I came across one that actually had potential.

It was a very sturdy bright orangish oak dining set complete with double pedestal table, 6 chairs, and a great big giant hutch that had a display light in all of its 1990’s glory!
The one piece I knew for sure I wouldn’t keep was the hutch.
Since I wasn’t planning on keeping it I figured I would still try to re-do it. Perhaps I could find a happy home for it once it was re-done. So once we moved into our new home it was one of the first projects I tackled.
Here’s a couple of pictures I quickly snapped before its transformation. Let’s just say snapping pictures was really low on the list for me at the time.
The Process I used to Makeover the Hutch
I decided to use chalk paint, primarily because I love how easy it is to use. You really don’t even need to sand the piece down if you are not feeling up to such a task. The choice of paint colors was not super intentional, but rather a result of finding these colors 50% off in the paint aisle.
Before I painted the hutch, one of the things that really turned me off was the rectangular dental molding that lined the top. To me it was too boxy and rather prominent.
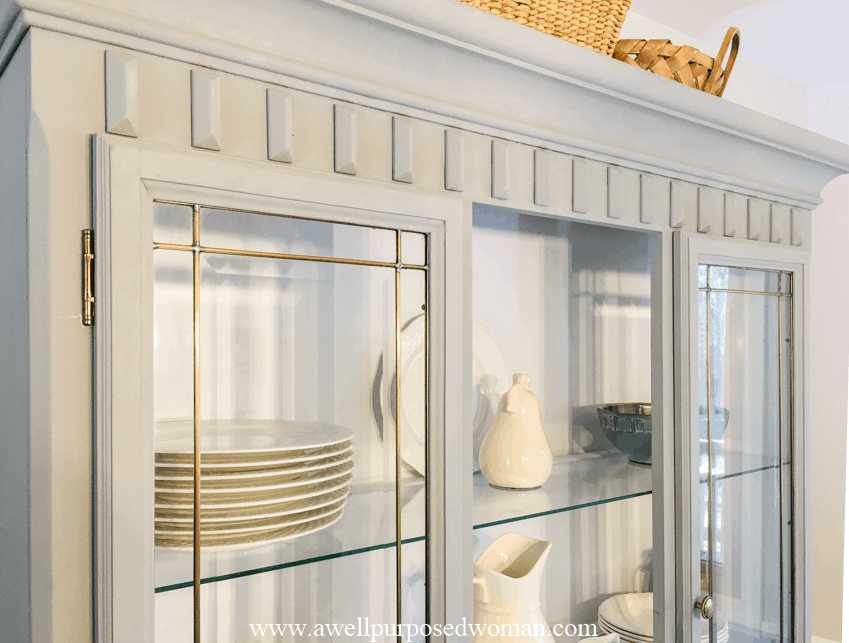
But one thing that always amazes me is the power a fresh coat of paint. Once I started layering on the chalk paint I felt the prominence faded. The gray color added softness. I am not sure if I will ever love the molding but at least it doesn’t bother me as much.
Initially my plan was to replace the glass in the hutch with chicken wire in the doors. But again I changed my mind because I felt the original glass doors actually looked quite stunning with the new gray and white look.

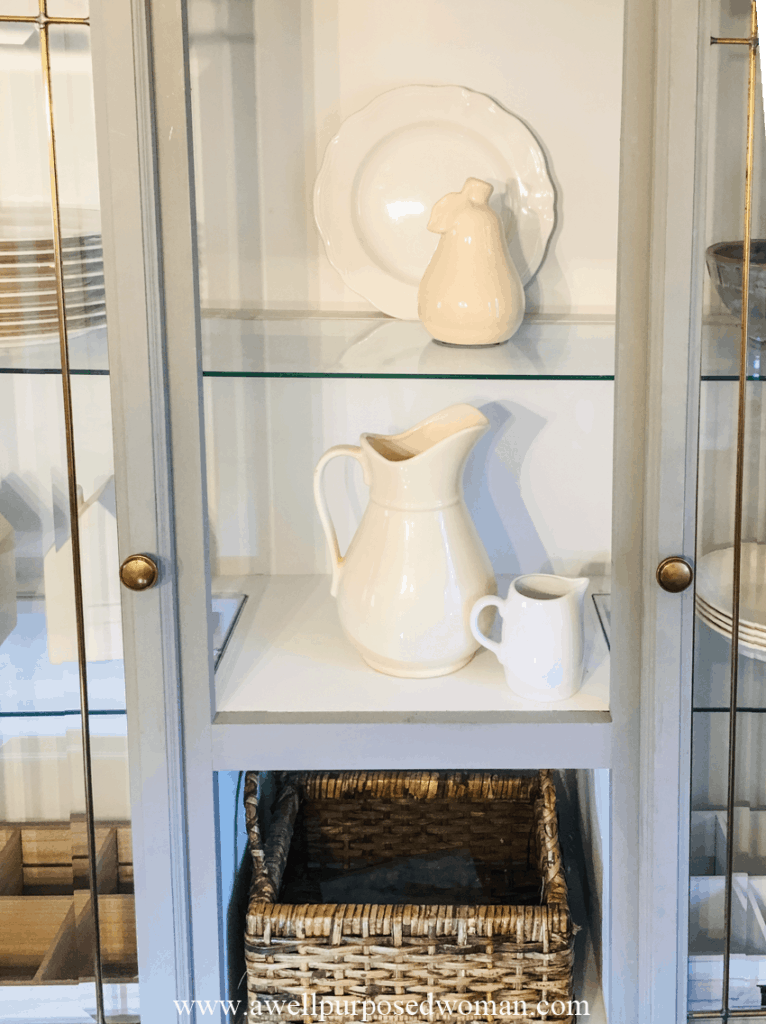
I did, however, decide to leave out the middle glass pane. I thought having the open shelves in the middle was a nice contrast with the glass doors. Plus I may have accidentally broke the piece when I was trying to re-install it ;). Fortunately I rather like the open shelves in the middle.
Here’s a birds-eye view of the middle of the hutch. Having the open space also serves a practical purpose, as the shelves are more easily accessible.
One feature, I happened to like about the hutch before I re-did it was this little cubby hole. I thought it added a unique touch in the middle.
When deciding on hardware for the hutch. I looked around for quite awhile and hadn’t found anything that fit. So I did what I usually do when I am stuck. I said a quick prayer.
Lord please help me decide on knobs and pulls.
Praying about such small items might seem strange to you if you are not accustomed to it. But time and time again the Lord answers these little pleas for help.
It came to my mind that I should check the stash I already have. Sure enough I found just what I needed.
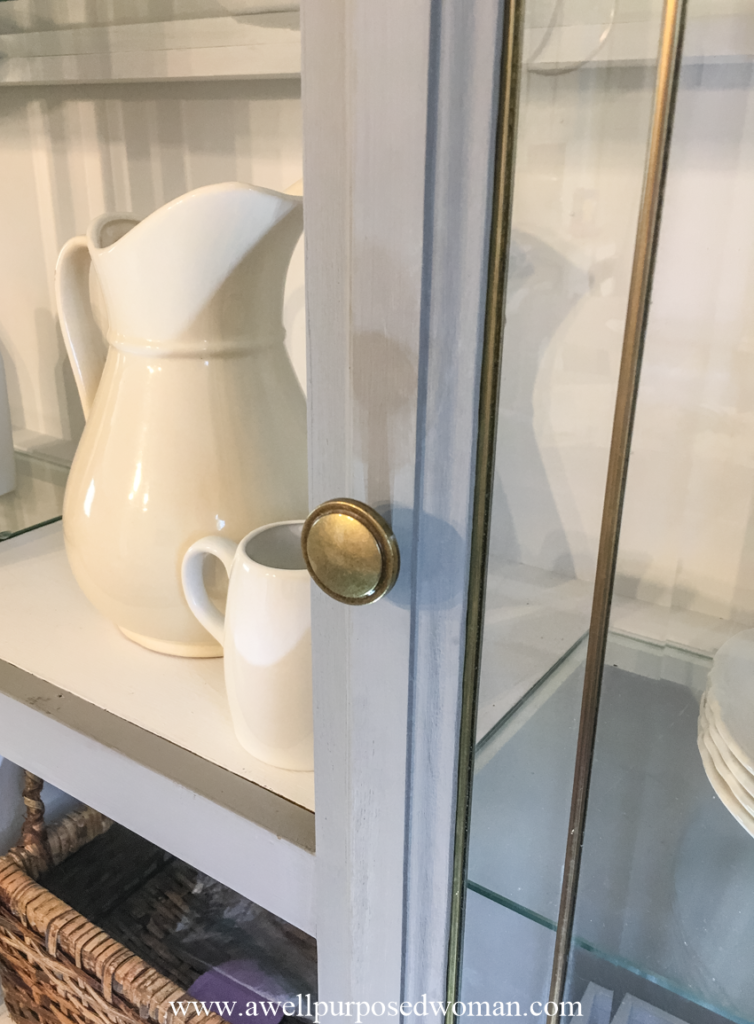
I had purchased some antique gold knobs and pulls awhile back at my local Restore. The price had been unbeatable at 25 cents per unit!
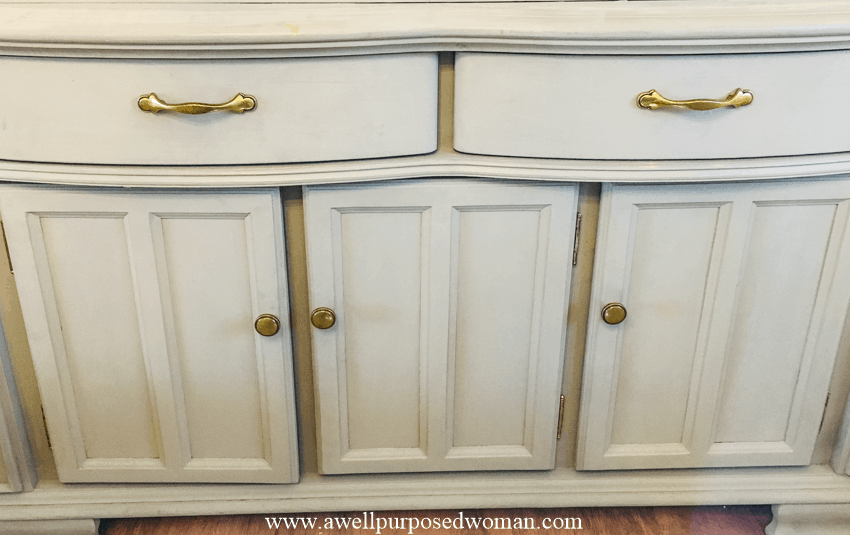
I felt the knobs and pulls brought together the look. They blended in very nicely with the gold that trimmed the original glass doors.
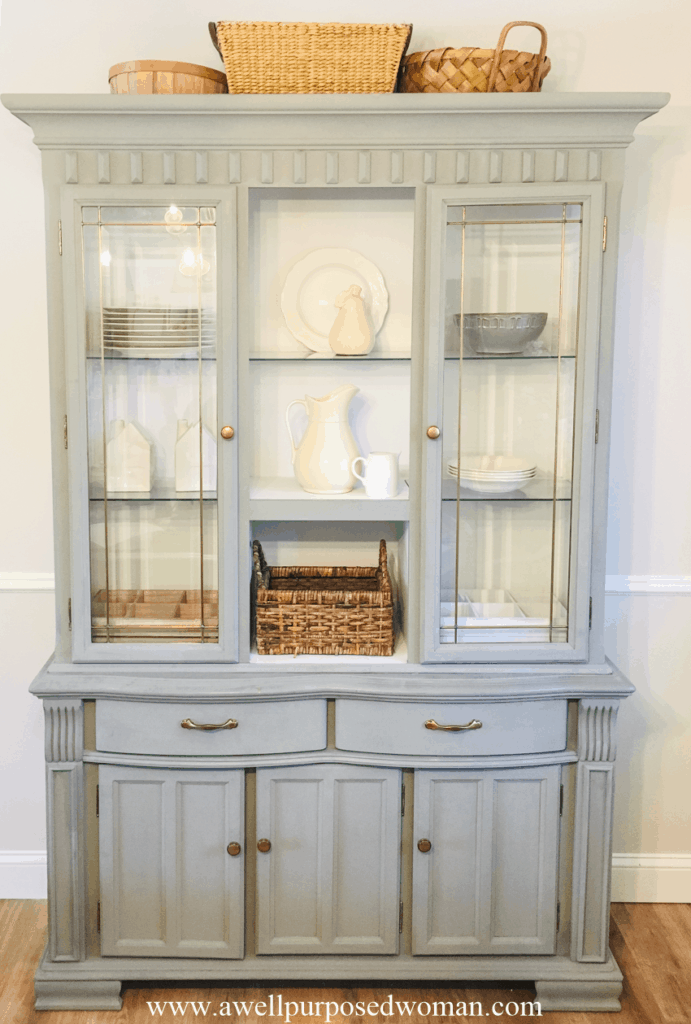
Overall I am loving the new look of this hutch. The hutch was re-vamped at a very low price. And now a an outdated hutch I thought would be given away, has started to win me over!
What do you think? Is it worth keeping?
After
How to get this Farmhouse Hutch Makeover Look
- Download our free Chalk Paint Guide
- Hutch (You might be bale to find these free on Facebook Marketplace)
- Rust-Oleum AGED Gray Chalk Paint
- Rust-Oleum Linen White Chalk Paint
- Chalk Paint bristle brush and wax brush
- 2 cans of Rust-Oleum Chalked Wax Topcoat Finish
- Antique Knobs (based on number you need)
How about you do you have an outdated hutch that you have been thinking of getting rid of?Just imagine what just a few coats of paint could do to transform your hutch! The free chalk paint guide will help you as you get started. But always feel free to reach out to me as well.
If you do decide on a hutch post it below in the comments or email me at elizabeth@awellpurposedwoman.com would love to see what you are working on!!
Until next time!
Have a blessed weekend! 🙂

Dear Elizabeth,
I love the hutch make-over! You painted it the perfect color and put the best color hardware to pull in the gold on the windows. It is really beautiful and doesn’t look redone, like it could have been made for it. Great job and God bless!
Hi Sue! Thank you so much! God bless! Elizabeth
It’s beautiful. I have one that I would love to do that to. Did you have to sand it before painting it?
Hi Terry, thank you! I would love to see what you come up with. No you do not need to paint it before sanding. Elizabeth
Did you also paint the inside of the bottom and shelves? Backside of the doors?
Hi Lynn, I did paint the back side of the doors. I did not paint the inside of the bottom and shelves. The wood was in perfect condition so I did not bother with it. Elizabeth
I think the piece is Gorgeous. If you are giving it away I will definitely take it, lol, it is just beautiful!
Hi Mary Lou, I will definitely keep that in mind. 🙂 Thank you though! A fresh coat of paint does wonders. Elizabeth
I have heard that the protective coats cause the paint to yellow, particularly the lighter colors. Did this happen to the white on your hutch? I am looking to turn an old hutch to white/wood combo.
Hello. No with chalk paint I use a clear protective wax. I have never noticed yellowing. The downside to wax is that it is not as heavy duty as a sealant. With polyurethane I have definitely noticed yellowing of white paint. Polycrylic sealant might be your best option if you are looking for something more durable without the yellow tint. Let me know how it turns out! Great time to get a project like this in! Elizabeth
It’s beautiful! Amazing what a little paint can do to totally transform the look of this piece. It is inspiring!
Thanks Sarah! Yes now you just have to choose what piece you want to start with 🙂 Let me know if you start on the table.
That is so beautiful!!! Love the open panel! I’d say it’s a definite keeper!
Hi Alesha! Thank you! And thanks for stopping by…yes the open panel was partly an accident but I think it worked out pretty well.
Like brand new!
😉
Hey Elizabeth,
You’ve inspired me to redo my hutch. I have exactly the same set. Love what you have done. May I ask did you change the table or chairs?
Hi Lisa, how perfect for you. I love having inspiration for a project. The hutch does end up being such a show stopper with the new paint. I did paint all of the chairs in the same gray color and I re-did the table here: https://awellpurposedwoman.com/diy-farmhouse-dining-table-makeover/. I ended up switching the chairs for some different ones. But they did turn out rather pretty gray. I am not sure if I took a picture of them because they were a little too big in our new house. Hope it goes well. Please let me know if you have questions! Elizabeth