Learn how to make a farmhouse table runner in just a few simple steps. No pattern is needed for this simple farmhouse table runner. Here’s how to make a farmhouse table runner in 30 minutes or less.
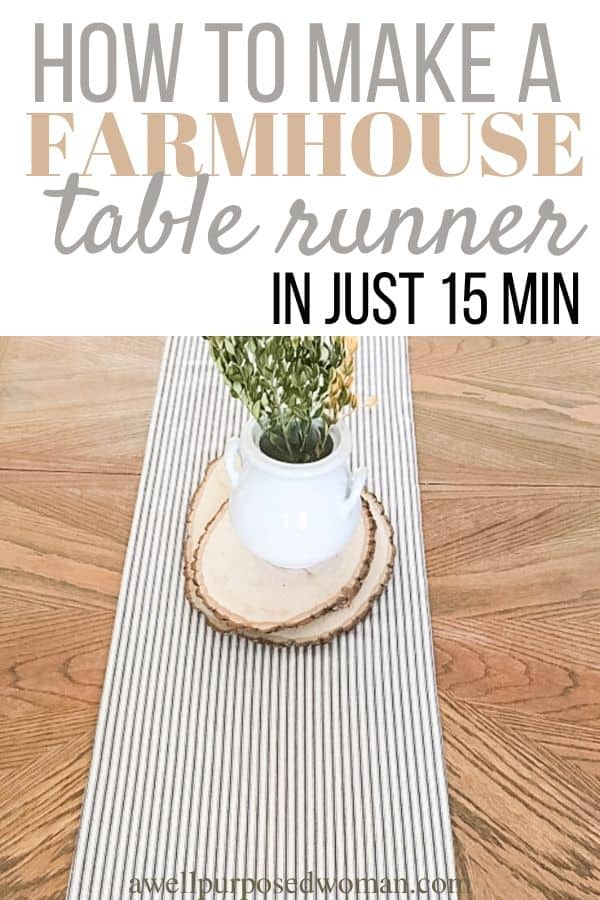
As you can tell I have a slight obsession with everything Farmhouse. Like the hutch and coffee table I recently updated. Today’s easy sewing project is no exception.
It is a farmhouse style table runner that will quickly help you update your dining table with all that farmhouse style charm.
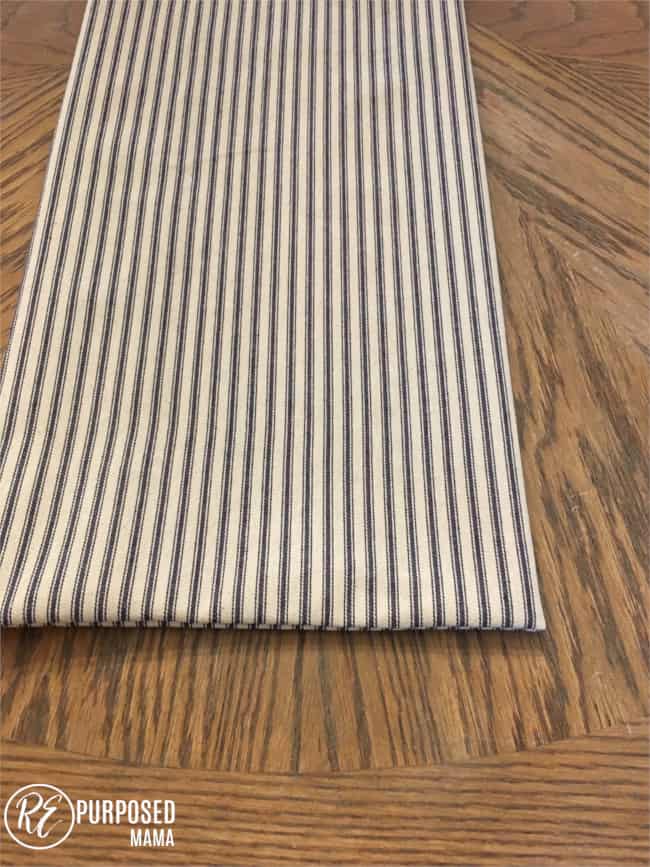
My mother-in-law was the genius behind this project. She gave me and my sister-in-law one of these simple but perfect table runners for Christmas.
You may have seen it on my table in last week’s post.
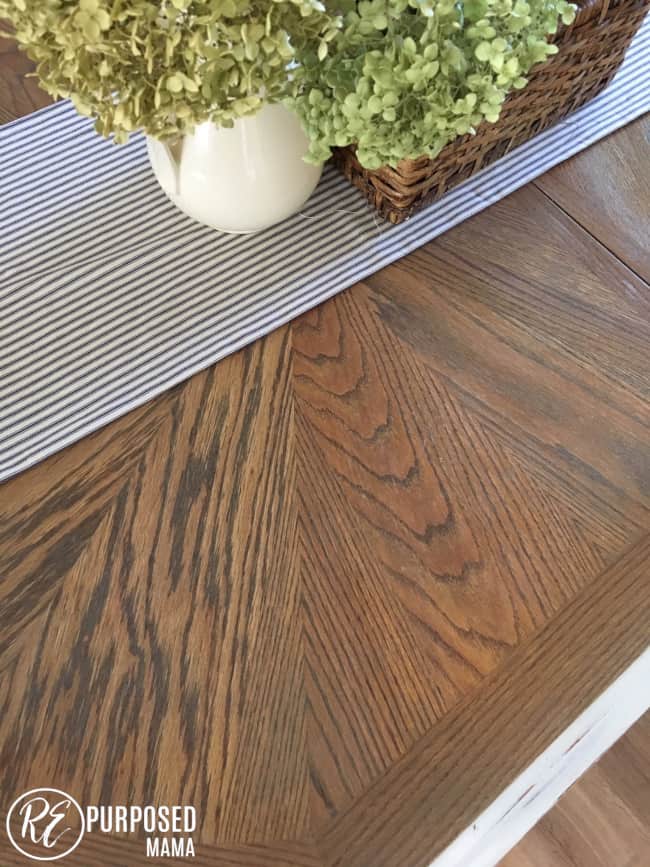
This project uses ticking fabric. And anything with ticking fabric is pretty much love at first sight for me. Not a fan of ticking fabric? No problem. You could really use any type of fabric that fits with your style and just follow along with the steps of this tutorial.
So let’s get started!
Here’s what you need:
- 1.5 yards of fabric
- Sewing machine
- Pins
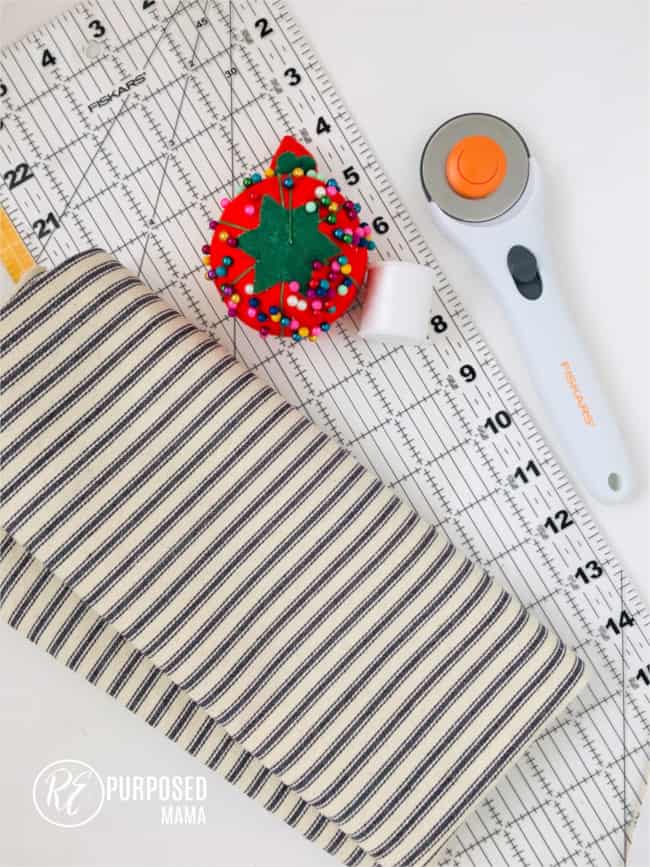
Here’s what you do:
Step 1:
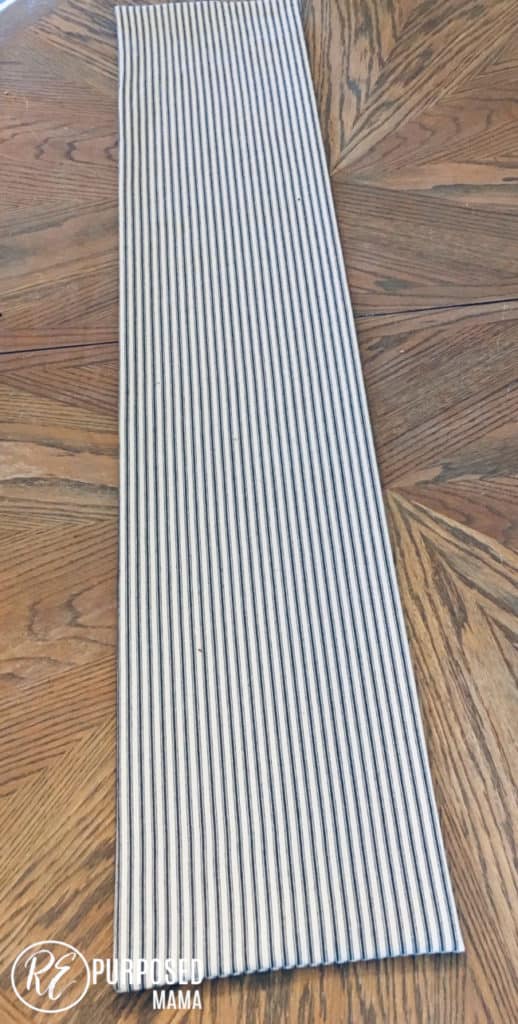
Start by cutting your fabric into a piece that is 1.5′ (long) x 20″ wide.
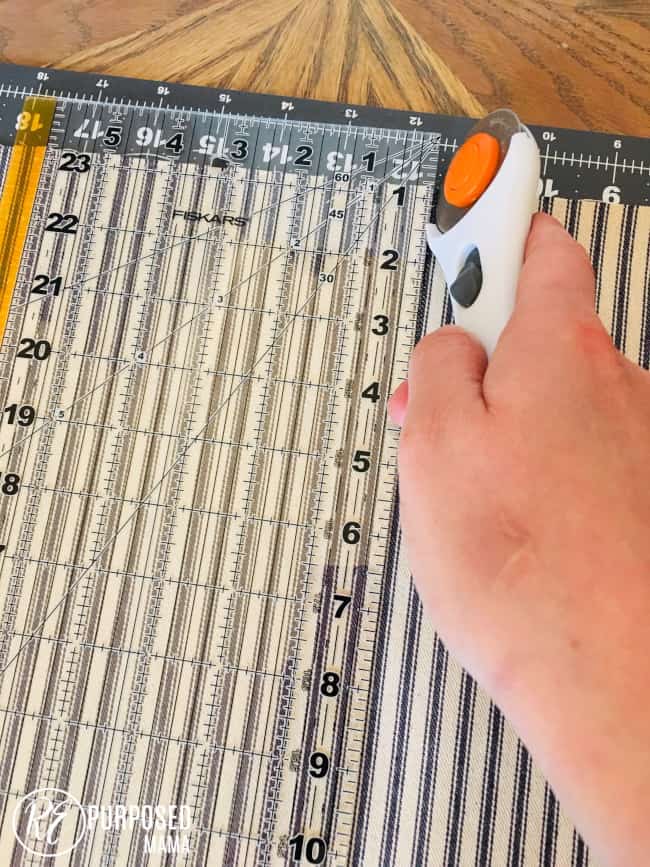
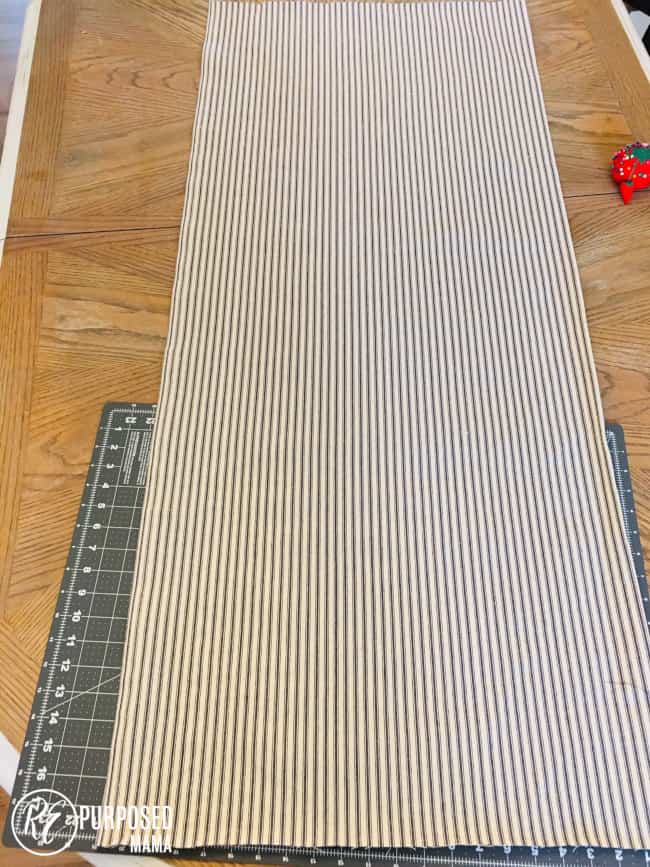
Tip: Since my fabric was about 42″ wide. When I folded it I had two pieces that were about 1.5′ (long)x 20″(w). This was the perfect amount to make two runners. Save time by making two runners at the same time. Give one as a present to someone else!
Step 2:
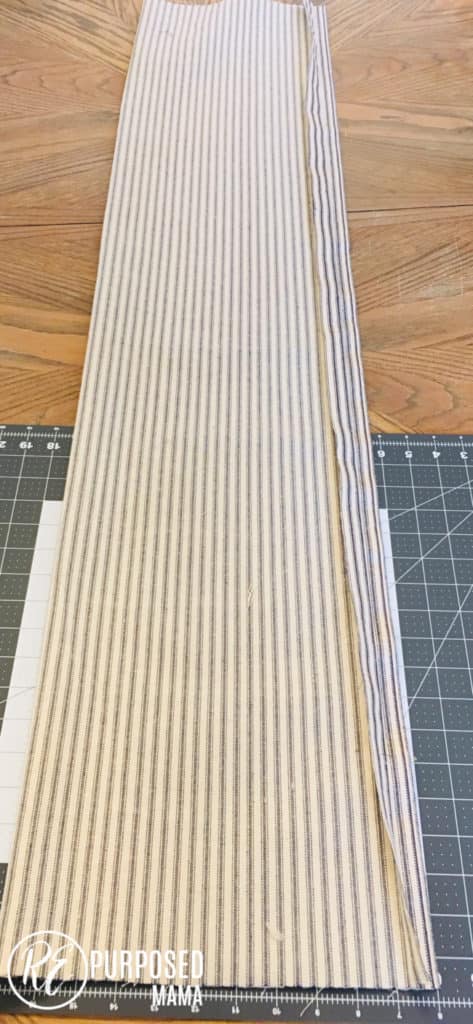
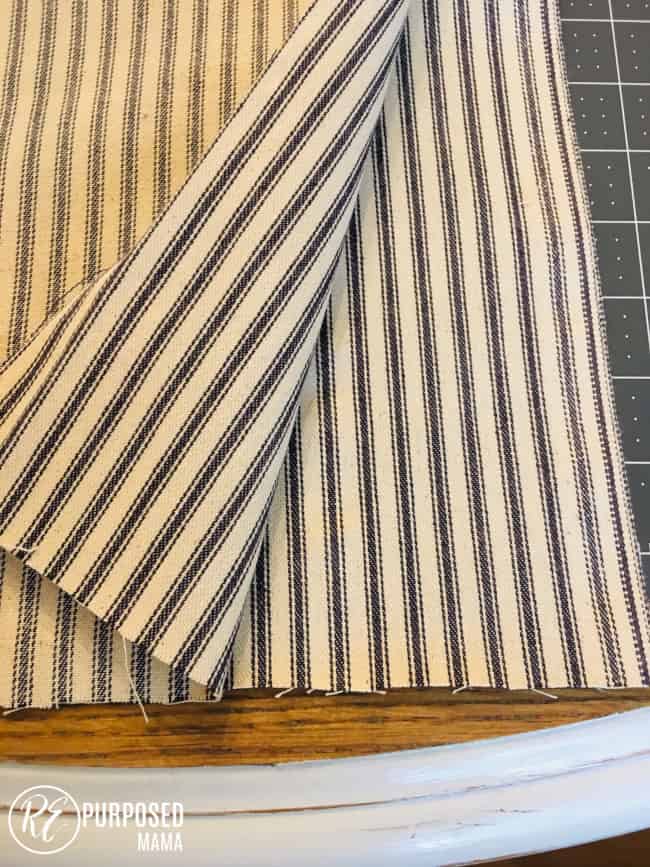
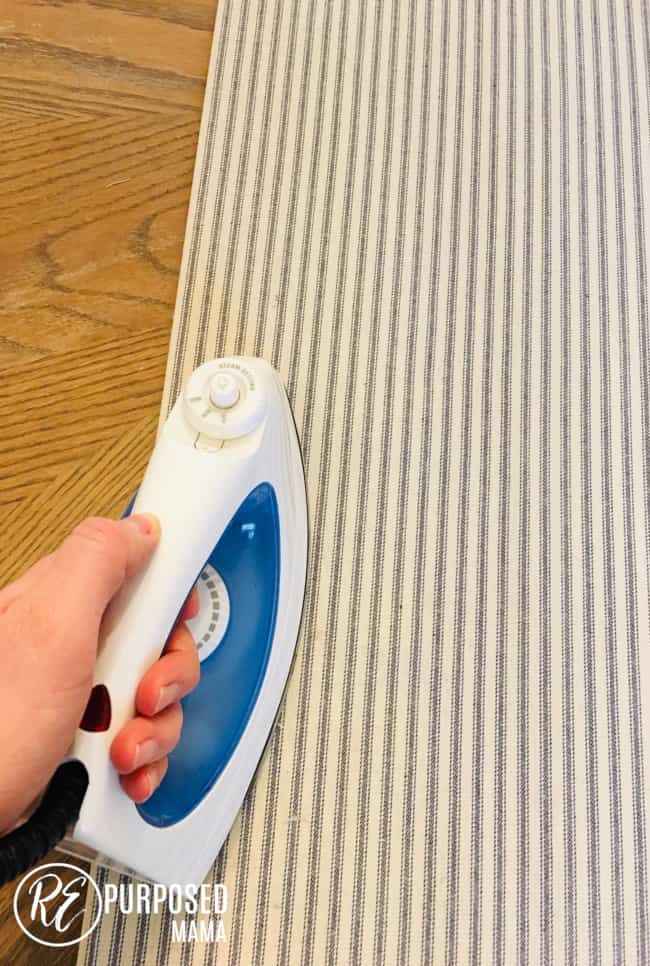
Once you have your fabric cut into a piece that is 1.5’x 20,” fold the piece in half right sides together and iron it. This will smooth out any edges and give you a very nice surface to sew.
Step 3:
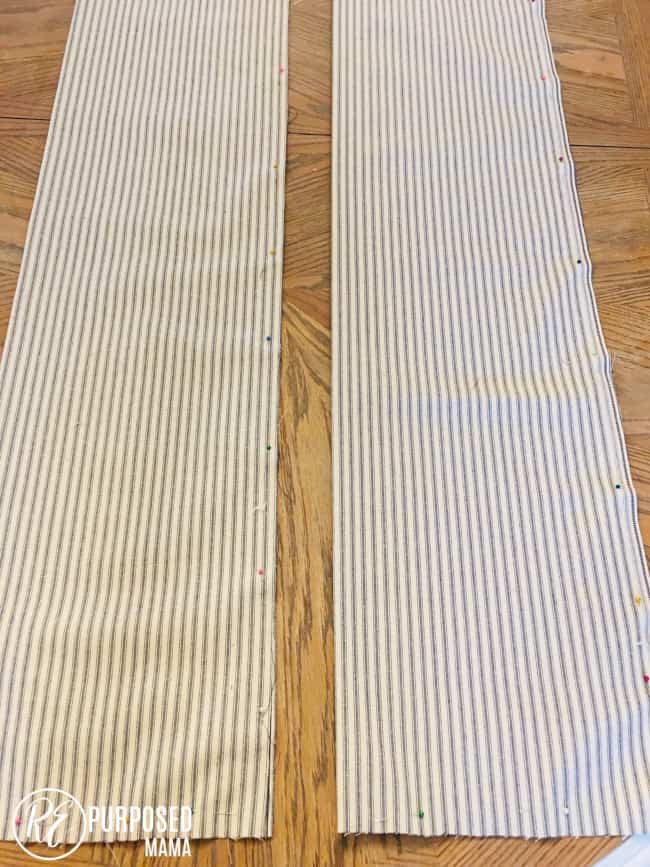
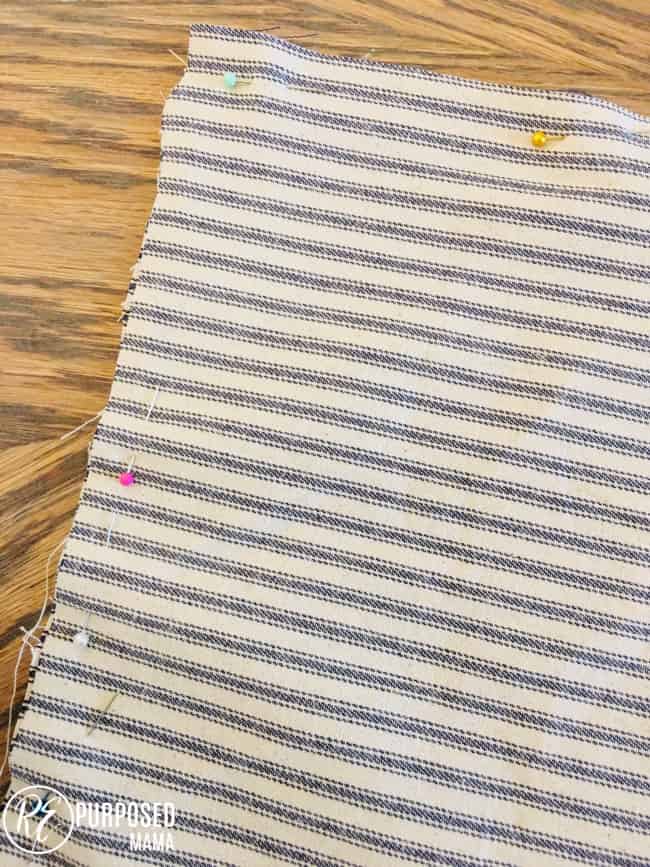
Now that your surfaces are nice and smooth. Pin the sides of your runner. To save time I did not pin the folded side of the runner. Remember to leave a 3-4″ opening so you can turn the fabric inside out.
Don’t be confused by the two different pieces. Remember I was making two of them. If you are making one you will only have one piece pinned together. Just forgot to snap a picture of one by itself.
Step 4:
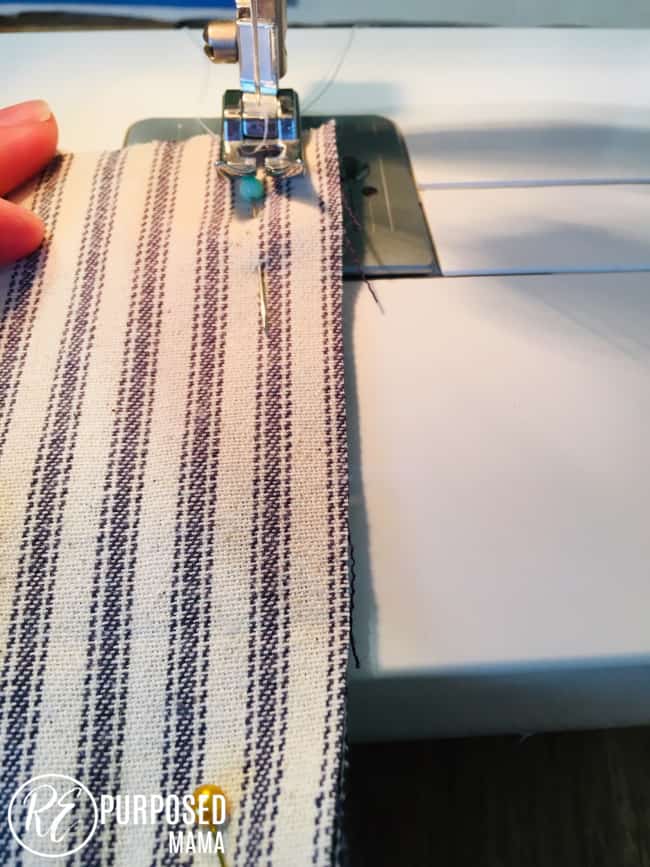
Sew around the three edges you pinned. Of course remembering to keep the opening to turn the fabric inside out.
Step 5:
Tie up the ends of your sewing and turn your fabric inside out.
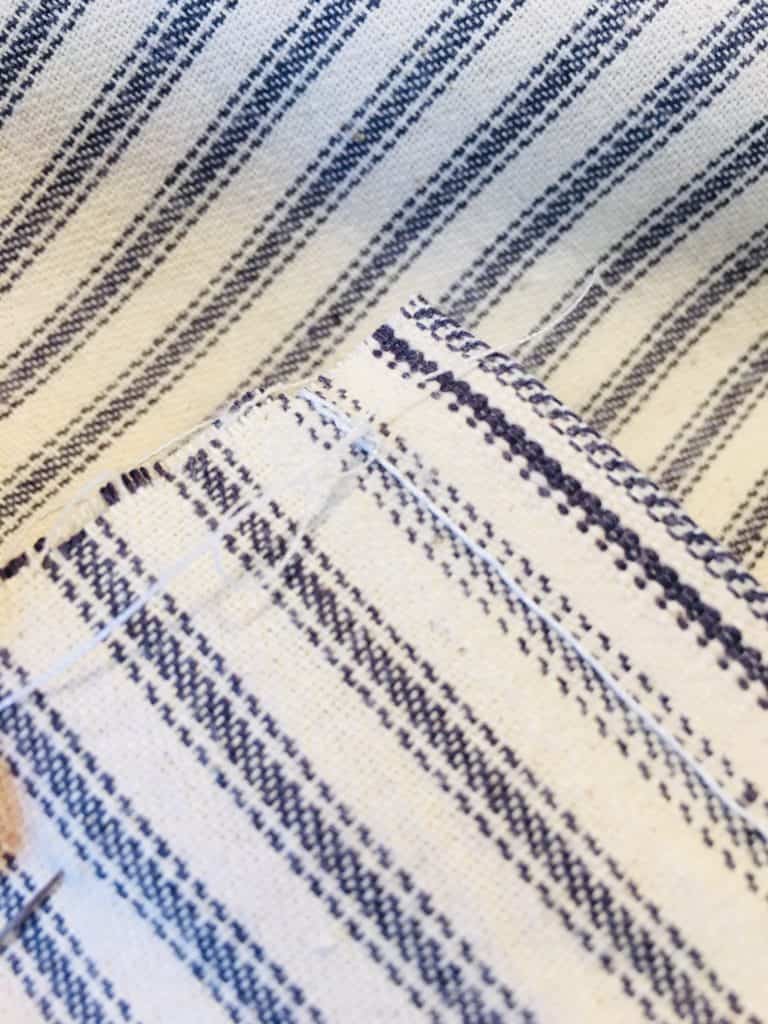
Step 6:
After I turned my runner inside out. I took a small board and pushed out the corners. I didn’t get a picture of this but just find something to push the fabric out in corners so you end up with nice sharp corners on your runner.
The final step is to sew up the opening where you turned your fabric inside out. And that’s it!
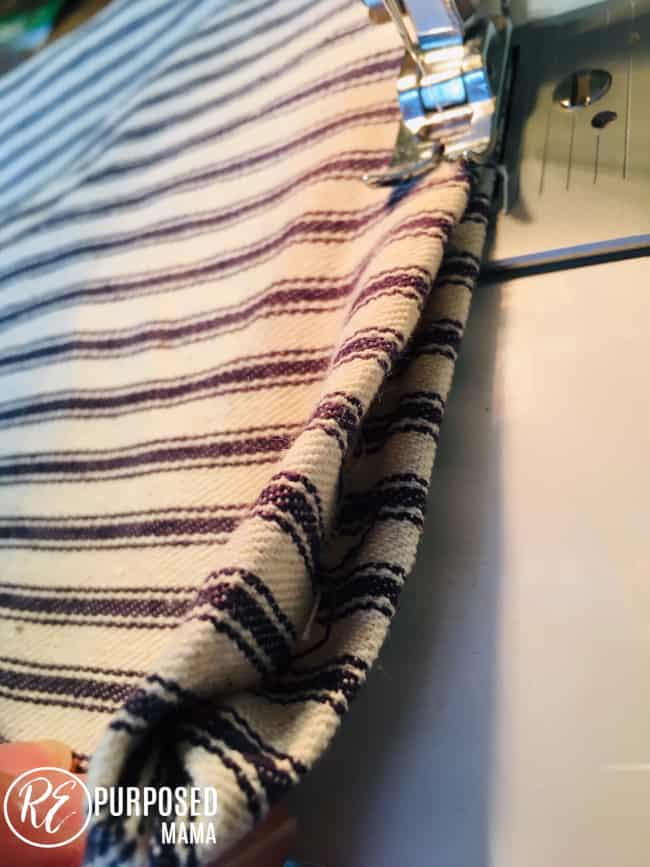
Now you have a beautiful farmhouse runner! Add your favorite decor items and enjoy!
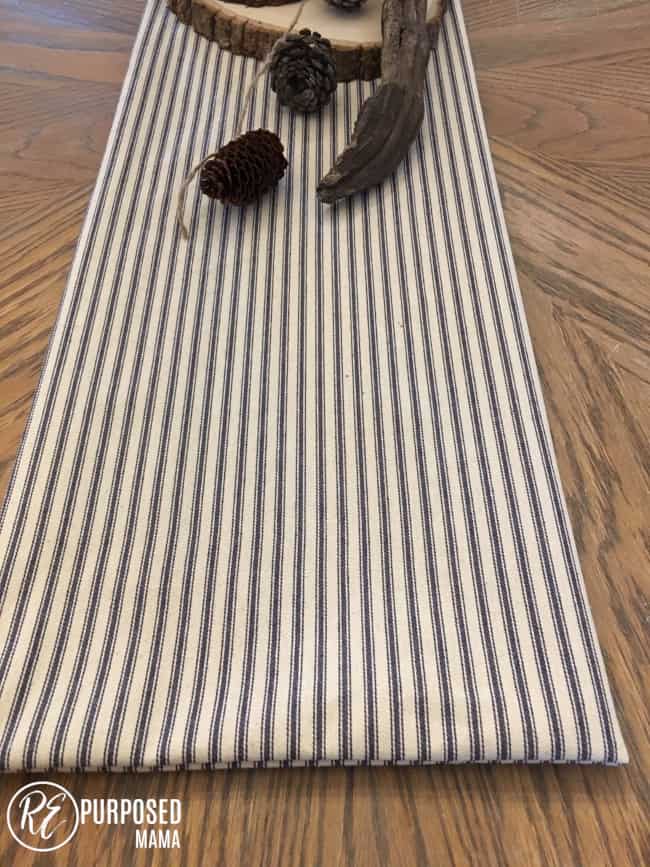
If you like ticking fabric as much as me. You might want to check out how to make a rice heating pad.
Or here are a few other fun ways to integrate farmhouse style into your home, with this wreath and old screen window update.
As always it’s fun to see what you are working on too! If you make a table runner or are working on project post below. Hope you are having a good week!
Elizabeth
This is great! I also love doing a top stitch sometimes to give it a nice finish! I think I may give this project a try!!
Hi Katie, Yes a top stitch is always a great idea! Good thought… I may have to add that to the tutorial.:)