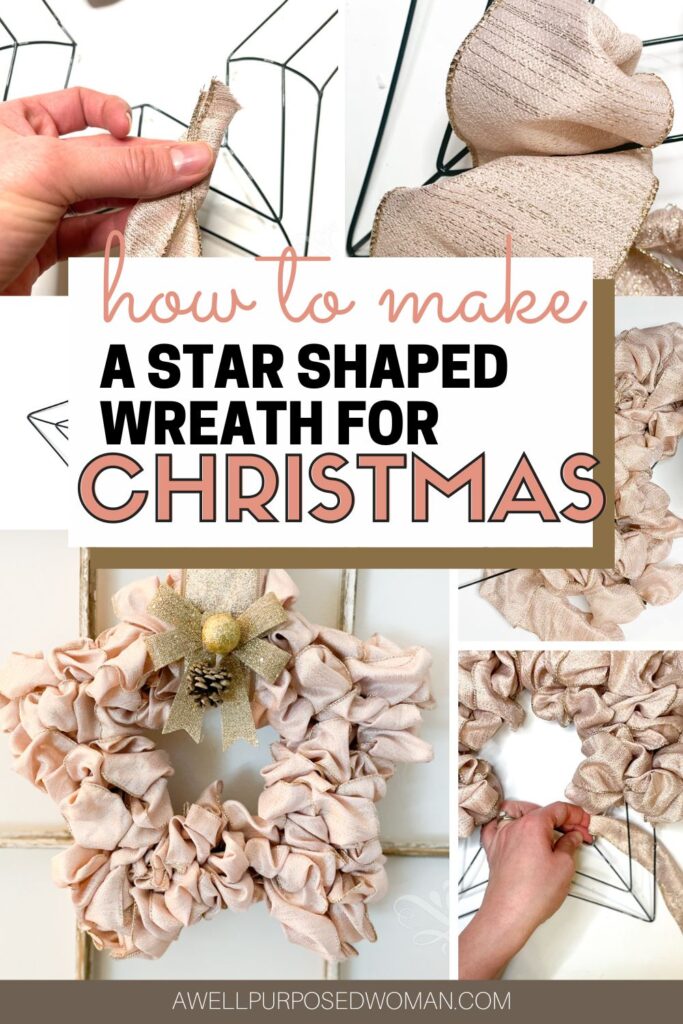
Learn how to make a star shaped Christmas wreath with a Dollar Tree star wreath form. This beautiful star shaped Christmas wreath is pretty simple to make and uses the Dollar Tree wreath forms. Learn how you can transform the Dollar Tree star form into a high end looking star shaped Christmas wreath.
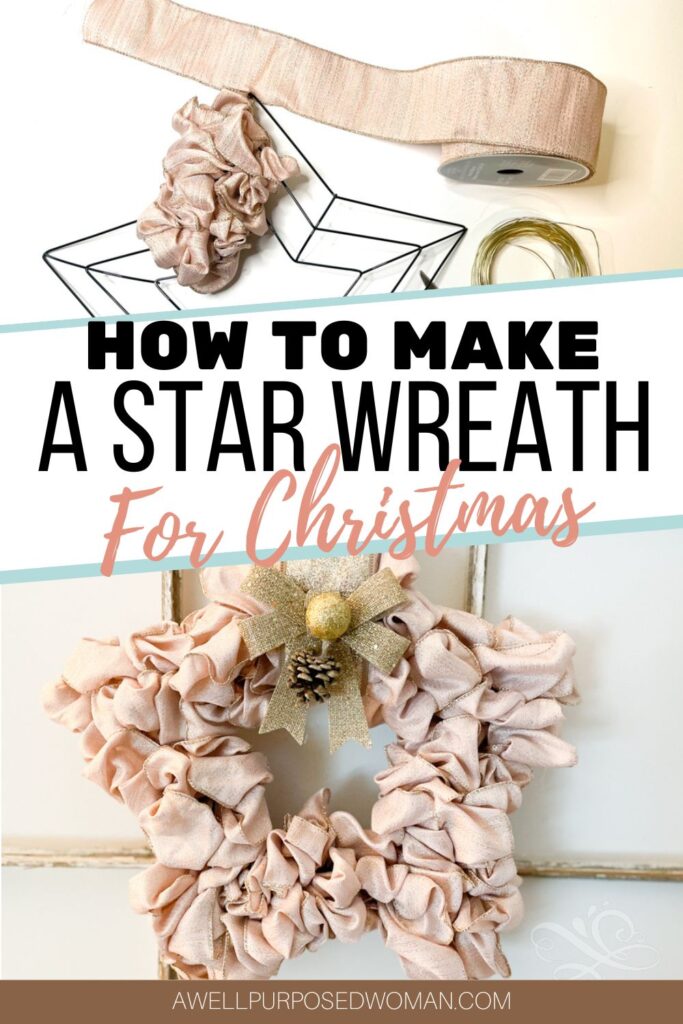
Today is Day 15 of our Countdown to Christmas and we are going to make a star shaped Christmas wreath out of a Dollar Tree star wreath form.
This beautiful star wreath uses the same technique as the ribbon wreath and the red burlap wreath that I posted several years ago. But today I want to show you how to make a star shaped Christmas wreath with one of those Dollar Tree star wreath forms. And I promise you it is still pretty easy for you to make!

If you have seen these Dollar Tree star wreath forms around the Fourth of July and wondered what to make with them, well today we are going to transform them into Christmas decor. This year I bought three of them in July so I could use them for Christmas.
I bought the ribbon for this wreath last year at an after Christmas sale for $2.50! I wasn’t sure how I was going to use it but I think today’s craft was the perfect project for it. This star wreath works best with wired ribbon, it keeps it’s shape much better.
Similar to making the ribbon wreath and the mini ribbon wreath I think the hardest part is getting into a rythym with the steps. As you go it gets easier and you could learn how to make this wreath in just a few minutes.
Also as you make your star shaped wreath, it is important to know how to navigate the corners of your star. The corners of the wreath can be a little more tricky than the circular wreaths. But we will cover all of that in the tutorial below.
So if you are up for it let’s get started!
Watch a video on how to make a star shaped Christmas Wreath:
If you would rather watch a video I have created a video with the step by step instructions for you below.
I have included affiliate links to make it easier for you. (So if you would purchase a product after clicking a link, I receive a small commission but don’t worry there’s no extra charge to you.)
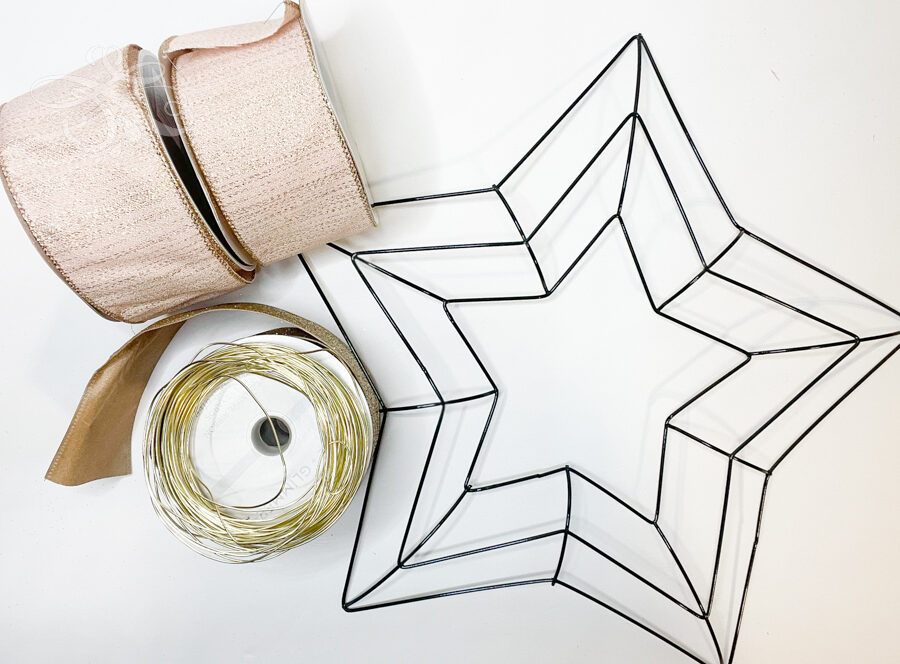
Here are the supplies needed to make a star shaped wreath for Christmas:
- Free written instructions for a ribbon wreath (it is the same technique as the star wreath)
- Star wire wreath form (12″-14″)
- 2- 3 rolls of 3″x 15 ft ribbon
- Floral wire
- Hot glue gun and gluesticks
- Ribbon to hang the wreath
- Scissors
How much ribbon is needed to make a star shaped ribbon wreath?
This wreath uses 2-3 2.5″ x 10 yard rolls of ribbon. The amount needed depends on how closely you scrunch your ribbon together. If you leave your wreath a little looser and not as tightly packed 2 rolls of ribbon is sufficient. Just remember to buy the wired ribbon!
Here’s how to make a star shaped Christmas wreath from ribbon :
Step 1: Attach the ribbon to the star wreath form
Start with the end of your ribbon. Fold the end in half and use floral wire to attach the ribbon to the innermost ring of the star wire wreath form.
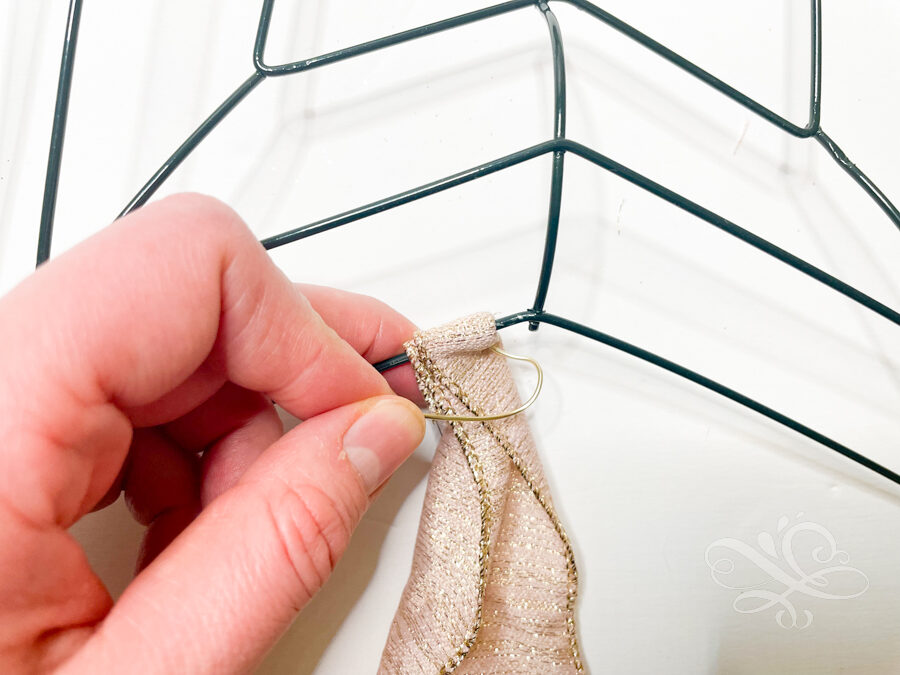
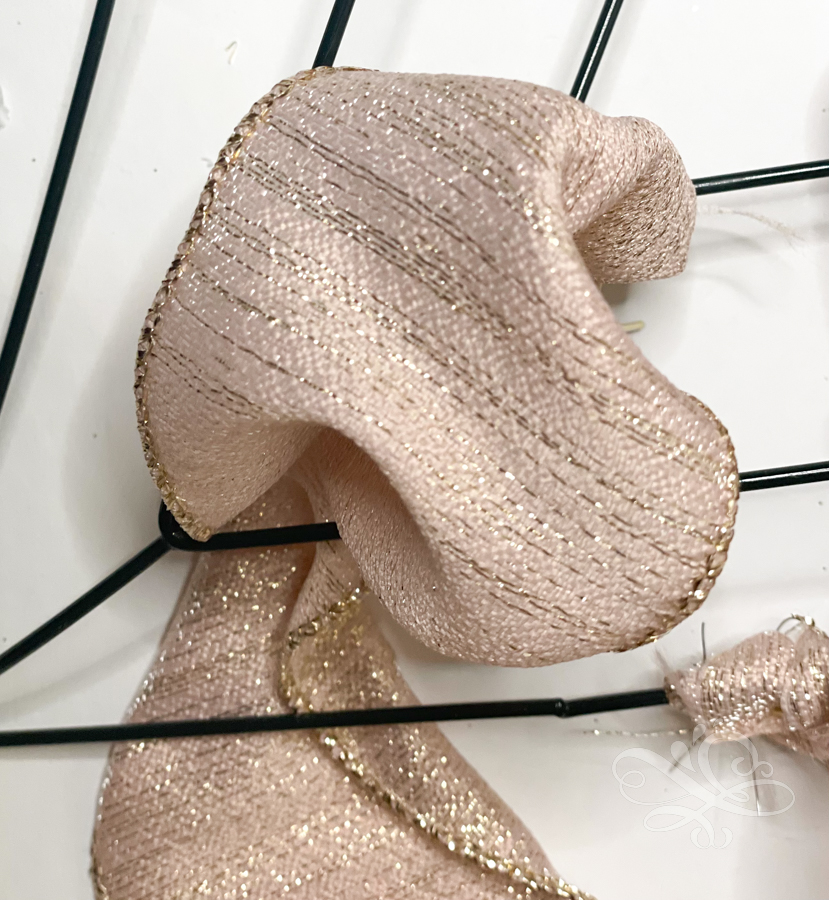
Step 2: Loop the ribbon through the star wire wreath form
Starting with the innermost ring. Loop the ribbon through each space in the wire wreath from. Make your loops about 3-4″ tall. Since there are only two rows on these star wreath forms you will want to loop the ribbon high enough so it is completely covering the wire frame.
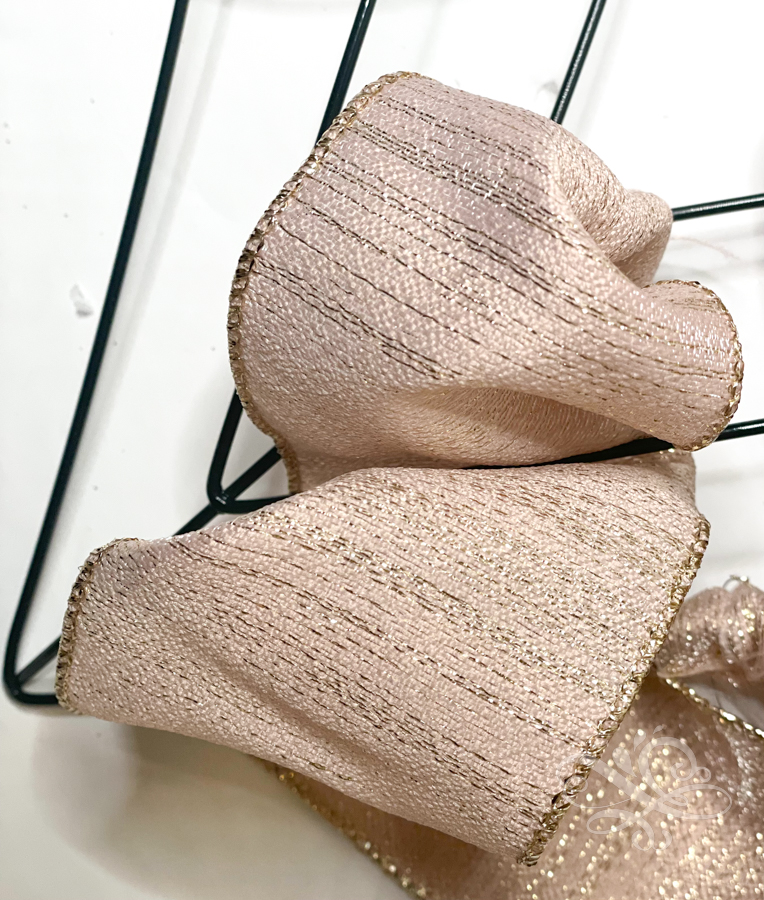
Make loops in the second row of the wire wreath form.
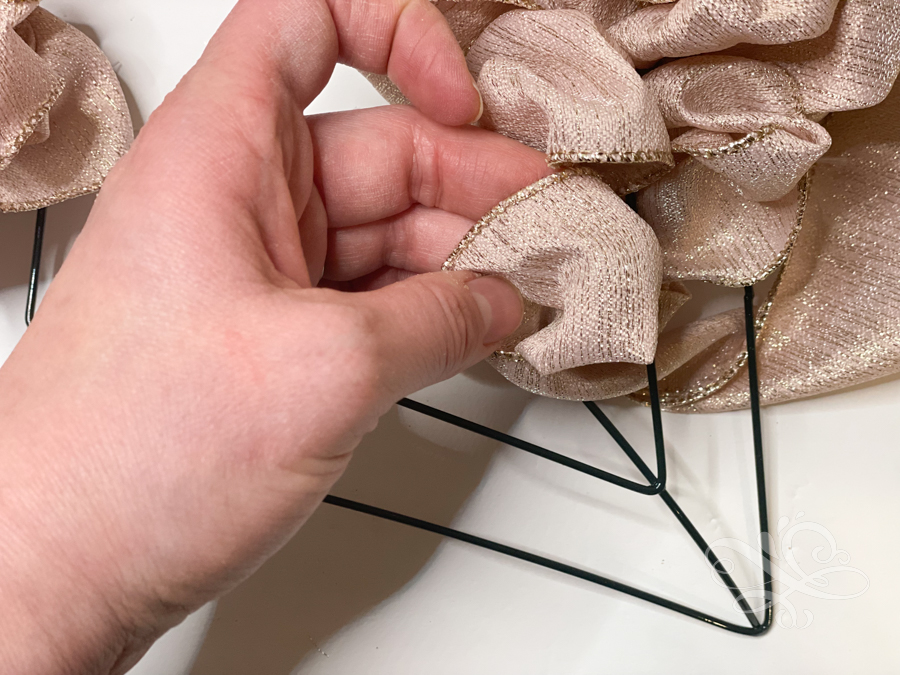
Step 3: Twist the ribbon on the under side of the wire wreath form
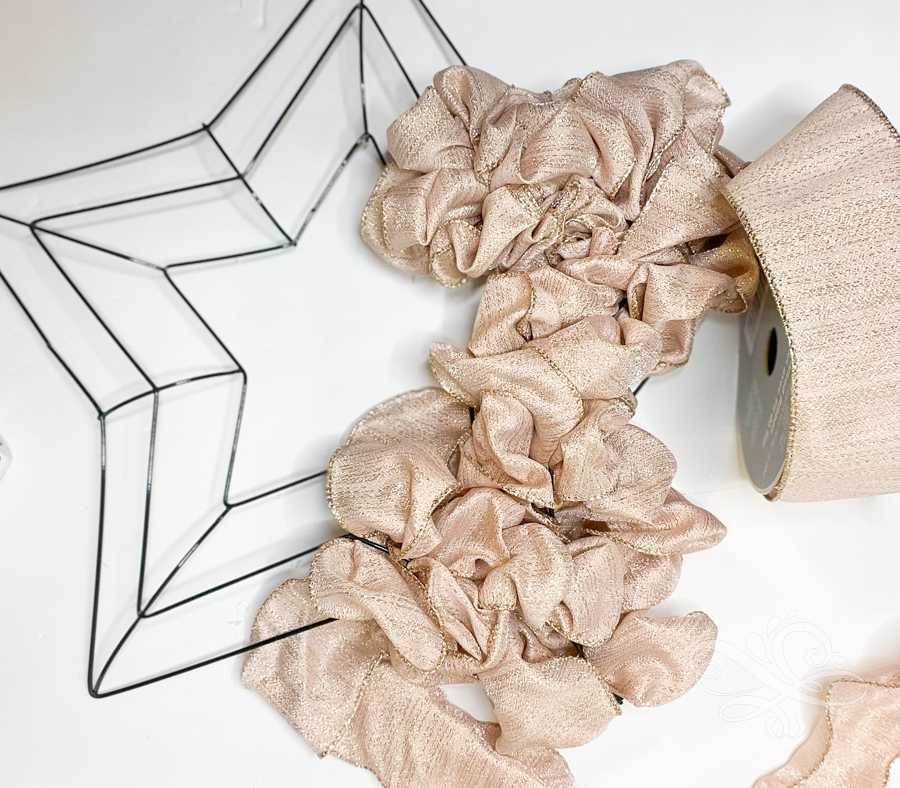
Once you have loops in both rows of the wire wreath form, twist the ribbon on the underside before starting the next row. Then start again and loop your ribbon in the both rows of your wreath form, twist on the under side, two loops, twist on underside…. Continue repeating this pattern until you get to the end of your ribbon. Adjust your ribbon to your liking as you go.
Tip: Use hot glue on the corners of the star to ensure the ribbon covers the wreath form. You can hot glue ribbon onto any areas of the wreath where the wreath form is peaking through.
Step 4: Attach the end of the ribbon to the star wire wreath form
When you get to the end of your roll of ribbon, attach the end of the ribbon to the wire wreath form with floral wire. This doesn’t have to be perfect and the loop of the ribbon will help disguise the start and end points of your ribbon.

Step 5: Just repeat the process for your next roll of ribbon
Once you start with your second or third roll of ribbons just repeat this process for your next rolls of ribbon. So attach your ribbon with the wire. Loop the ribbon in and out of both sections of the form. Twist on the back side of the wreath, then come back through both of the loops, twist and repeat until you cover the entire wreath form.
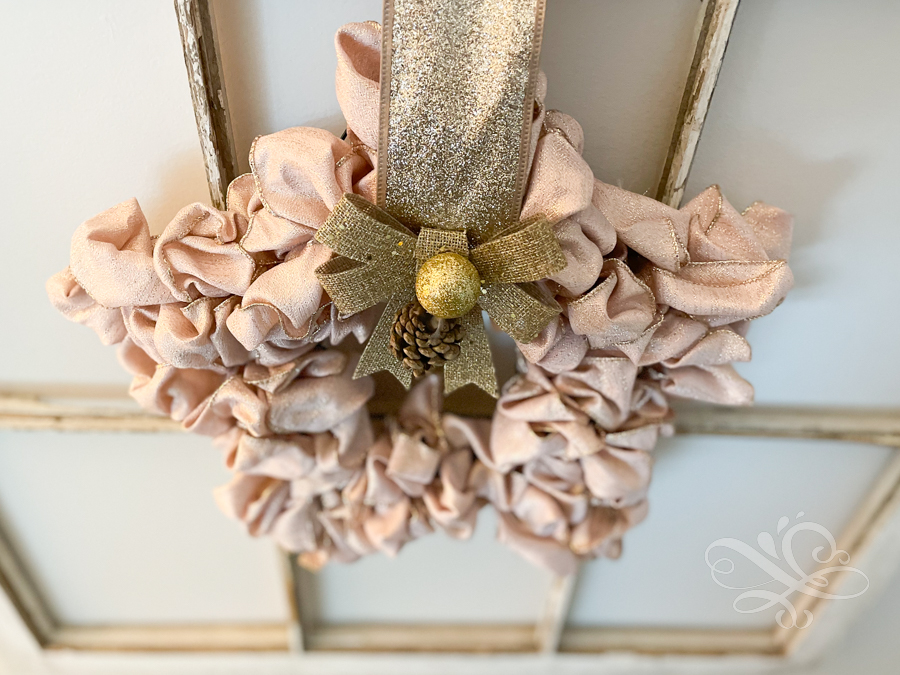
Step 5: Embellish and hang your star wreath
The last step is going to be to embellish your wreath and attach a hanger to it. Take a matching color ribbon and use it as a hanger for your wreath. You can hot glue any ornaments, pine cones or other embellishments to make it look just how you want it to.
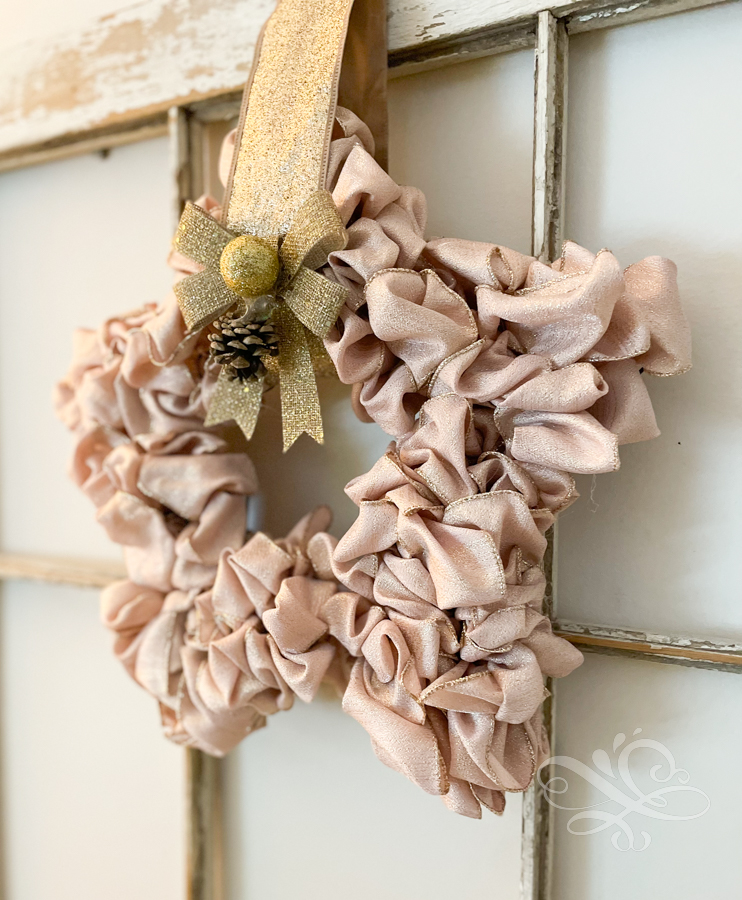
And that’s it really! What do you think? To me, it is a beautiful reminder of the star that was over Bethlehem that first Christmas night.
“After they had heard the king, they went on their way, and the star they had seen when it rose went ahead of them until it stopped over the place where the child was.”
Matthew 2:9 English Standard Version of the Bible
Thanks so much for joining us today for day 15 of our Countdown to Christmas! I hope to see you again tomorrow as we continue to day 16 of our Countdown to Christmas and if you missed any of the first fourteen projects you can check them out below.
But that’s all for now!
Take care and God bless!

Craft a Day Countdown to Christmas Projects:
1: Dry Out Oranges for Garlands and Ornaments
4: How to Make a Star Wreath out of Chunky Yarn
5: How to Make Christmas Trees out of Yarn
6: How to Make an Ornament Wreath
7.How to Make a Star Ornament out of Beads & Strings
8: Free Gift for Email Subscribers
9: How to Make an Outdoor Planter
10: 10 Last Minute Mason Jar Lid Crafts
11. How to make a Christmas Mug on a Cricut Machine
12. How to Make Watercolor Christmas Cards Easily (4 Designs)
13. How to Make Christmas Yarn Ornaments on a Stick
No time to craft now? No worries just pin it for later!


Leave a Reply