Learn how to make a very easy and inexpensive DIY fern wreath. You can make a DIY fern wreath from artificial ferns that will last longer or use real ferns for a special occasion and pay next to nothing! DIY Fern Wreaths are nice for both spring and summer.
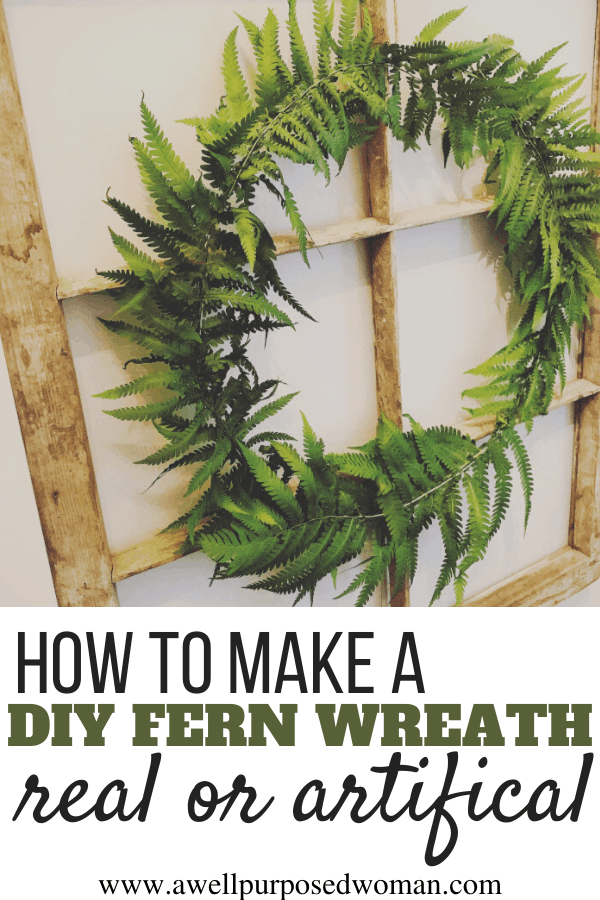
Hi there! Happy Tuesday. It has been a busy week in our house as we have VBS every morning. I have been low on time and energy, but I wanted to spark your imagination with a quick DIY project. It is a very simple, summer fern wreath. And the best part I made 4 of these fern wreaths for $1!
It’s super handy to have a wreath for every season. Either for the front door, or to display somewhere in your home. I recently got a stash of shutters and was looking for a green, spring or summer wreath for them.
Tip: If you are planning to use real fern leaves like I did the wreath will probably last for a few weeks at most. So with real leaves I would suggest using these wreaths for a special occasion. When you want to keep the expenses low but they do not have to last very long. If you use artificial greenery than these wreaths will last forever!
Let’s not waste any time and get right to it!
Here’s what you need to make a DIY Fern Wreath:
- Wire wreath form (I got mine from the Dollar Tree, the only thing I had to purchase)
- Fern leaves (from my yard, you could use artificial ones for a more durable wreath)
- Wire cutters
- Floral wire
- Twine or ribbon
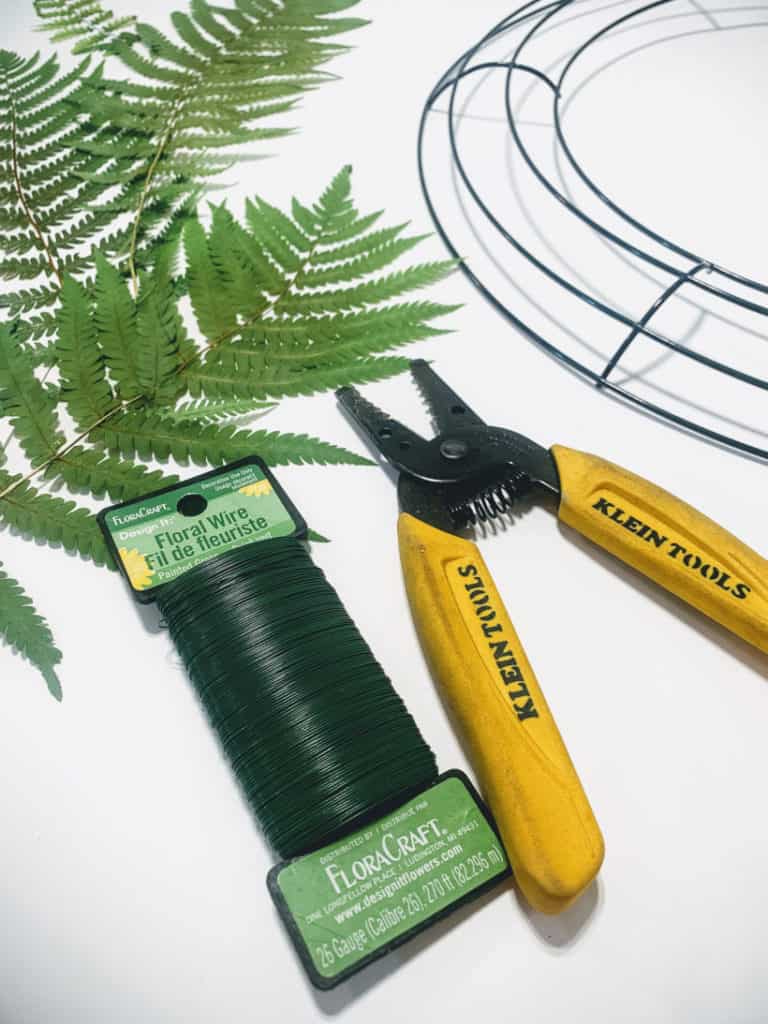
Here’s how you make a DIY Fern Wreath:
1. Flatten out your fern leaves (optional)
This is an optional first step, but my daughters and I took our fern leaves and flattened them in between the pages of magazines. We put weight on top and waited a few days before using them. I was hoping this would help preserve the leaves. If you are using artificial leaves this step would not be necessary.

2. Cut your wire wreath form apart
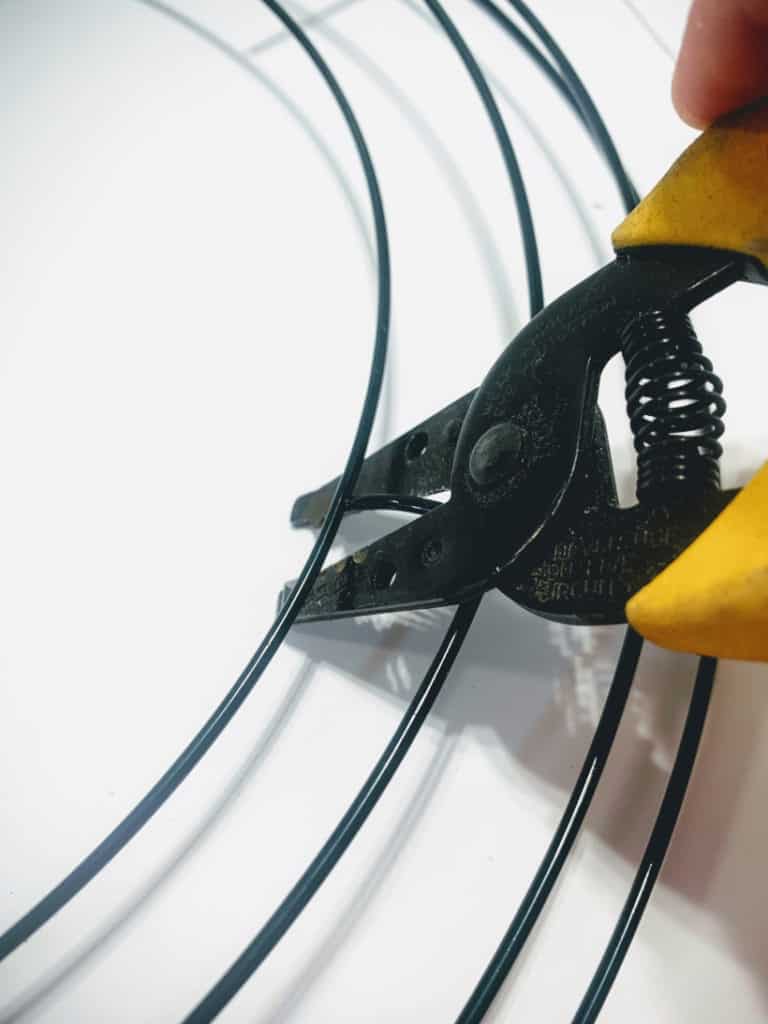
Use the wire cutters and cut your wire wreath form apart so you have 4 separate rings.
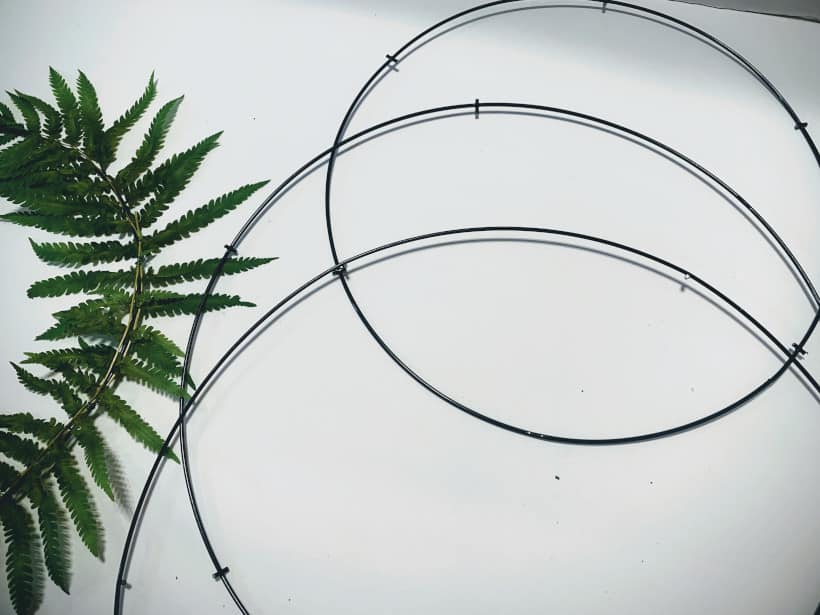
3. Attach your fern leaves to the rings
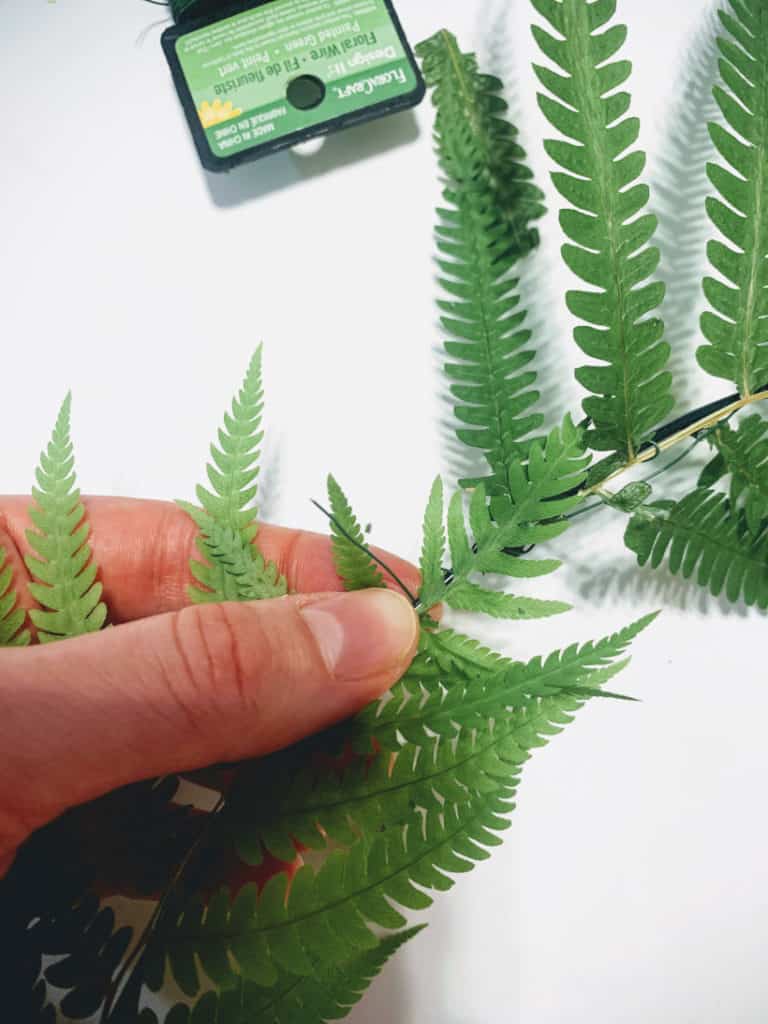
Use your floral wire and attach your fern leaves to the rings. I started with the stem. And wrapped the wire around the stem and ring.
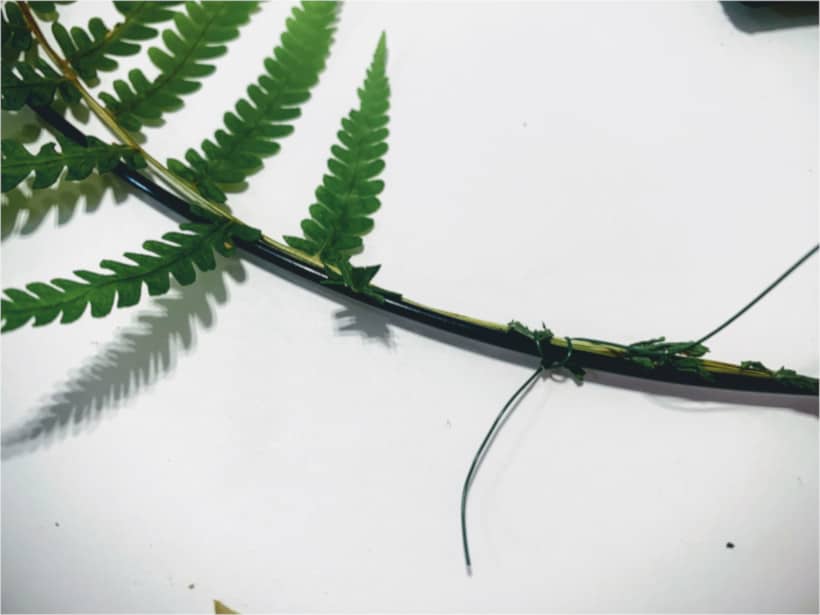
Then I weaved the wire along the stem of the fern.
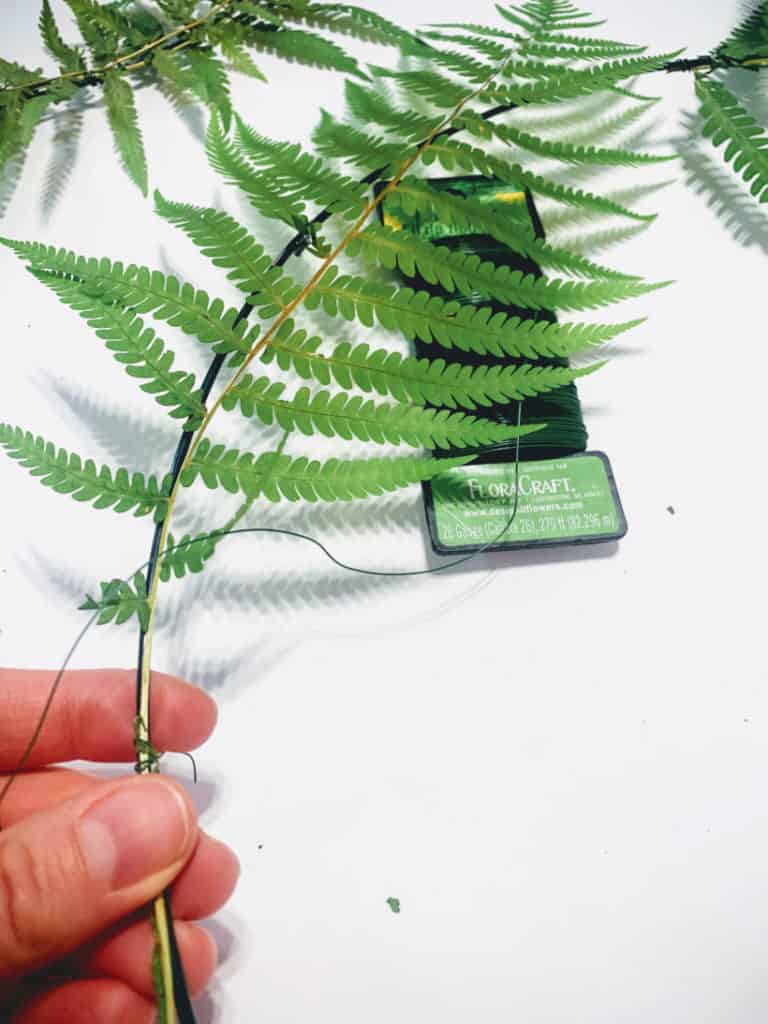
The fern was then attached to the ring.

I did not use wire over the tip of the fern but stopped 1″ or so from the top. Continue doing this until the ring is covered with the ferns.
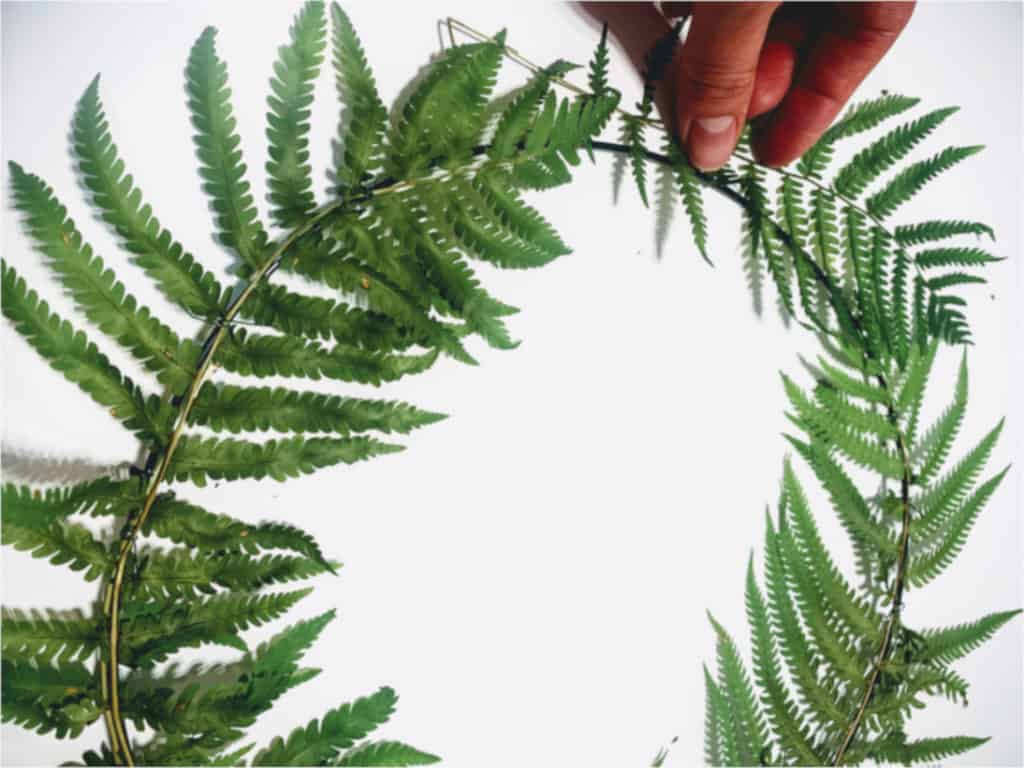
4. Fill in any spaces where leaves fell off
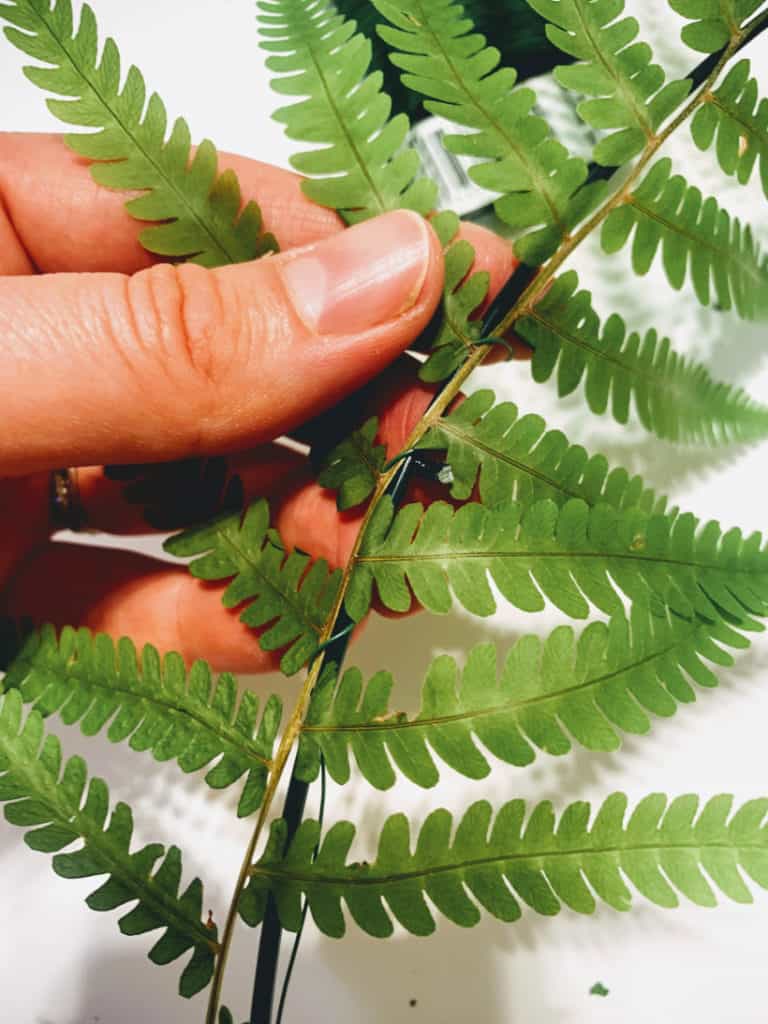
Once you have covered the entire ring examine your ring. If there are any spaces that look empty. Fill them in with an extra fern.
You can make this as simple or as full as you like. For a fuller fern wreath just continue to add more ferns to the ring.
5. Attach a piece of twine, ribbon or string to hang
The final step is to attach a piece of twine or ribbon to hang the wreath. I thought my wreath looked more full on one side and I wanted that side to be on the bottom. Then just repeat for the other 3 rings.

And that is how I found my perfect summer wreath and paid only $0.25 for it! In total this wreath probably took me 10 minutes to make. So it truly was a perfect project for this week! Simple, easy and totally affordable for $0.25!
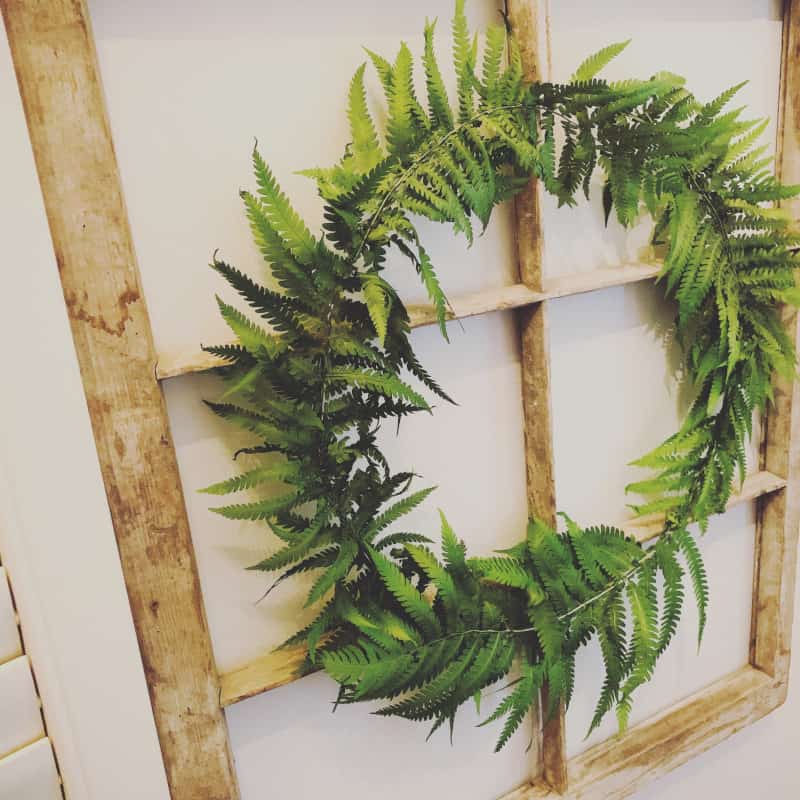
I decided to hang my in my entry way on this old window frame. Let me know what you think of this wreath and if you try it yourself!
Take Care,

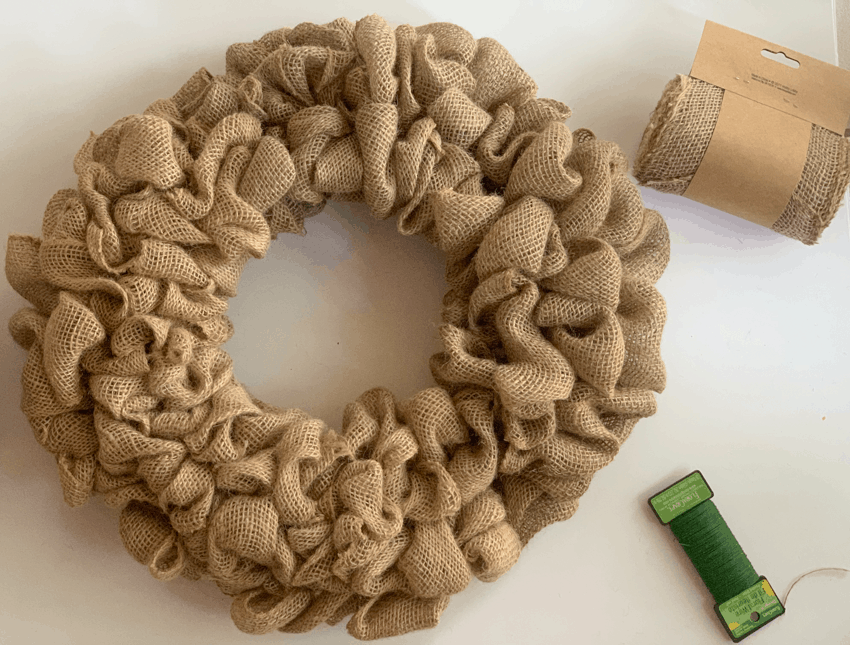
P.S. If you liked this tutorial. Check out this one for an easy burlap wreath.
How long did the fern leaves stay green and fresh? Other than flattening them, did you have to do anything else to preserve them a bit?
Hi Katherine, I did spray a thin coat of a sealant on top. Happy Crafting! Elizabeth