Learn how to make a simple wooden Christmas tree out of scrap wood. These little wood Christmas trees have a simple but cheerful look to them. Use them as a small gift this Christmas season.
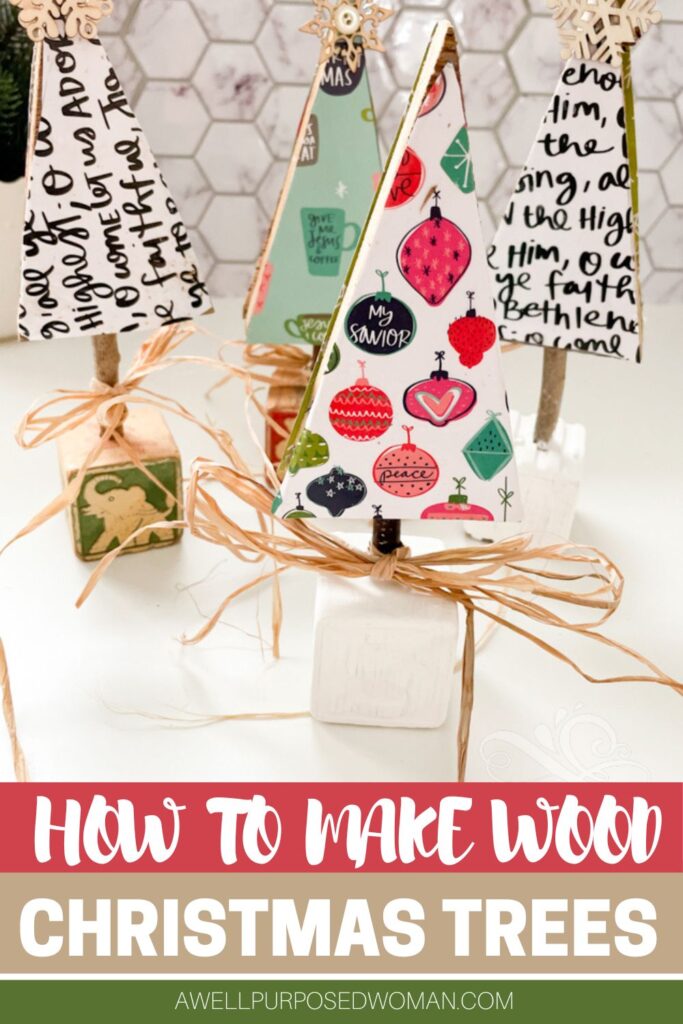
Welcome to Day 16 of our Craft a Day Countdown to Christmas today we are making an easy wood Christmas tree!
A few years back my husband and I picked up a pile of scrap wood someone was getting rid of. It sat in our garage for a few years and then this fall I started playing around with it. I made these little cut out triangles which I made into gnomes and today I am going to share how to turn them into little wood Christmas trees!
My daughters Annabelle and Emmie made these Christmas tree crafts with me and you will see them doing most of the work in our video tutorial.
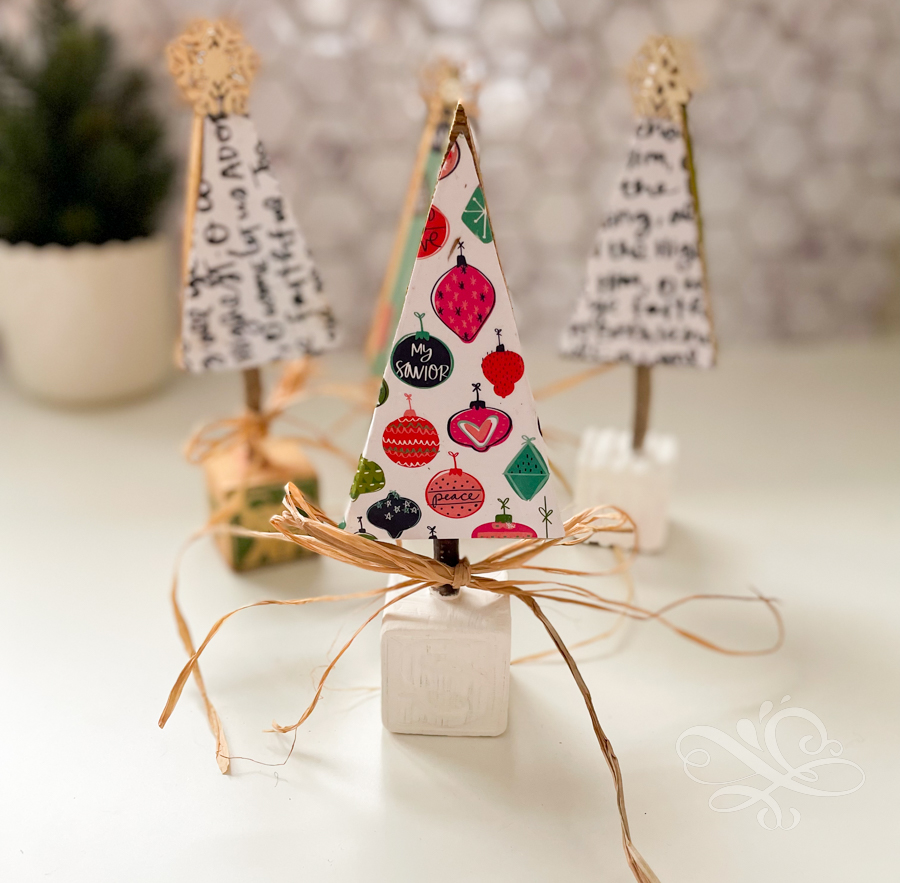
My daughters enjoyed making these with me. They helped by decorating the little wood Christmas trees. So I think this would be a great Christmas craft to do with your kiddos. Like a lot of the other crafts I have been sharing on our Countdown to Christmas. These trees are pretty simple to make.
So let’s get started!
Here’s what you need to make Wood Christmas trees:
- Scrap wood
- Miter saw
- Scrapbook paper
- Mod podge
- Wooden dowel
- Blocks
- Paint
- Embellishments (buttons, raffia, and snowflakes,etc)
Watch how to make wood Christmas trees:
Here’s how to make wood Christmas trees:
Step 1: Make your wood cutouts
The first step is to cut some wood triangles. I set my miter saw to 15 degrees and made my first cut. Then I would flip my board around and just cut the other side of the triangle from the point of the previous cut.
Now you have these cute little wood cutouts. You could use these little wood cuts out just how they are. You could make them into gnomes. Or you could dress them up as Christmas trees and that’s what we are going to do today.
Step 2: Drill a hole at the base of your wooden tree
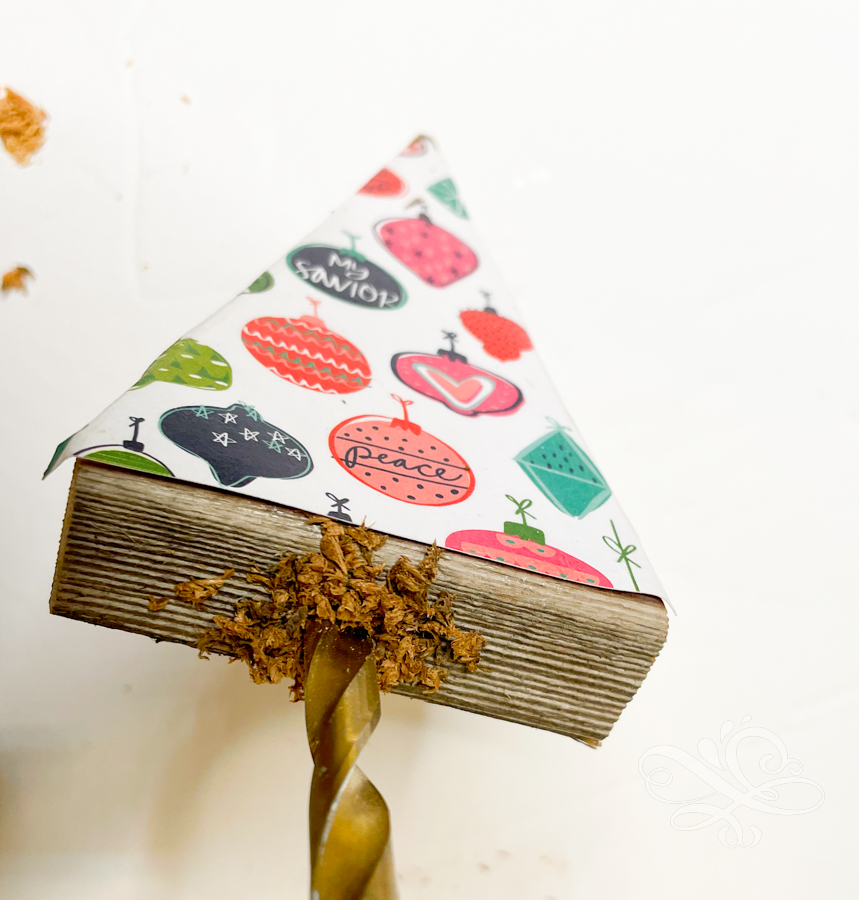
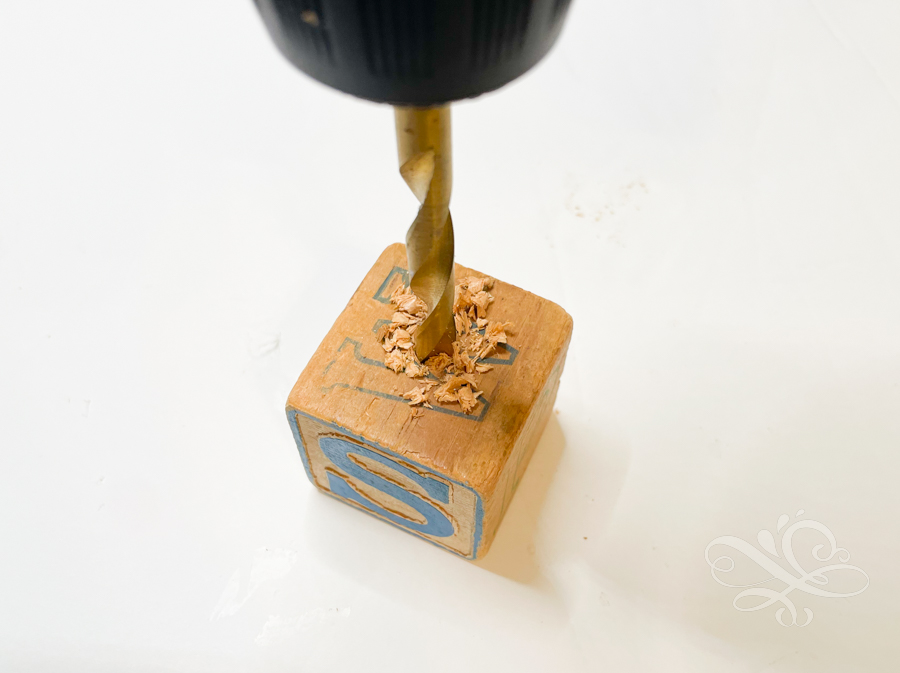
Take a 1/2″ drill bit or whatever size matches your wooden dowel and drill a 1/2″ hole in the bottom of your wooden tree. Then drill the same size hole in your wooden block (this will be the base of your wooden Christmas tree).
Step 3: Trace your triangle onto scrapbook paper
Trace your triangle onto scrapbook paper and cut out the same shape as your wooden triangle.
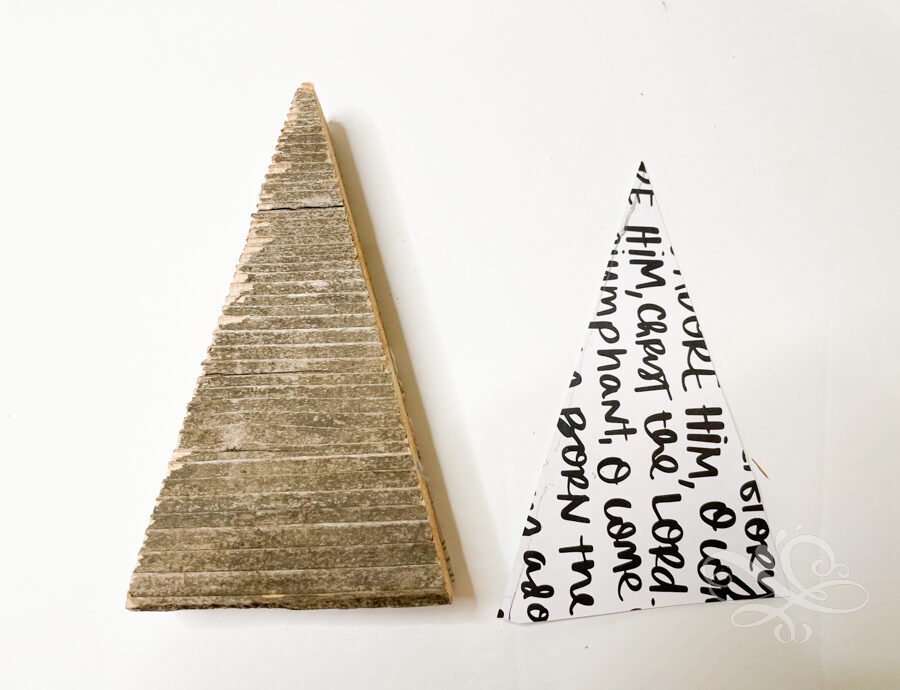
Step 4: Use Mod Podge to add it to your wooden triangle
Use mod podge and spread it on the wooden triangle. Lay the scrapbook paper on top. Then add Mod Podge on top of the scrapbook paper. Cover both sides of the triangle.
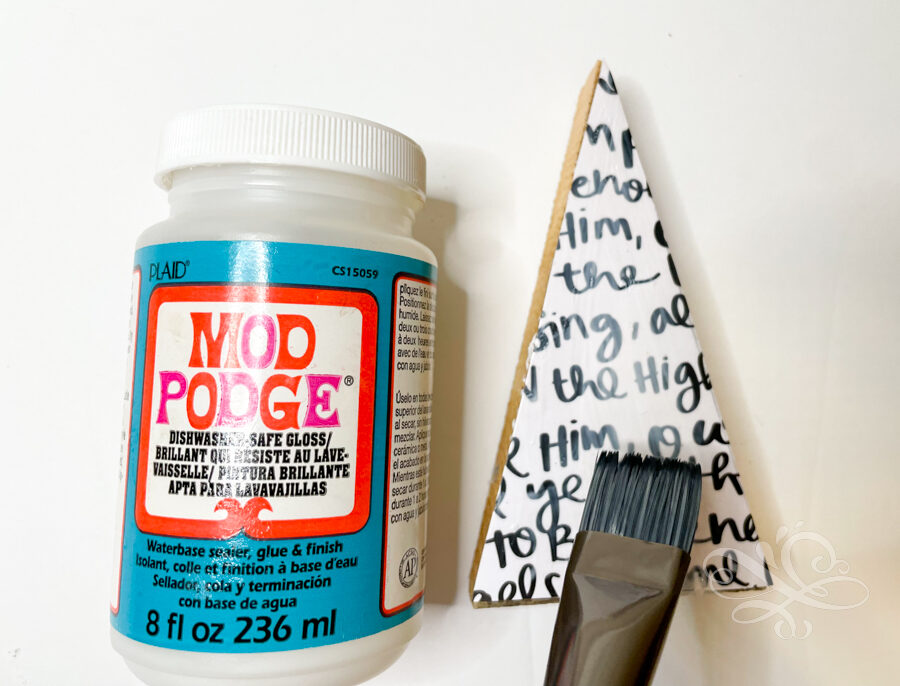
Wait for the Mod Podge to dry.
Step 5: Embellish your wood Christmas tree & add your wooden dowel.
Add buttons, snowflakes, and other embellishments to your Christmas trees.
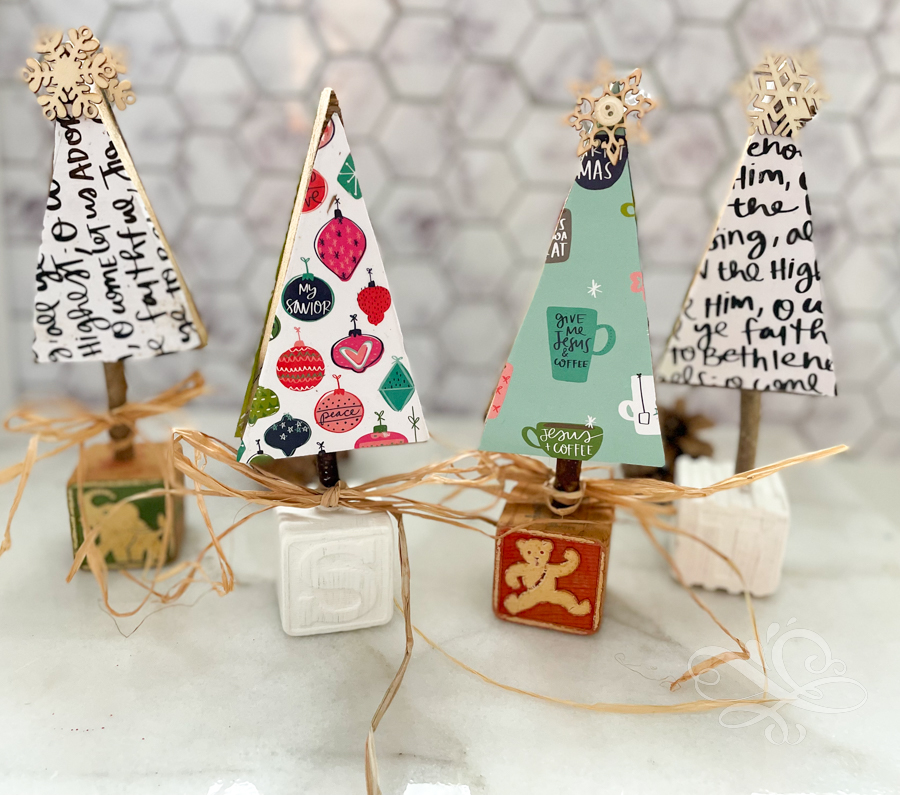
Then insert your wooden dowel into the bottom of the wooden Christmas tree. Now insert the wooden dowel into the block or base of your tree. I tied raffia over the wooden dowel of the tree.
My daughters also painted several of the vintage blocks. So you could paint the wooden blocks or leave them as is.
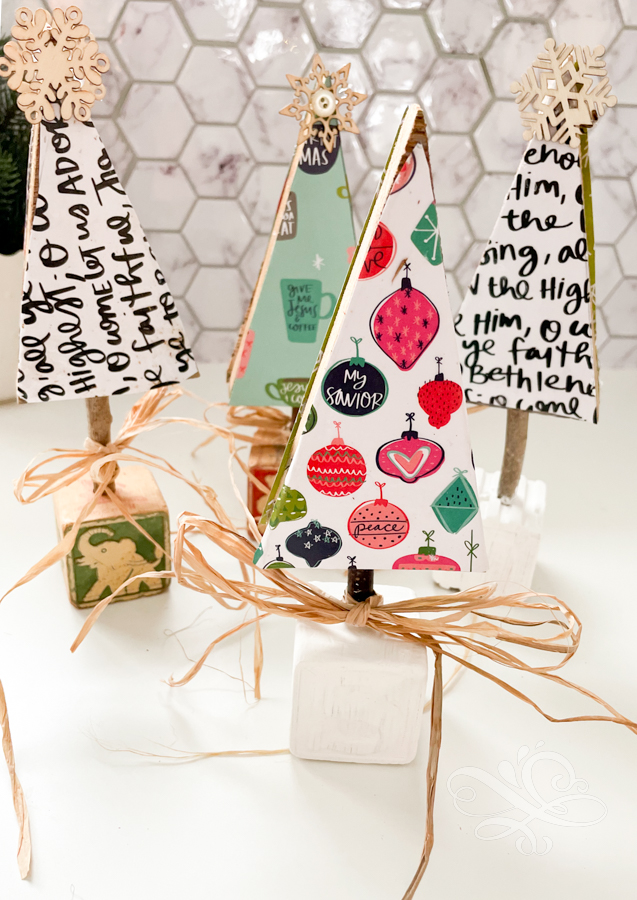
And that’s it!
My daughters are going to give these as gift for their teachers. It was an easy enough craft where they actually enjoyed making the Christmas trees. I hope you enjoyed this craft too! And if you missed any of the other days of Christmas you can read them down below.
Thanks for being here and happy Christmas crafting!

Craft a Day Countdown to Christmas Projects:
1: Dry Out Oranges for Garlands and Ornaments
4: How to Make a Star Wreath out of Chunky Yarn
5: How to Make Christmas Trees out of Yarn
6: How to Make an Ornament Wreath
7.How to Make a Star Ornament out of Beads & Strings
8: Free Gift for Email Subscribers
9: How to Make an Outdoor Planter
10: 10 Last Minute Mason Jar Lid Crafts
11. How to make a Christmas Mug on a Cricut Machine
12. How to Make Watercolor Christmas Cards Easily (4 Designs)
13. How to Make Christmas Yarn Ornaments on a Stick
15. How to Make a Star Shaped Christmas Wreath
No time to craft now? No worries just pin it for later!



Leave a Reply