Learn how to make DIY beaded ornaments with the names of Jesus. This tutorial will show you the step by step process to make these beautiful DIY beaded ornaments with the names of Jesus on them. There is a free printable of the names of Jesus that will help make these ornaments even easier to make.

Welcome to Day 18 of our Craft a Day countdown today we are going to be making beautiful DIY beaded wood ornaments with the names of Jesus on them!
To me Christmas is all about Jesus! And these beautiful DIY bead wood ornaments were some of my favorite to make this year.
It was very meaningful for our family to remember the names of Jesus this morning. We all shared names of Jesus that we could think of and made a list of them that we could print out for our ornaments. We are going to share the list we came up with you so you can use our list or make your own!
I want to bring attention and honor to His name because I am so thankful that Jesus entered into our world, and these DIY ornaments with the names of Jesus are a way to celebrate Him.

Earlier this month I shared how to make the beaded wood stars and how to use beads in making little Christmas tree ornaments. So today’s craft fits into our boho type decorations for this year.
So let’s get started on making DIY Beaded Wood Ornaments!
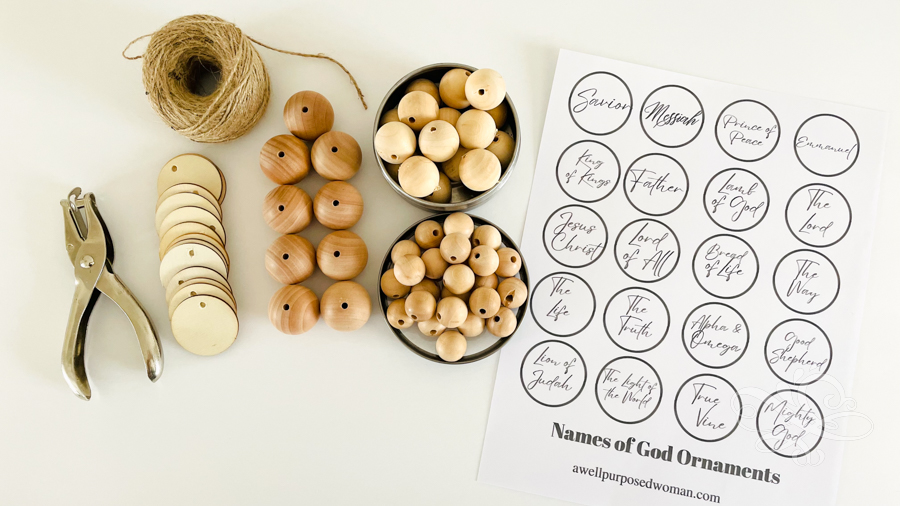
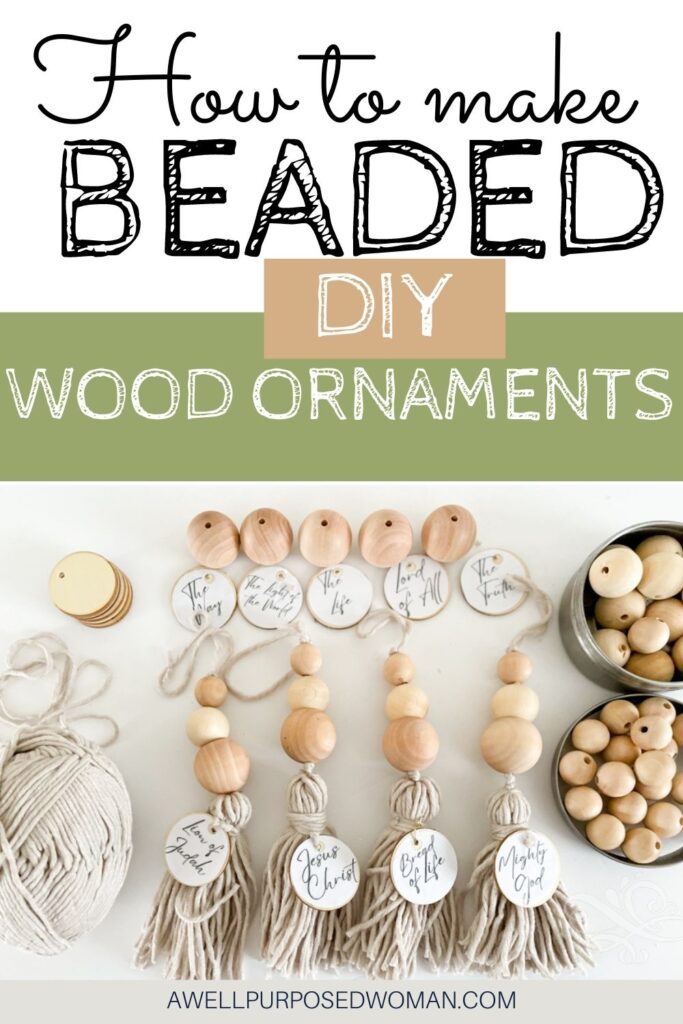
Here’s what you need to make DIY beaded wood ornaments with the names of Jesus:
- Free Names of Jesus Printable
- Printer
- 3 Sizes of wooden beads (2″,1″, and 3/4″)
- Yarn or twine
- 1″ or other size wood slices
- Bobby pin
- Scissors
- Mod podge and brush
Watch a step by step video on making DIY beaded wood ornaments with the names of Jesus:
Here’s how to make a DIY beaded wood ornament with the names of Jesus:
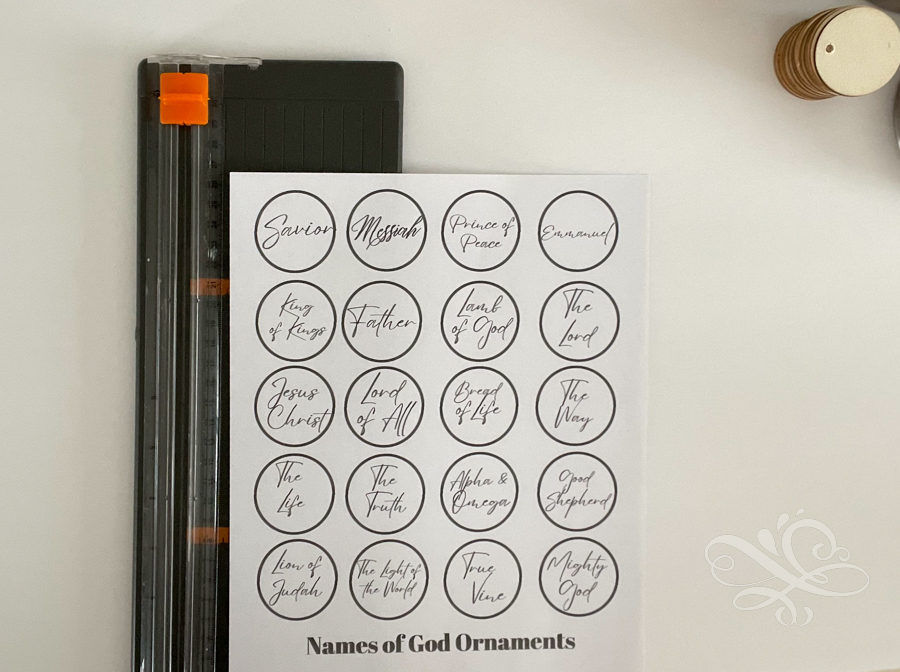
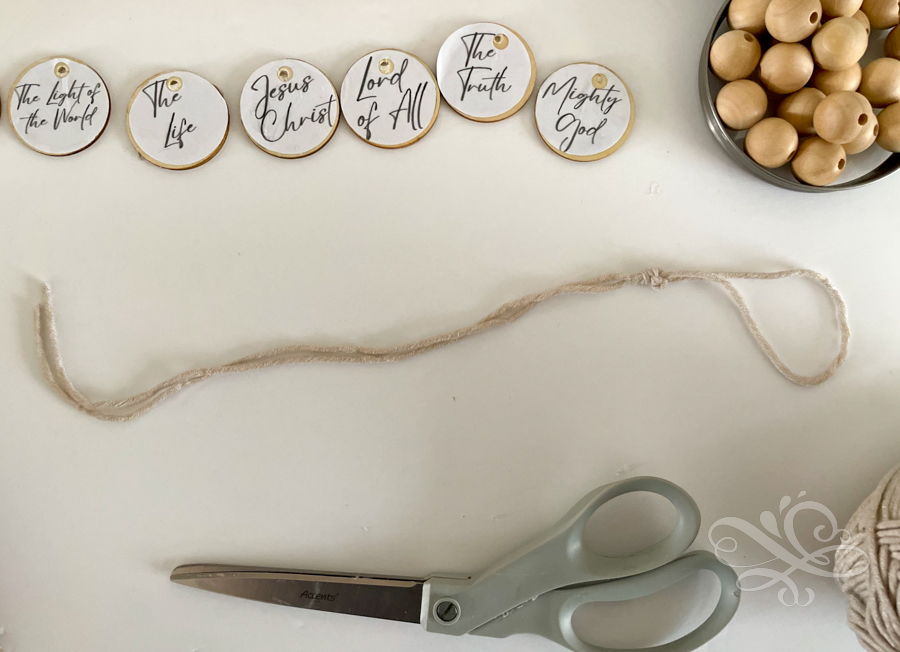
Step 1: Prepare your wooden names of Jesus slices
The first step is to prepare your wooden names of Jesus slices. Print out the free download and cut around the circles. Use a hole punch and make a hole towards the top of the circle. This will be where the yarn goes through the name piece.
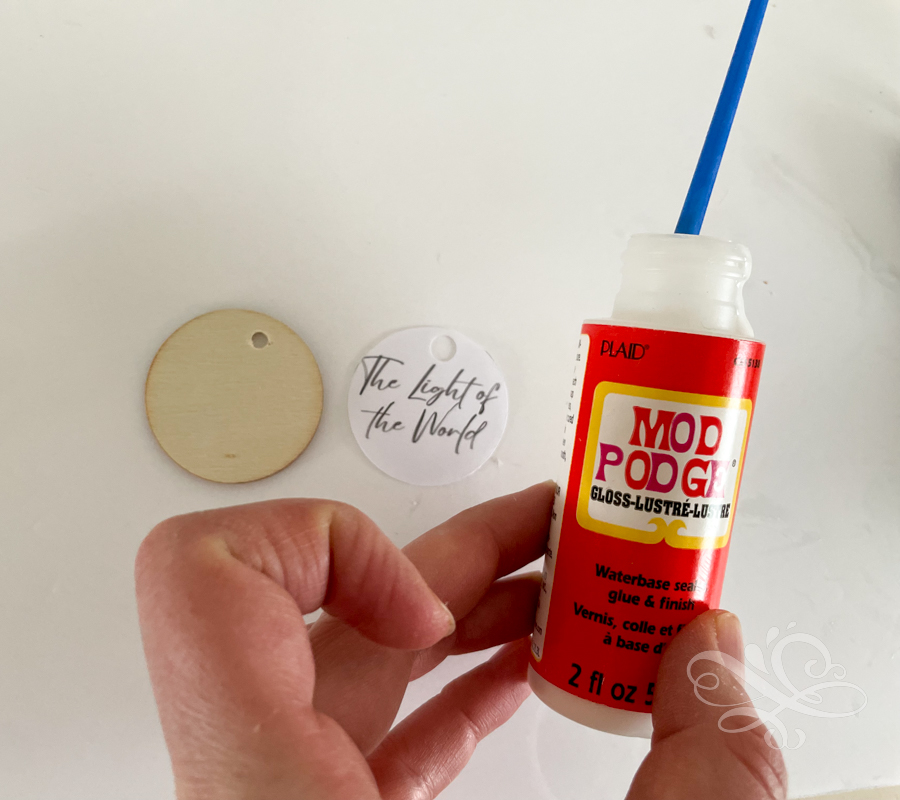
If you have not done so already drill a hole in the wood slices so the yarn can go through it. I used a 5/32″ drill bit to make the holes in the wood slices.
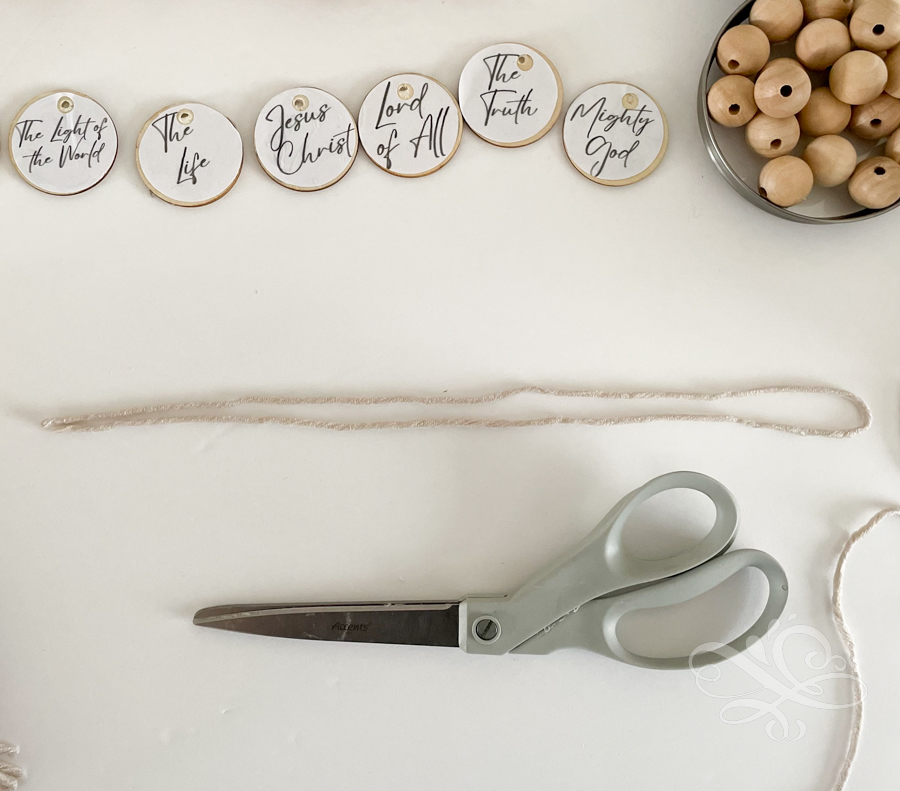
Now that you have your name of Jesus circles cut out. Mod podge them onto your 1″ wood slices. Allow your mod podge to dry.
Step 2: Attach your beads to your DIY beaded wood ornament:
Start by cutting a length of yarn that is 24″. Fold the yarn in half.
Tie a double knot 4″ from the top of the folded side of your yarn.
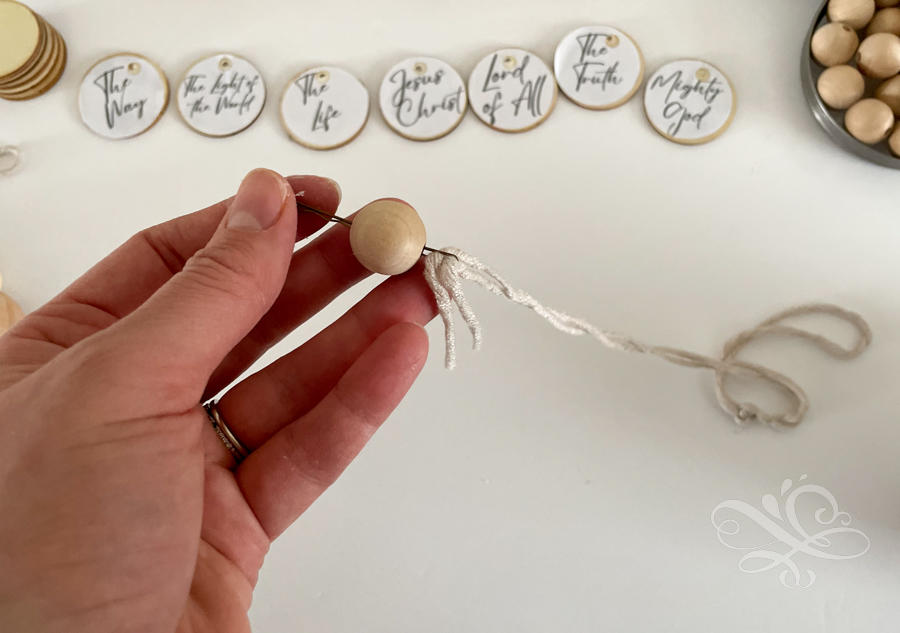
Now feed the other ends through a bobby pin. We are going to use the bobby pin to easily take our yarn through our beads. Take your smallest bead and bring the bobby pin with the yarn on it through the hole of the smallest bead.
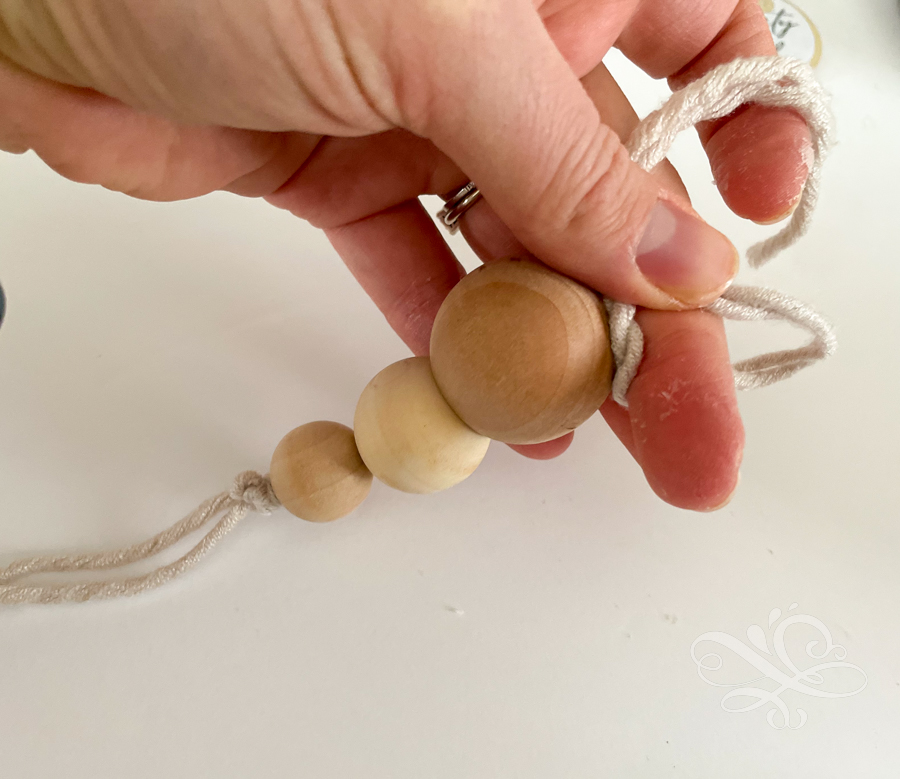
Now add the medium sized bead and your largest bead. Tie a triple knot at the top of the largest bead so that the beads will stay in place.
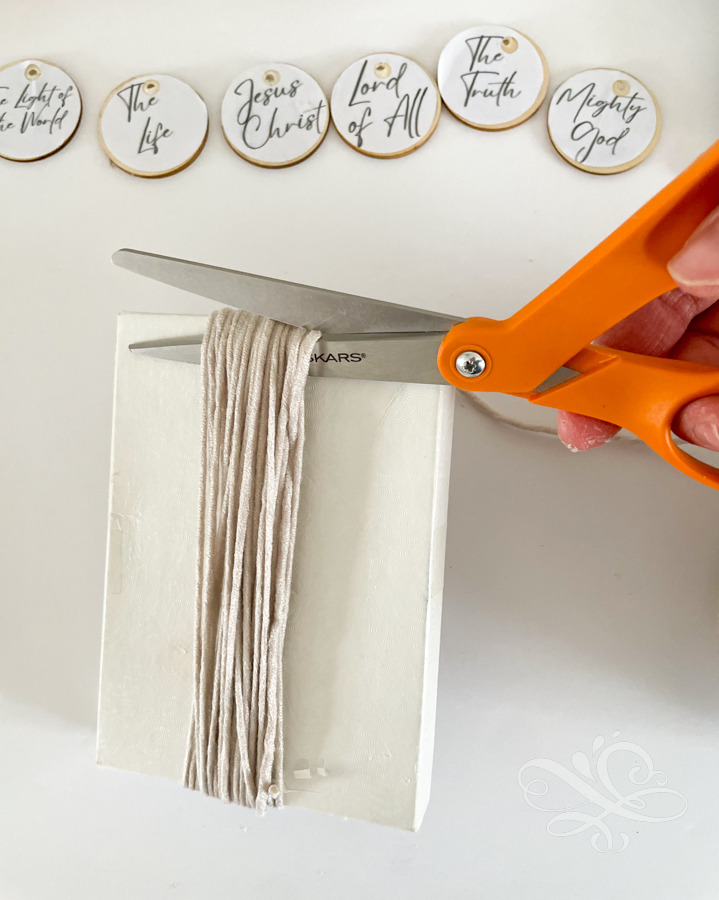
Step 3: Make your tassel for your DIY beaded ornament
Now we are going to make our tassel. Take a piece of cardboard that is 5.5″-6″ in length. Wrap the yarn around the cardboard 30-35 times.

Now take a scissors and grabbing all of the pieces of yarn cut across one of the sides.
Lay your yarn on your table. And set the ends of your beaded ornament in the center of your yarn pile.
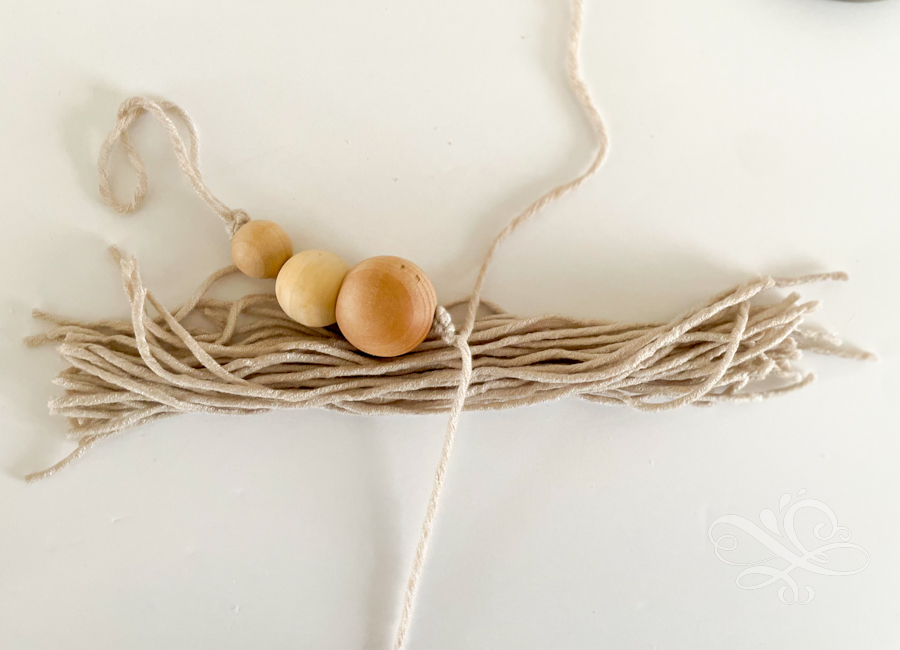
Lift your yarn pile up slightly from the table. Tie the two ends from your beaded ornament in a knot in the center of your yarn.
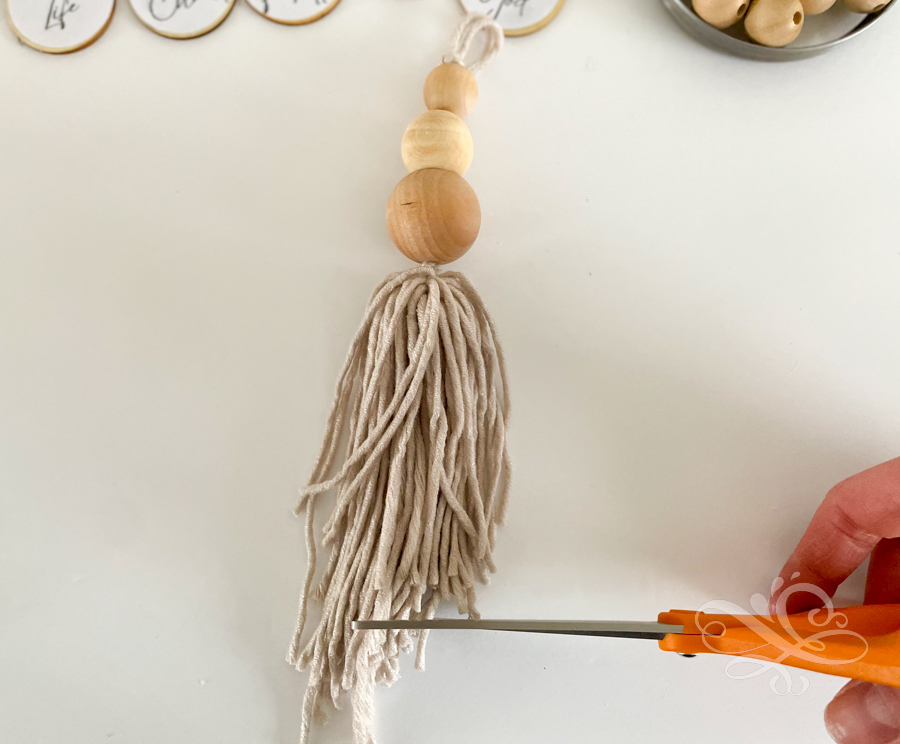
Now your tassel will be attached to your beaded ornament. Trim off any yarn that is not the same length.
Take another piece of yarn that is 24″, and grab one of the ends about 4″ from the end.
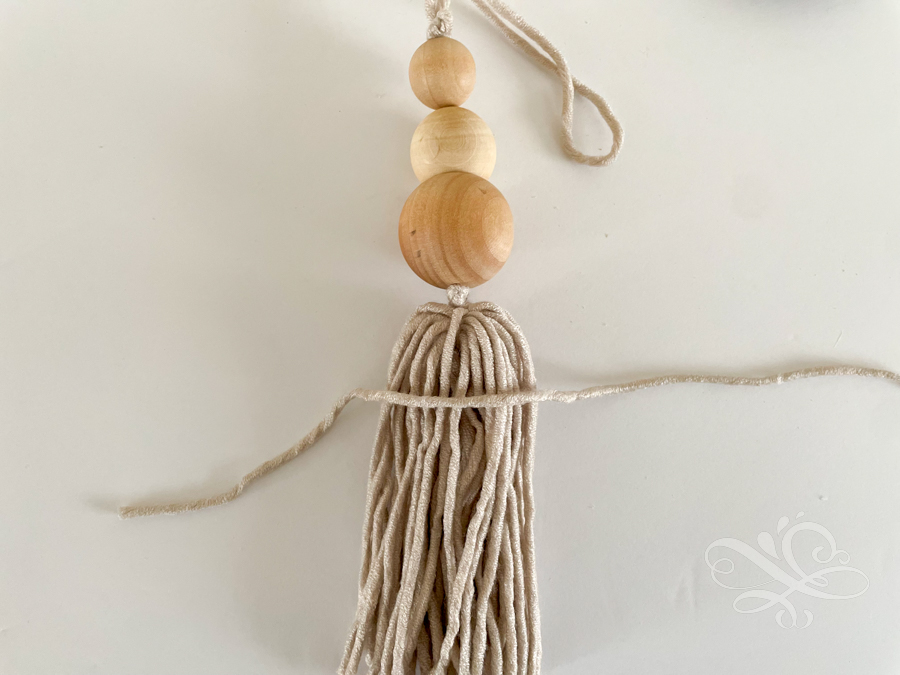
Take the other end and wrap it around your yarn, making a tassel.

Now tie the two ends into a tight knot. Now you will have a tassel on the ends of the beaded ornament. Do not cut the longer ends yet.
Step 4: Attach your name of Jesus tag to your DIY beaded ornament:
Take the two ends and attach a bobby pin to the ends again. Push the bobby pin with the yarn through the front side of one of your names of Jesus tags. Then tie a knot behind the name of Jesus tag.

Trim any excess yarn to make it the same size as the other pieces of yarn.

And that’s it! Now we have these beautiful DIY beaded wood ornaments. So simple and so fun to make!

I hope you enjoyed this tutorial. As I mentioned these were probably some of my favorite ornaments to make this year. I hope you will join us again tomorrow on Day 19 as we make our way crafting all the way up to Christmas Eve! And if you missed any of our other projects over the past 19 days you. can check them out below!
Take Care and God bless!

Craft a Day Countdown to Christmas Projects:
1: Dry Out Oranges for Garlands and Ornaments
4: How to Make a Star Wreath out of Chunky Yarn
5: How to Make Christmas Trees out of Yarn
6: How to Make an Ornament Wreath
7.How to Make a Star Ornament out of Beads & Strings
8: Free Gift for Email Subscribers
9: How to Make an Outdoor Planter
10: 10 Last Minute Mason Jar Lid Crafts
11. How to make a Christmas Mug on a Cricut Machine
12. How to Make Watercolor Christmas Cards Easily (4 Designs)
13. How to Make Christmas Yarn Ornaments on a Stick
15. How to Make a Star Shaped Christmas Wreath
16. How to Make an Easy Wood Christmas Trees
17. How to Make Boy and Girl Angel Gnomes
No time to craft now? No worries just pin it for later!


Leave a Reply