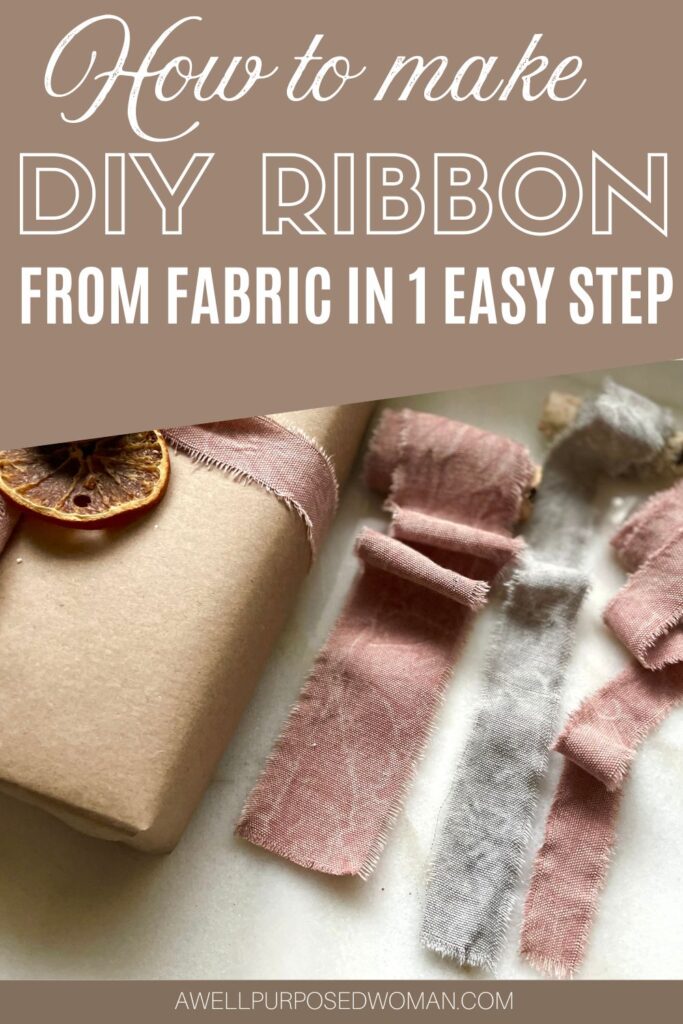
Learn how to make your own ribbon from fabric in just one step. Did you know you can make beautiful ribbon from fabric you may already have on hand? Making beautiful ribbon for gifts and decorations is actually very simple. This one step tutorial will sho you exactly how you can make your own ribbon for Christmas this year!
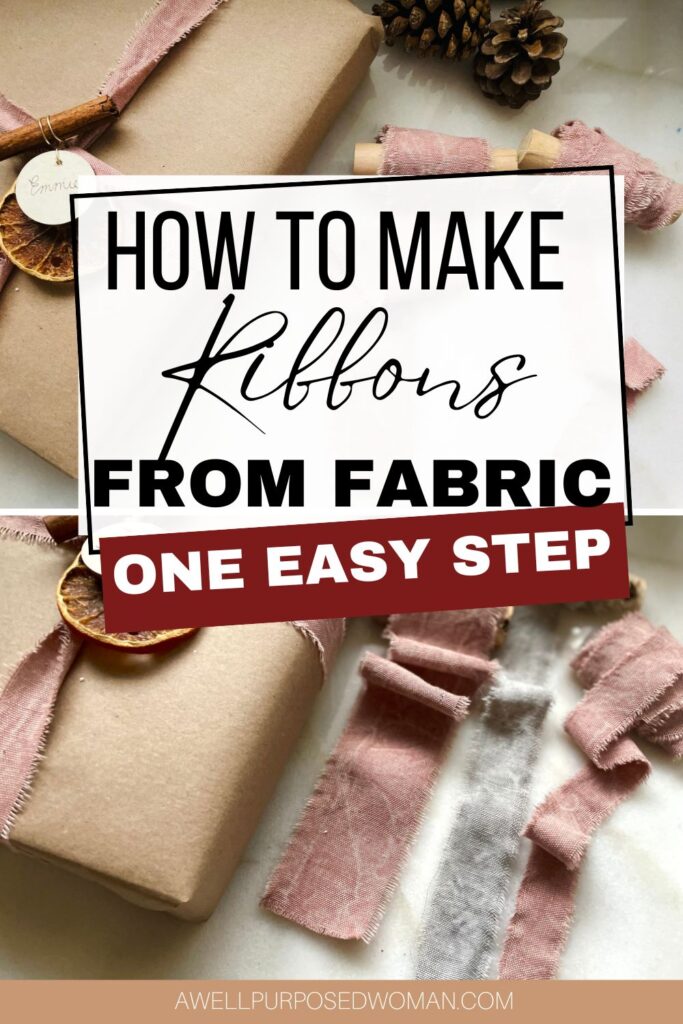
Welcome to day 21 of our Craft a Day Countdown to Christmas today we are going to make our own ribbon in just one step! If you are like me you still have a few or many presents left to wrap for Christmas! Well I hope you do because today I am going to share a one step solution to add just the right touch to all of your gifts.
I know we are all short on time today with Christmas just around the corner. So I am going to hop right into our project.
Let’s make our own DIY ribbon from fabric!
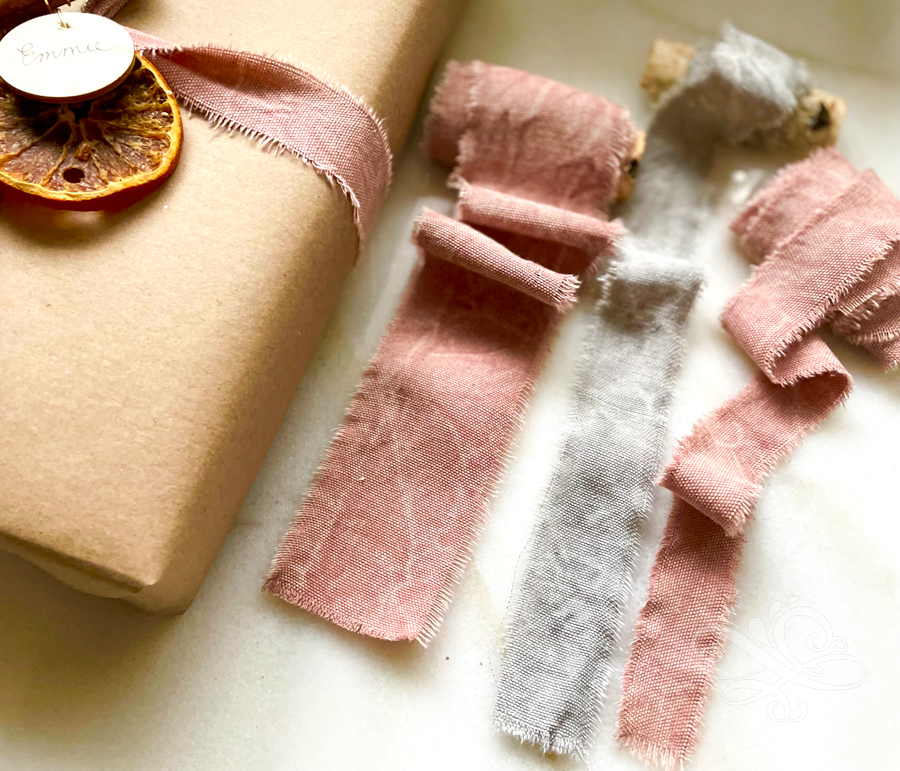
Here’s the supplies you need to make your own ribbon from fabric:
- Cotton or similar lightweight woven fabrics
- Scissors
- Iron
Watch How to Make Your own Ribbon:
Here are the steps to Make your own ribbon:
There really is just one step in making your own ribbon from fabric. But there are a couple of things to keep in mind when making your own ribbon from fabric.
Tips for making your ribbon from fabric:
- Iron your fabric before you start. Before you make your ribbon it is a good idea to iron the fabric you will be using. This isn’t necessary but it can be helpful.
- Use a woven fabric that has threads running vertically and horizontally. This won’t work well for knit or stretchy fabrics or fabrics that aren’t woven.
- Locate the selvage edges of your fabric. It works best to rip the fabric perpendicular to the selvage edges
Step 1: Cut your fabric and rip it into your ribbon
The first step is to measure out how big you want your ribbon to be. Use a ruler and measure on the selvage end of your fabric. I made 1/2″, 1″, 2″ widths of ribbon. But you can make any size you would like.
Once you have the width of ribbon selected. Make a 1/2″-1″ cut there on the selvage end of your fabric. You will rip your fabric from one side of the selvage end to the other side. So pull apart your fabric where your cut it from one selvage end to the other.
Easy Peasy! That’s really all you have to do. This will give you beautiful ribbon with raw edges. You can wrap your gifts now with the ribbon, dried oranges, pine cones or salt ornaments.
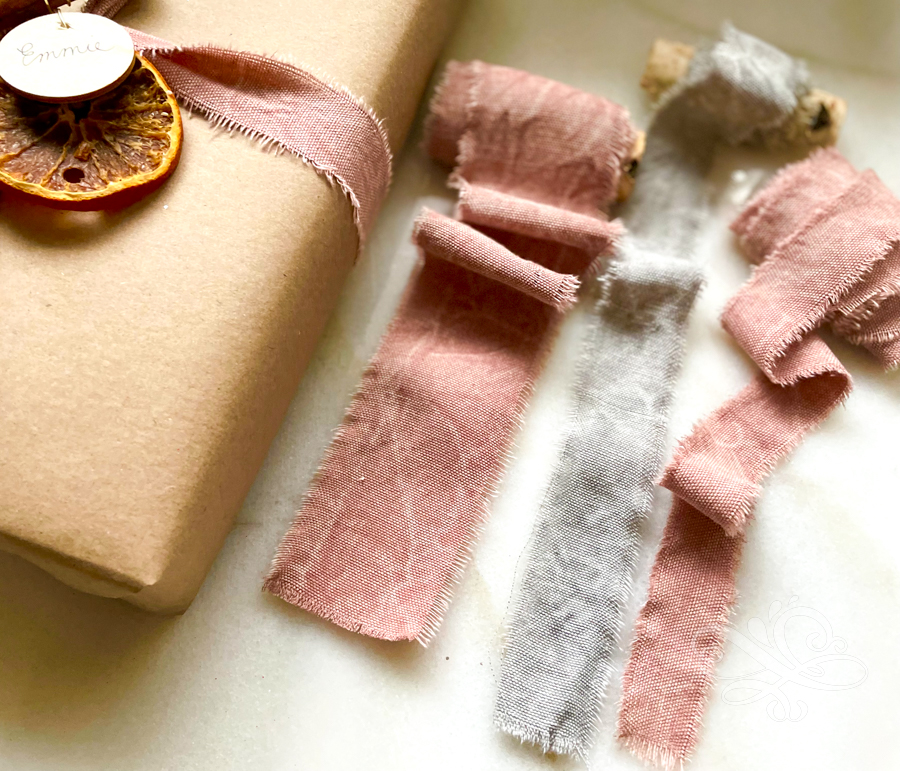
Alternative: If you don’t like the raw edge look you can always sew or serge the ends to finish them. Also if you want to make a long piece of ribbon you could consider sewing it together. Here’s how to cut on a bias as well.
I like to roll my ribbon on a wood dowel or old ribbon roll. This will keep the ribbon flat and ready to use for gifts!
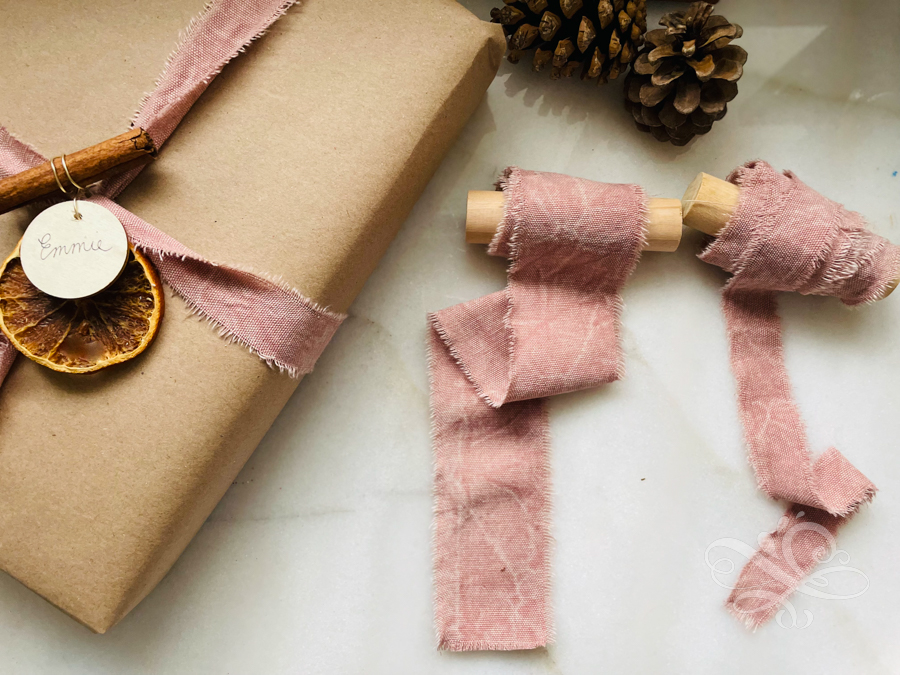
I love this ribbon it is so simple and doesn’t cost anything if you already have some fabric on hand! I hope you enjoyed this tutorial and if you missed any of the other days of our Craft a Day Countdown to Christmas you can read them below. Thanks so much for being here!
Take care and God bless!

Craft a Day Countdown to Christmas Projects:
1: Dry Out Oranges for Garlands and Ornaments
4: How to Make a Star Wreath out of Chunky Yarn
5: How to Make Christmas Trees out of Yarn
6: How to Make an Ornament Wreath
7.How to Make a Star Ornament out of Beads & Strings
8: Free Gift for Email Subscribers
9: How to Make an Outdoor Planter
10: 10 Last Minute Mason Jar Lid Crafts
11. How to make a Christmas Mug on a Cricut Machine
12. How to Make Watercolor Christmas Cards Easily (4 Designs)
13. How to Make Christmas Yarn Ornaments on a Stick
15. How to Make a Star Shaped Christmas Wreath
16. How to Make an Easy Wood Christmas Trees
17. How to Make Boy and Girl Angel Gnomes
18. How to Make DIY Beaded Wood Ornaments with the names of Jesus
19. 5 Best Paper Mache Cone Crafts Ideas for Christmas
20. 10 Last Minute Gifts in a Mason Jar
No time to craft now? No worries! Just pint it for later!


I tried the rip technique with muslin and the width of my piece would get thinner and thinner as a I kept ripping it. Any advice on how to keep the ribbon consistently the same width?
Hi Haley! In this post Marilla shares a technique that might work. You can read it here in Step 2. Hope it helps! Elizabeth