Happy Friday!!
I have been looking for farmhouse style dining room chairs that would fit with our new dining room table for awhile. I have looked and looked and looked. Of course I have seen many chairs I liked. But if you know me the price also has to be right! Finally I found them!!
They were a set of six vintage cane back chairs that had a upholstered seat. I planned to re-do the chairs so the main concern wasn’t how they looked but how sturdy they were. Except for one small crack on one of the legs the chairs were in very good condition.
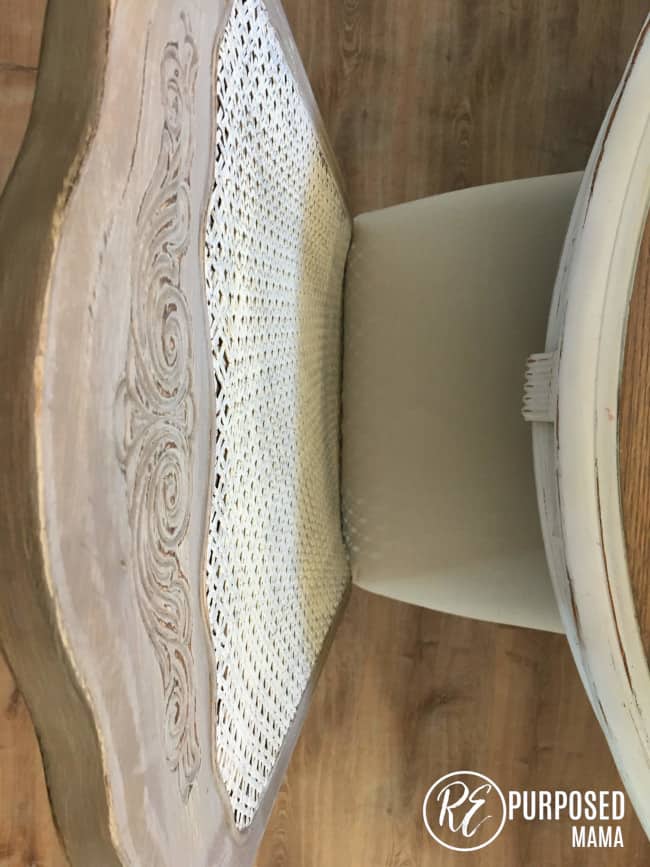
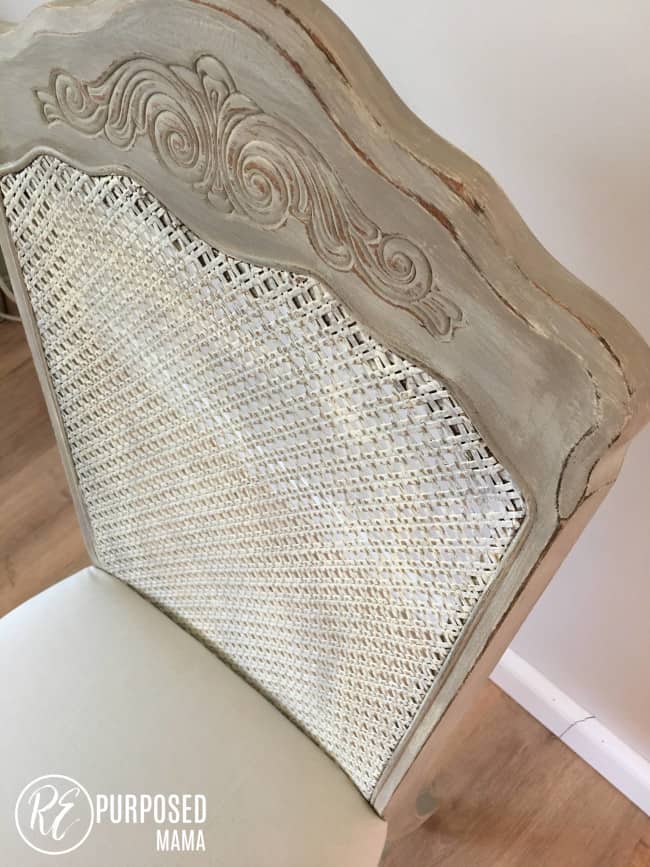
I really liked the size of the chairs. The legs also had a lot of character which was good potential for distressing. But by far my favorite part was the engraved design in the center. So I paid the lady and the chairs were mine.

Here’s a before picture. As you can see the chairs were well used. The woman had them in her kitchen for 30 years. They really needed a fresh update!
Since this was my first upholstery project I was super excited to get started!. But I also didn’t want to rush them so I went at my own pace. They became a side project in the midst of several others. I started working on these chairs in the beginning of March and just finished them this week.
If you have ever re-done an entire dining room set of chairs you know it can be quite an undertaking! It’s really a job that is better done with several people.


At different points with these chairs I had others paint with me to keep me motivated. I was very thankful for their company! (So special thanks to my friend Dayana, my husband’s aunt Colleen, and my sweet daughters!!).

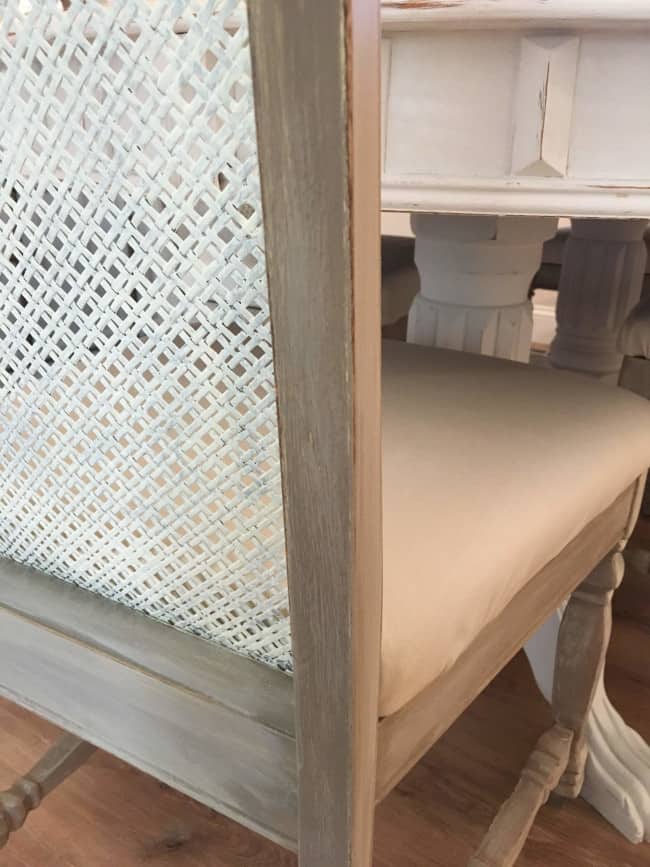
Along with re-upholstering the chairs I did several coats of chalk paint, a wash, and distressing. Overall I was pleased with how the chairs turned out but I may still make some tweaks here and there with the colors of the chairs.
What do you think of the chairs? Did I choose colors you would expect for this type of chair?

I would love to hear feedback good or bad. Although I am satisfied with the look of the chairs. I definitely see many imperfections and room for improvement.
I hope to post a tutorial for re-doing dining room chairs with an upholstered seat next week. But I was so excited to have finally finished them so I thought I would just jump on here today and show you how they turned out.

Here’s what I meant with the legs, aren’t they perfect for distressing?
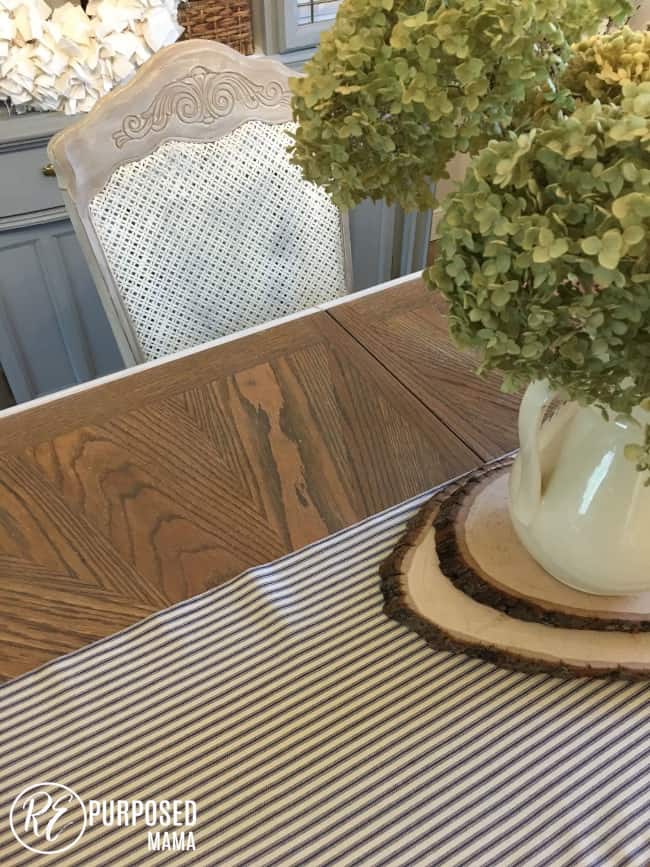
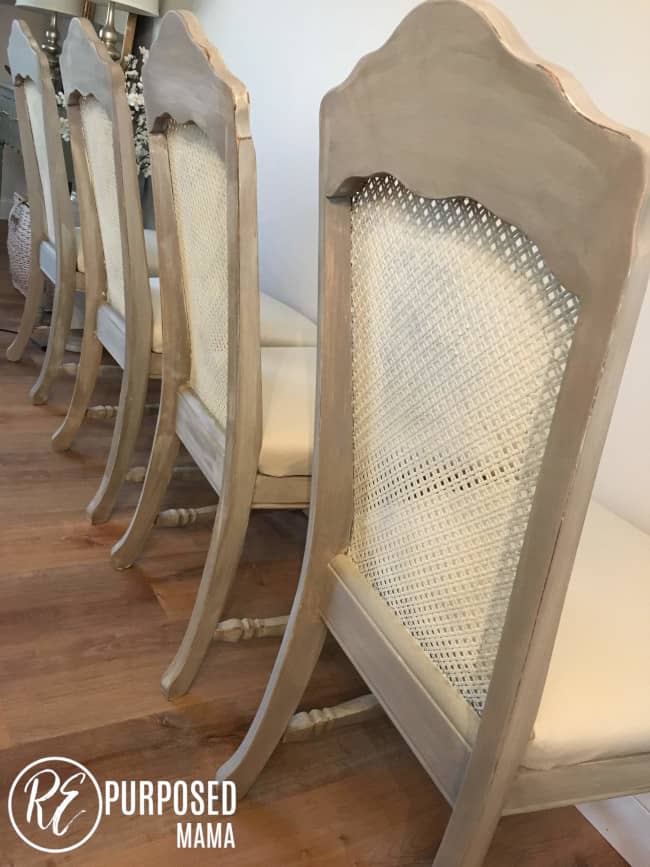
These chairs are making my dining room feel a lot more complete. Now I just have to decide about curtains for the room. I am thinking to do drop cloth curtains.
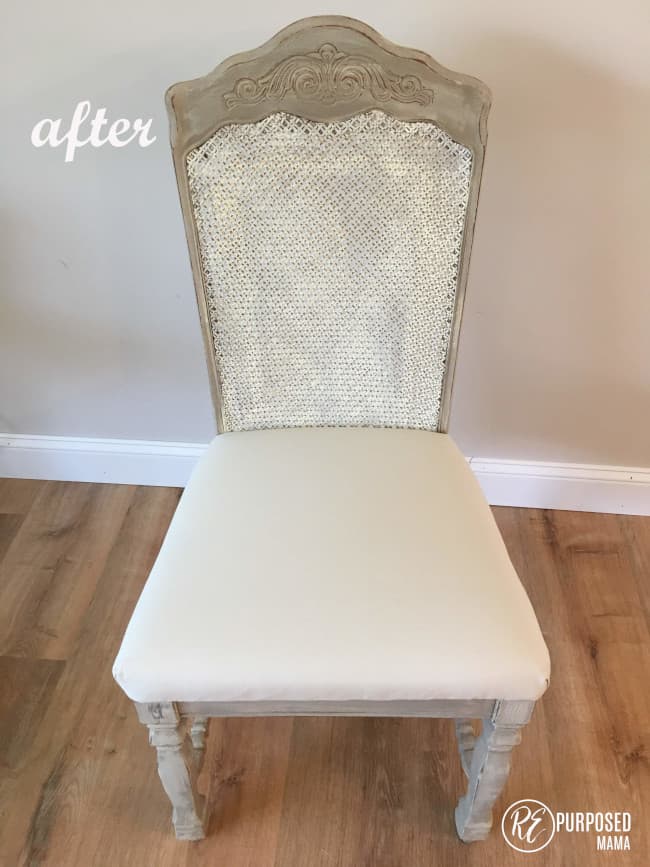
Here’s a picture of the new chair all by itself. The lighting has a weird affect on the cane part of the chair.
If you want to re-do your chairs too. Be sure to come back next week and look for the tutorial on re-upholstering farmhouse dining room chairs. As always let’s see what you are doing in the comments below.
Good night for now! And have a wonderful Mother’s Day!! What a blessing to have a wonderful mother, mother-in-law and sweet little ones to celebrate!
Elizabeth
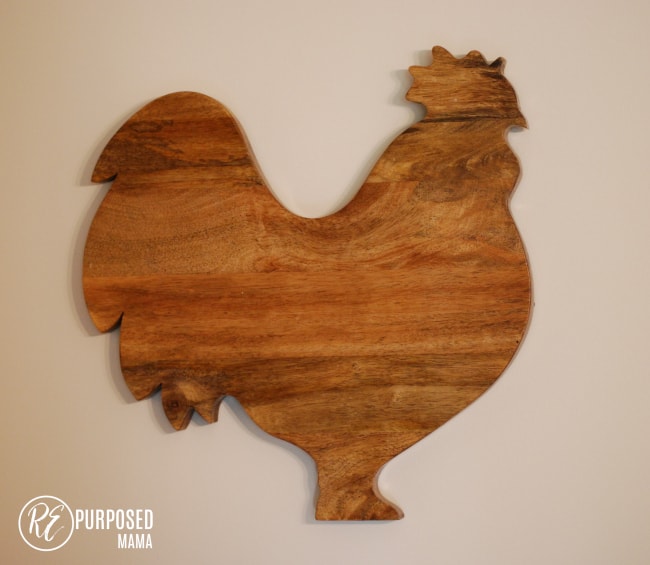
P.S. Here’s a picture of the chicken cutting board I hung in my dining room. I just like how it adds to my farmhouse dining table and chairs!
If you liked this makeover you might also like seeing this 1990’s hutch transformed and this beat up coffee table too!
I think the chairs turned out great!!!
Thanks Alesha!! 🙂
I am impressed! Love the chairs! Glad I could help.
Thanks so much Colleen!! And thanks again for your help!
Elizabeth, these looks amazing!! You really have a knack for design. I’d love to know the process you went through!?
Katie
Hi Katie!! Fun to have you here 🙂 Thank you…will be posting a tutorial next week. So will be sure to let you know.
I love them! I have never thought about painting the cane part.
Hi Mindy!! Thanks for stopping by. Yes, originally I was planning to keep the cane the original color. But once the other parts of the chair were painted the can looked really orange.
They turned out amazing!! I am absolutely in love, Elizabeth. Thank you for sharing this post I cannot wait to find a good set of chairs like these and try for the first time chalk paint and distressing! Thank you for allowing me to be part of the process at least for one tiny bit. I admire your talent!!!
Hi Dayana!! Thanks for stopping by. And thank you for your help in painting them! Yes let me know if you find some and I will return the favor to help you. Thanks girl, you are so talented yourself!! Maybe we could feature your aprons sometime. 🙂
I love the chairs! They turned out really nice.
Thanks Connie!! And thanks for taking the time to stop by 🙂