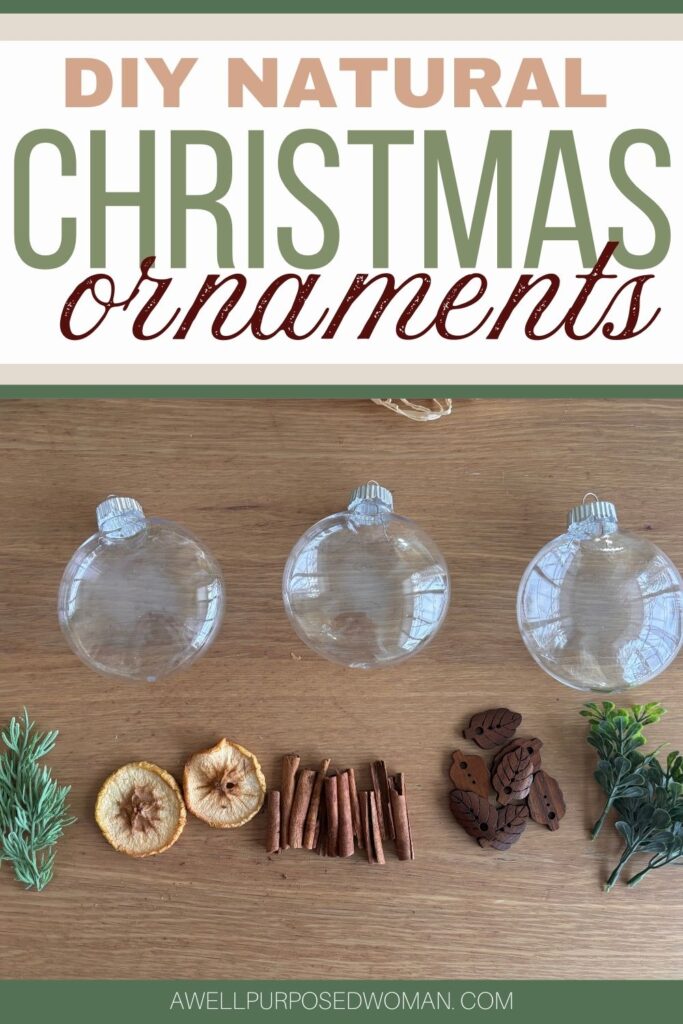
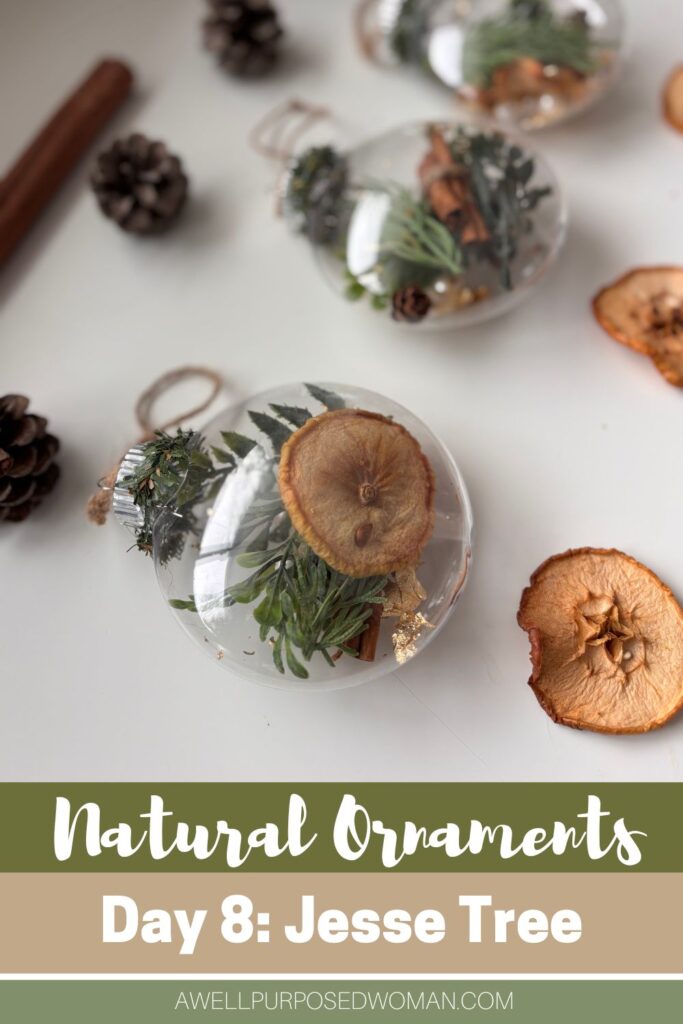
Do you like natural Christmas ornaments? This simple tutorial will show you an easy way to highlight natural Christmas ornaments. Pine cones, greens, dried oranges and dried apples are just some of the natural elements we are going to use to make these natural Christmas Ornaments.
Today is day 8 of our Jesse Tree craft along to Christmas and we will be making these natural looking Christmas ornaments. The inspiration for these natural ornaments comes from the stoy of the people of Israel celebrating their first passover before they left Egypt.
“The blood will be a sign for you on the houses where you are, and when I see the blood, I will pass over you….” – Exodus 12:13
God provided a way for the people of Israel to be protected from the last plague by putting the blood on their door posts. This was a sign that they would be passed over. So today we are going to incorporate elements of the passover in our natural Christmas ornaments. We are going to use greens that resemble bitter herbs, cinnamon and dried apples that resemble charoset and so on.
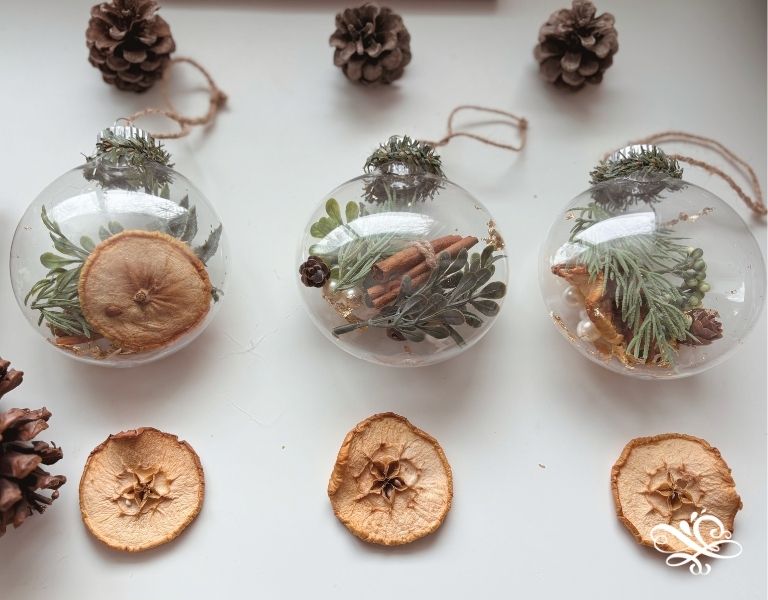
We are going to showcase our natural elements in these clear plastic bulbs, which I think add a modern twist to these already beautiful natural items. Either way I hope you enjoy this craft, so let’s get started!
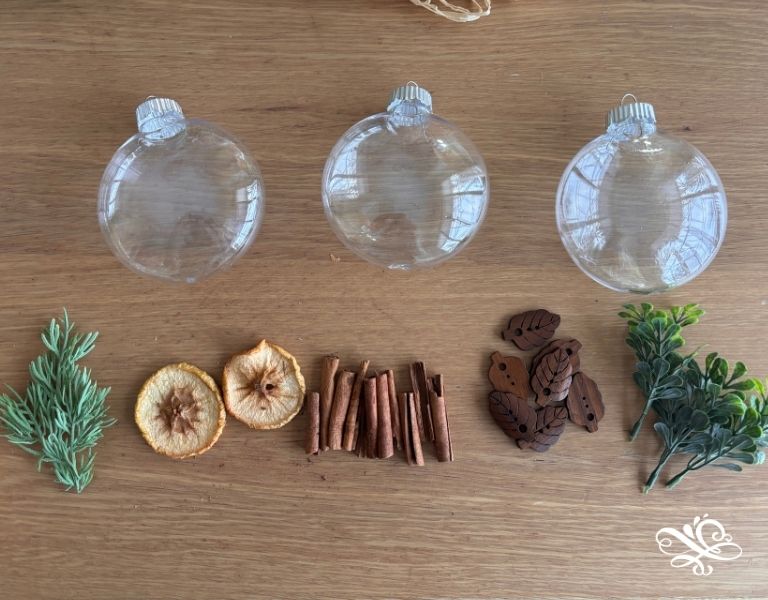
Here’s the supplies need to make natural Christmas ornaments:
- Clear plastic ornaments
- Mini pine cones, dried oranges, apples
- Greens
- Cinnamon sticks
Here’s how to make natural Christmas ornaments:
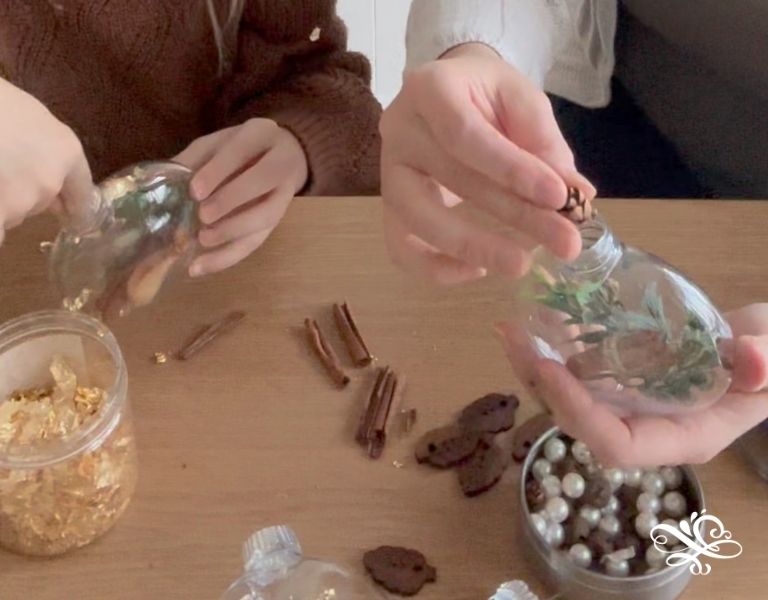
Step 1: Remove your ornament cap
Then the next step is pretty simple, start adding natural items to your ornaments. Pine cones, dried oranges, dried apples, greenery, cinnamon sticks, or anything else you think would like nice in your clear ornaments. To learn how to dry out pine cones, oranges and apples you can check out these other posts.
The first step is pretty simple, remove your ornament cap. Your child may need a hand in getting these off as sometimes they can get stuck.
Step 2: Fill your ornamnets with natural elements
Now here’s the fun part fill your ornaments with whatever natural elements you want. We used the greens, dried apples, cinnamon sticks, mini pine cones and some gold flakes.
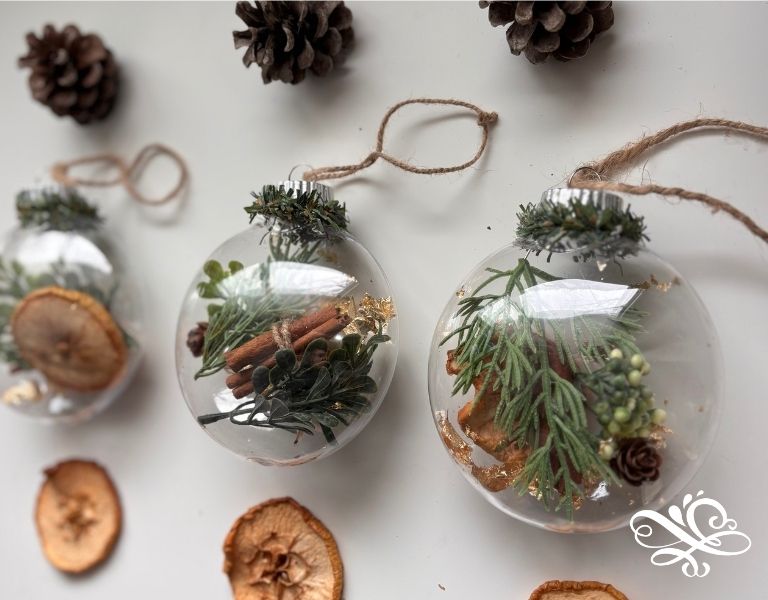
Step 3: Add twine to hang your natural ornament and embellish the outside of the ornament
Re-attach the ornament caps and add twine to hang your ornament. You can also just use a ornament hook, but the twine helps keep the natural look.
This last step is optional but if you would like to dress up the ornament a little bit, you could add ribbon, or greenery to the outside of the ornament. We had some small wire greens that we wrapped around our ornament caps.
And that’s really all there is to it. We are trying to give you quick crafts that are easy and help to give you more opportunties for you and your child to talk about the story. Please let us know in the comments if you are going to try to make these!
If you missed any of the other days you can catch them down below:
- Day 1: World Pour Paint Ornaments
- Day 2: Drying Out Apples for Ornaments
- Day 3: Yarn Rainbow
- Day 4: Wooden Star with Beads
- Day 5: Yarn Sheep Ornament
- Day 6: Rainbow Tree Ornament
- Day 7: Paper Bag Luminairies
Take care and God bless!

No time to craft now, no worries just pin it for later!
Leave a Reply