Learn how to dry out apples for Christmas ornaments, crafts and other decorations. Apples are a beautiful and timeless symbol of warmth and festivities, they bring with them a natural sense of home and beauty.

Welcome to Day 2 of our Jesse Tree Advent Christmas Crafting inspired by the Jesse Tree tradition! Today we are talking about how Adam and Eve fell into sin. And since it was a piece of fruit that tempted them, although the Bible doesn’t specifically say it was an apple, today we are going to dry out apples for ornaments!
Crafting with natural items like oranges, pine cones and apples add beautiful and primitve touches around your home for Christmas. Apples can be used in garlands, ornaments and additions to bowls or wreaths.
Supplies needed to dry out apples in the oven
- Apples
- Lemon juice and water
- Knife
- Oven
- (Optional) Pine cones, twine, cinnamon sticks
Here are the steps to dry out apples in the oven
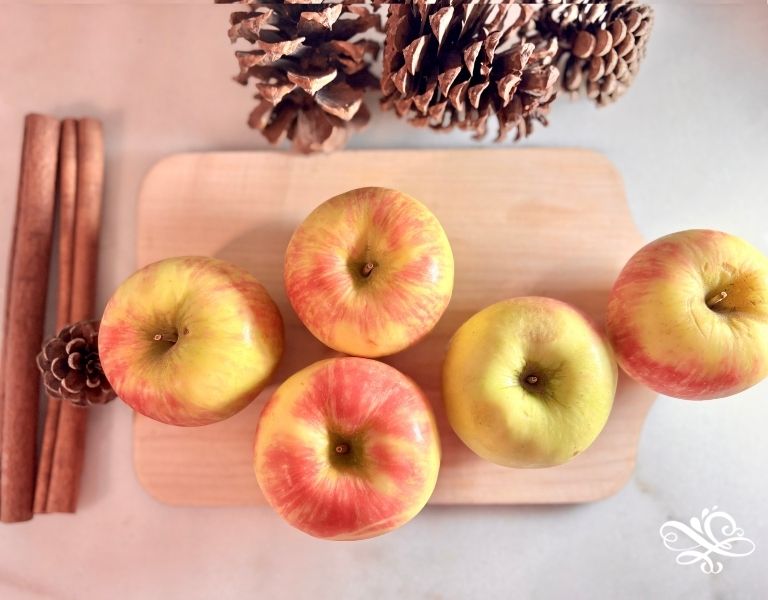
Step 1: Wash and dry apples
Start by washing your apples, remove any stickers and pat them dry. Using red or green apples will give you a fun decorative look to your ornaments.
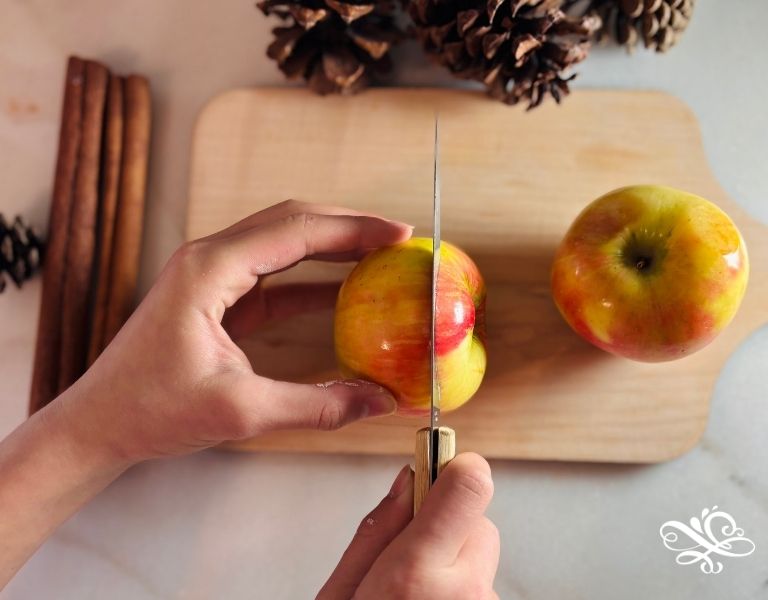
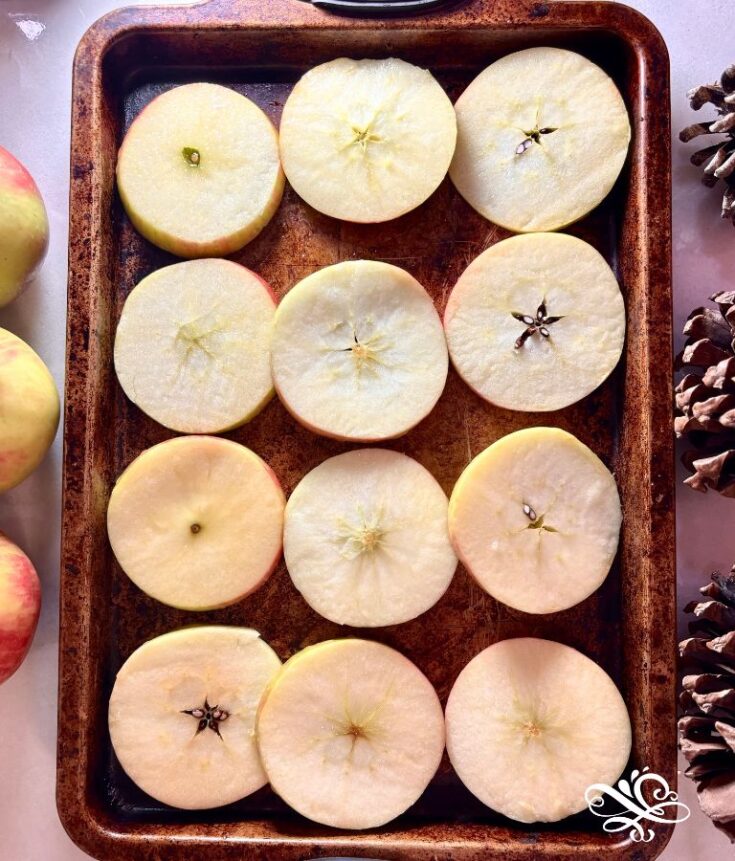
Step 2: Cut your apples into 1/4″ slices
The next step is to cut your apples. The thinner you are able to cut them the quicker they will dry out. I was not able to cut mine much thinner than a 1/4″ and still get the full circle of the apple.
Step 3: Wash apples slices in lemon juice and water
Once you have cut your apples into 1/4″ slices you will want to bathe them in some lemon juice to prevent them from browning. I poured 1/4 cup of lemon juice in a bowl with the same amount of water and then just washed the apples in the mixture.
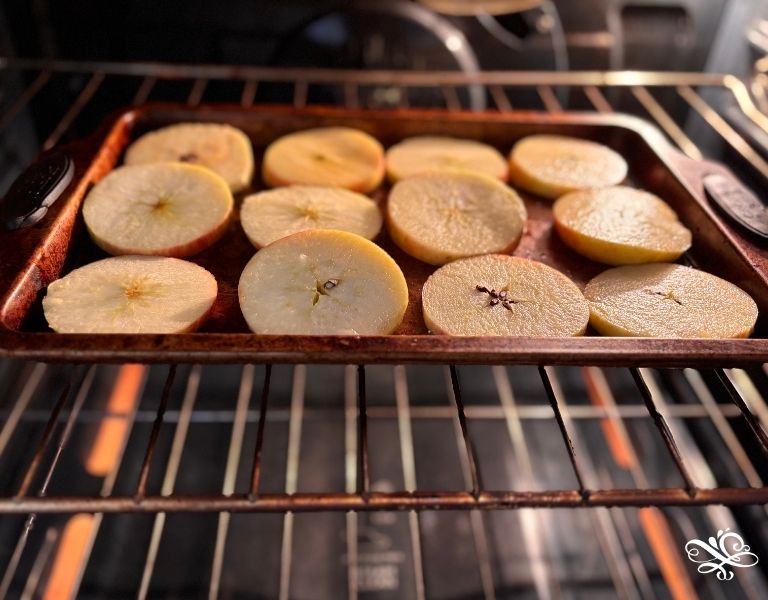
Step 4: Bake your apples at 200 degrees from 8-12 hours
The last step takes the longest. You will line your apples single layered onto a cookie sheet. Bake the apples at 200 degrees until they are dried out (roughly 8-12 hours). Flip the apples over every hour to prevent browning on one side.
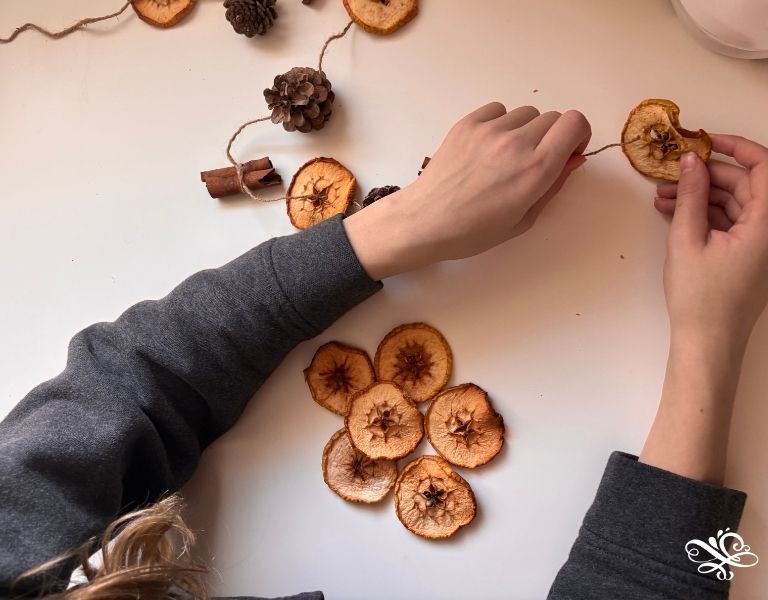
Once your apples feel mostly dry to touch you can start using them for ornaments and crafts. One thing I learned when I made dried oranges in the past is that the fruit will continue to dry if you are using it on a garland or as an ornament, so even if the apples are not 100% dry they will continue to dry when they are hanging.
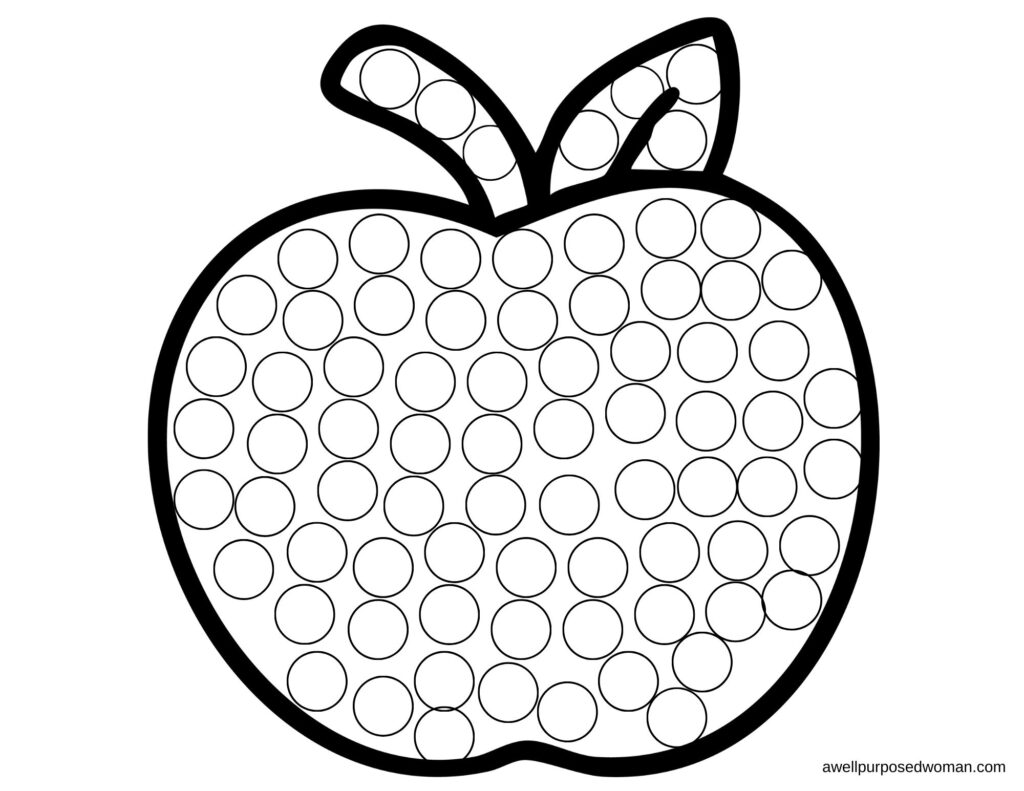
My daughters thought it would be good to add another craft idea for younger kids so I added a dot coloring sheet of an apple down below. Younger kids can use dot markers or glue pom poms on the circles in the apple. My youngest daughter will enjoy doing this later today!
We hope you enjoyed today’s craft and we hope you will join us tomorrow for our next Jesse Tree advent craft.
Take care and God bless,

If you missed any of our Jesse Tree Crafts you can check them out below:
- Day 1: World Pour Paint Ornaments
- Day 2: Drying Out Apples for Ornaments
- Day 3: Yarn Rainbow
- Day 4: Wooden Star with Beads
- Day 5: Yarn Sheep Ornament
- Day 6: Rainbow Tree Ornament
- Day 7: Paper Bag Luminairies
- Day 8: Natural Christmas Ornaments
- Day 9: Names of God Ornaments
How to Dry Out Apples in the Oven
Learn how to dry out apples for ornaments, garlands and wreaths. Drying out apples is a simple way to create charming, rustic touches for Christmas.
Start by choosing firm, fresh apples, any variety works, but ones with red or green skin add a natural pop of color. Slice the apples into even ¼-inch rounds so they dry consistently.
Materials
- Apples
- Knife
- Cooking Sheet
- Lemon Juice
- Oven
- (Optional Items) Twine
- Pine Cones
- Cinnamon Sticks
Instructions
- Wash and Dry Apples
- Cut apples into 1/4" slices. Remove any seeds.
- Wash the apples in a lemon juice water mixture.
- Bake in the oven at 200 degrees for 8-10 hours.
- (Optional) Hang apples with twine, pine cones and cinnamon sticks to make a garland.

Leave a Reply